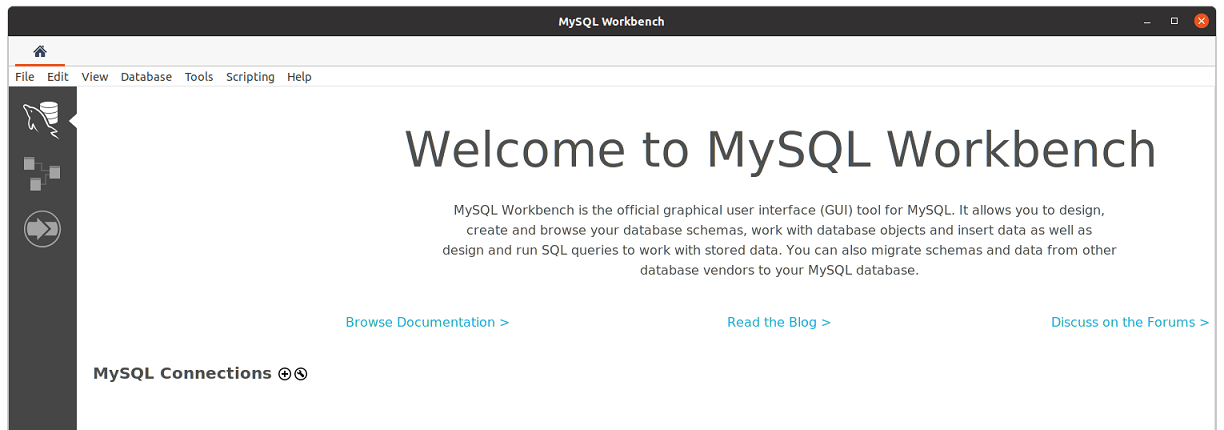
How To Install MySQL Workbench on openSUSE

In this tutorial, we will show you how to install MySQL Workbench on openSUSE. MySQL Workbench is a unified visual tool for database architects, developers, and DBAs. It provides data modeling, SQL development, and comprehensive administration tools for server configuration, user administration, and much more. MySQL Workbench is available on Windows, Linux, and macOS. The latest version of MySQL Workbench offers new features and improvements that enhance its functionality.
This article assumes you have at least basic knowledge of Linux, know how to use the shell, and most importantly, you host your site on your own VPS. The installation is quite simple and assumes you are running in the root account, if not you may need to add ‘sudo‘ to the commands to get root privileges. I will show you the step-by-step installation of the MySQL Workbench on openSUSE.
Prerequisites
- A server running one of the following operating systems: openSUSE.
- It’s recommended that you use a fresh OS install to prevent any potential issues.
- You will need access to the terminal to execute commands. openSUSE provides the Terminal application for this purpose. It can be found in your Applications menu.
- You’ll need an active internet connection to download MySQL Workbench and its dependencies.
- You’ll need administrative (root) access or a user account with sudo privileges.
Install MySQL Workbench on openSUSE
Step 1. Before proceeding with the installation, make sure your system is up-to-date by running the following command:
sudo zypper refresh
sudo zypper update
Step 2. Installing Snap.
Use the zypper command to add the Snap repository to your system:
sudo zypper addrepo --refresh https://download.opensuse.org/repositories/system:/snappy/openSUSE_Leap_15.5 snappy
Ensure the authenticity of the repository by importing its GPG key:
sudo zypper --gpg-auto-import-keys refresh
With the repository added and the GPG key imported, install Snap using zypper:
sudo zypper install snapd
Enable and start the snapd and snapd.apparmor services to ensure Snap packages can run correctly:
sudo systemctl enable --now snapd
sudo systemctl enable --now snapd.apparmor
Step 3. Installing MySQL Workbench on openSUSE.
With Snap installed, you can now install MySQL Workbench using the Snap package manager:
sudo snap install mysql-workbench-community
For MySQL Workbench to function correctly, especially regarding connections, you need to explicitly grant permissions for the Password Manager and SSH:
snap connect mysql-workbench-community:password-manager-service
snap connect mysql-workbench-community:ssh-keys
Step 4. Accessing MySQL Workbench on openSUSE.
After installation, launch MySQL Workbench from your applications menu or by running mysql-workbench-community. You may need to set up MySQL connections and grant necessary permissions for the Password Manager and SSH within the application.

Congratulations! You have successfully installed MySQL Workbench. Thanks for using this tutorial for installing the MySQL Workbench database on your openSUSE system. For additional or useful information, we recommend you check the official MySQL website.