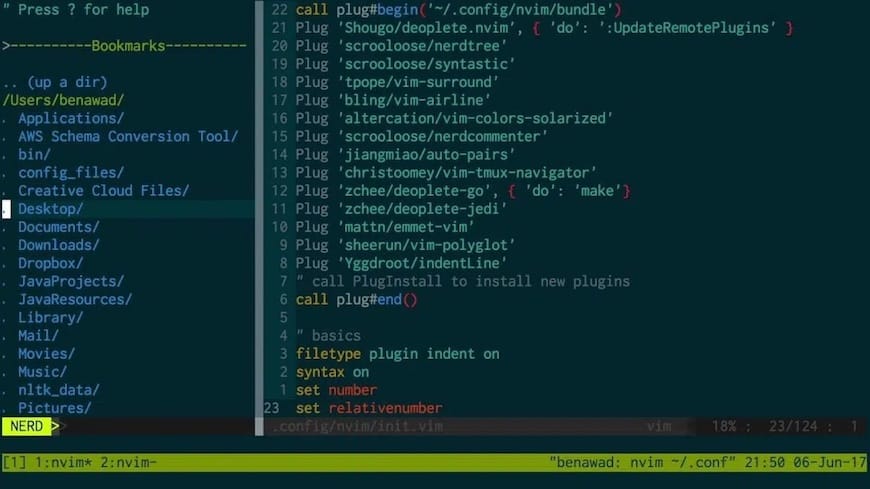
How To Install Neovim on Debian 12

Neovim, the modern and extensible fork of the classic Vim text editor, has gained significant popularity among developers and system administrators. For Debian 12 users looking to harness the power of this advanced editor, installing Neovim can seem daunting at first. This comprehensive guide will walk you through various methods to install Neovim on Debian 12, ensuring you have the latest version with all its powerful features at your fingertips.
Understanding Neovim and Its Advantages
Before diving into the installation process, it’s crucial to understand what Neovim is and why it’s worth installing on your Debian 12 system. Neovim is a refactor of Vim, aiming to improve extensibility and maintainability. It offers several advantages over traditional Vim:
- Better plugin architecture
- Improved terminal emulator
- Asynchronous job control
- Built-in LSP (Language Server Protocol) support
- Enhanced customization options
These features make Neovim an excellent choice for developers seeking a powerful, customizable text editor on their Debian 12 system.
Prerequisites for Installing Neovim on Debian 12
Before proceeding with the installation, ensure your Debian 12 system meets the following requirements:
- A Debian 12 (Bookworm) system with root or sudo access
- An active internet connection
- Basic familiarity with the command line interface
It’s also recommended to update your system before installation:
sudo apt update && sudo apt upgrade -yMethod 1: Installing Neovim from Debian Repositories
The simplest method to install Neovim on Debian 12 is through the official repositories. However, it’s important to note that this version may not be the latest release.
Steps to Install Neovim from Debian Repositories:
- Open a terminal window.
- Run the following command:
sudo apt install neovim - Wait for the installation to complete.
- Verify the installation by checking the version:
nvim --version
While this method is straightforward, it may not provide the latest Neovim version, which could be crucial for compatibility with certain plugins or features.
Method 2: Installing Neovim Using AppImage
For users who prefer to have the latest stable version of Neovim, using the AppImage is an excellent option. This method ensures you have the most recent features and improvements.
Steps to Install Neovim Using AppImage:
- Open a terminal window.
- Download the latest Neovim AppImage:
wget https://github.com/neovim/neovim/releases/latest/download/nvim.appimage - Make the AppImage executable:
chmod u+x nvim.appimage - Move the AppImage to a directory in your PATH:
sudo mv nvim.appimage /usr/local/bin/nvim - Verify the installation:
nvim --version
This method allows you to easily update Neovim by repeating the process with the latest AppImage when a new version is released.
Method 3: Building Neovim from Source
For advanced users or those who need specific features, building Neovim from source is the most flexible option. This method requires more steps but gives you complete control over the installation.
Steps to Build and Install Neovim from Source:
- Install the necessary dependencies:
sudo apt install git ninja-build gettext cmake unzip curl - Clone the Neovim repository:
git clone https://github.com/neovim/neovim.git - Change to the Neovim directory:
cd neovim - Checkout the stable branch (or master for the latest development version):
git checkout stable - Build Neovim:
make CMAKE_BUILD_TYPE=RelWithDebInfo - Install Neovim:
sudo make install - Verify the installation:
nvim --version
Building from source allows you to customize the build process and stay on the cutting edge of Neovim development.

Configuring Neovim After Installation
Once Neovim is installed, you’ll want to set up a basic configuration to enhance your editing experience. Here are some steps to get started:
- Create a configuration directory:
mkdir -p ~/.config/nvim - Create an init.vim file:
touch ~/.config/nvim/init.vim - Open the init.vim file in Neovim:
nvim ~/.config/nvim/init.vim - Add some basic configurations, such as:
set number
set relativenumber
set autoindent
set tabstop=4
set shiftwidth=4
set smarttab
set softtabstop=4
set mouse=a
These settings enable line numbers, relative line numbers, auto-indentation, and mouse support, providing a solid foundation for your Neovim setup.
Installing Plugins to Enhance Neovim
Plugins can significantly extend Neovim’s functionality. Here’s how to set up a plugin manager and install some popular plugins:
Setting Up vim-plug:
- Install vim-plug:
sh -c 'curl -fLo "${XDG_DATA_HOME:-$HOME/.local/share}"/nvim/site/autoload/plug.vim --create-dirs \ https://raw.githubusercontent.com/junegunn/vim-plug/master/plug.vim' - Add the following to your init.vim:
call plug#begin()
" Add plugins here
call plug#end()
Installing Popular Plugins:
Add these lines between the plug#begin() and plug#end() calls in your init.vim:
Plug 'preservim/nerdtree'
Plug 'tpope/vim-surround'
Plug 'itchyny/lightline.vim'
Plug 'neoclide/coc.nvim', {'branch': 'release'}
After adding the plugins, save the file and run :PlugInstall within Neovim to install them.
Troubleshooting Common Installation Issues
While installing Neovim on Debian 12 is generally straightforward, you might encounter some issues. Here are solutions to common problems:
1. Dependency Issues:
If you encounter missing dependencies, try running:
sudo apt install -f2. Permission Errors:
Ensure you’re using sudo for commands that require root privileges. If issues persist, check your user’s sudo permissions.
3. Outdated Package Lists:
If you can’t find Neovim in the repositories, update your package lists:
sudo apt update4. Conflicts with Existing Vim Installation:
Neovim can coexist with Vim, but if you encounter conflicts, consider removing Vim:
sudo apt remove vimKeeping Neovim Updated
To ensure you have the latest features and security updates, it’s important to keep Neovim updated. The update process depends on your installation method:
For APT Installation:
sudo apt update && sudo apt upgradeFor AppImage:
Download the latest AppImage and replace the existing one in /usr/local/bin/.
For Source Installation:
- Navigate to the Neovim directory
- Pull the latest changes:
git pull - Rebuild and reinstall:
make CMAKE_BUILD_TYPE=RelWithDebInfo
sudo make install
Congratulations! You have successfully installed Neovim. Thanks for using this tutorial for installing the Neovim on the Debian 12 system. For additional help or useful information, we recommend you check the Neovim website.