![]()
In this tutorial, we will show you how to install Nessus Scanner on Fedora 39. Nessus is a powerful vulnerability scanning tool that helps identify security weaknesses in computer systems and networks. Developed by Tenable, Nessus is widely used by security professionals and organizations to proactively detect and remediate vulnerabilities before they can be exploited by attackers.
This article assumes you have at least basic knowledge of Linux, know how to use the shell, and most importantly, you host your site on your own VPS. The installation is quite simple and assumes you are running in the root account, if not you may need to add ‘sudo‘ to the commands to get root privileges. I will show you the step-by-step installation of the Nessus Scanner on a Fedora 39.
Prerequisites
Before diving into the installation process, let’s ensure that you have everything you need:
- A server running one of the following operating systems: Fedora 39.
- It’s recommended that you use a fresh OS install to prevent any potential issues.
- You will need access to the terminal to execute commands. Fedora 39 provides the Terminal application for this purpose. It can be found in your Applications menu.
- A network connection or internet access to download the Nessus package.
- A
non-root sudo useror access to theroot user. We recommend acting as anon-root sudo user, however, as you can harm your system if you’re not careful when acting as the root.
Install Nessus Scanner on Fedora 39
Step 1. Keeping your system up-to-date is crucial for security and stability. Start by running the following command to update your Fedora 39 installation:
sudo dnf clean all
sudo dnf update
Step 2. Installing Nessus Scanner on Fedora 39.
Open a web browser and visit the official Tenable downloads page: https://www.tenable.com/downloads/nessus. Download .rpm installer using curl command:
curl --request GET \
--url 'https://www.tenable.com/downloads/api/v2/pages/nessus/files/Nessus-10.7.1-el9.x86_64.rpm' \
--output 'Nessus-10.7.1-el9.x86_64.rpm'
Navigate to the directory where you saved the Nessus RPM file using the cd command. For example:
cd ~/Downloads
Now install the Nessus package using the rpm command with sudo privileges:
sudo rpm -ivh Nessus-10.7.1-el9.x86_64.rpm
Once the installation is complete, start the Nessus service by running:
sudo systemctl start nessusd
To ensure that Nessus starts automatically on system boot, enable the service:
sudo systemctl enable nessusd
Verify that the Nessus service is running correctly by checking its status:
sudo systemctl status nessusd
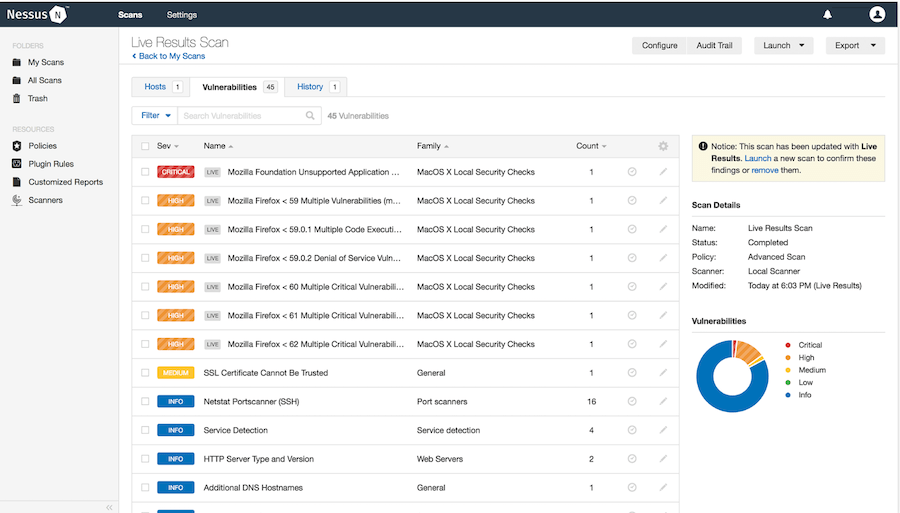
Step 3. Accessing Nessus Scanner Web Interface.
Open a web browser and navigate to https://your-IP-address:8834 to access the Nessus web interface. However, before you can start using Nessus, you’ll need to configure it and activate your license.
Step 4. Tips and Best Practices.
To get the most out of your Nessus installation, consider the following tips and best practices:
- Keep Nessus and its plugins up to date: Regularly check for updates and install them promptly to ensure you have the latest vulnerability definitions and software improvements.
- Run scans regularly: Establish a scanning schedule that aligns with your organization’s security policies.
- Regular scans help identify new vulnerabilities that may have been introduced since the last scan.
- Prioritize vulnerabilities: Focus on addressing high-severity vulnerabilities first, as they pose the greatest risk to your systems and networks. Use the severity ratings provided by Nessus to prioritize your remediation efforts.
- Secure scan results: Treat Nessus scan results as sensitive information and store them securely. Restrict access to the results and only share them with authorized personnel who need to know.
- Integrate with other tools: Nessus integrates with various security tools and platforms, such as SIEMs, ticketing systems, and vulnerability management solutions. Explore integration options to streamline your security workflows and centralize vulnerability data.
Congratulations! You have successfully installed Nessus. Thanks for using this tutorial for installing the Nessus Scanner on your Fedora 39 system. For additional or useful information, we recommend you check the official Nessus website.
[su_box title=”VPS Manage Service Offer” style=”bubbles” box_color=”#000000″ radius=”10″]If you don’t have time to do all of this stuff, or if this is not your area of expertise, we offer a service to do “VPS Manage Service Offer”, starting from $10 (Paypal payment). Please contact us to get the best deal![/su_box]