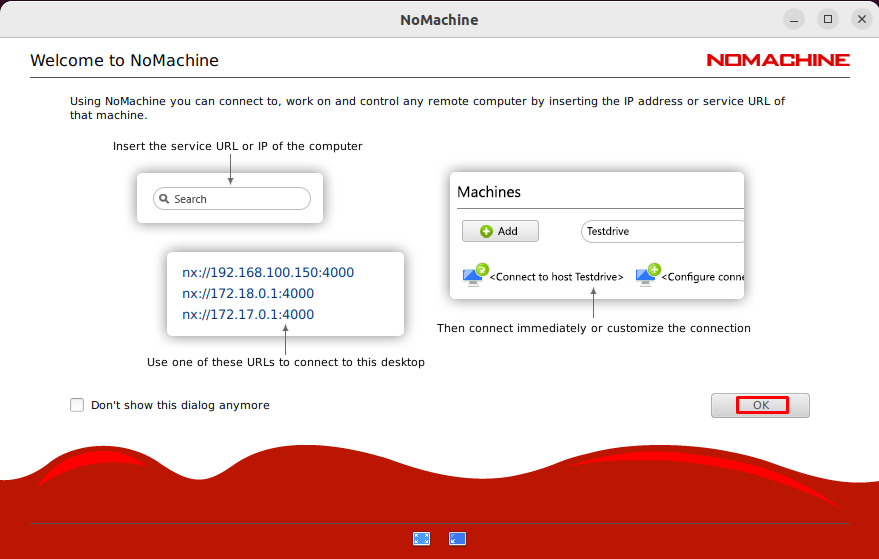
In this tutorial, we will show you how to install NoMachine on CentOS 8. For those of you who didn’t know, NoMachine is a comprehensive remote desktop software that enables users to access and manage their computers over the internet, providing a solution for remote work, support, and collaboration. It is designed to work across various platforms, including Linux, Windows, Mac, and ARM, making it a versatile tool for individuals and businesses alike.
Key Features and Capabilities
- Cross-Platform Support: NoMachine can be installed on Linux, Windows, Mac, and ARM devices, offering a wide range of compatibility for different users.
- Remote Access and Management: It allows for fast, secure access to remote desktops located anywhere in the world. This includes the ability to stream multimedia files, access and edit documents, provide remote support, print, transfer files, and more.
- Enterprise Solutions: NoMachine offers solutions tailored for businesses, including the Enterprise Desktop for maximizing remote workforce productivity and the Terminal Server for providing access to Linux desktops running high-end applications.
- Cloud Server Products: These products enable remote users to connect to on-premise resources, offering centralized access to workstations and cloud-based machines within a private network.
- High Performance: Users have reported that NoMachine provides a fast connection that feels like being on a local network, even when crossing firewalls and navigating through the internet.
- Security: NoMachine emphasizes secure connections, ensuring that all remote desktop activities are under the user’s control and protected.
- Free for Personal Use: The software is available for free for individual users, making it an accessible option for personal remote desktop needs.
This article assumes you have at least basic knowledge of Linux, know how to use the shell, and most importantly, you host your site on your own VPS. The installation is quite simple and assumes you are running in the root account, if not you may need to add ‘sudo‘ to the commands to get root privileges. I will show you the step-by-step installation of the NoMachine remote desktop on a CentOS 8.
Prerequisites
- A server running one of the following operating systems: CentOS 8.
- It’s recommended that you use a fresh OS install to prevent any potential issues.
- A network connection or internet access to download the NoMachine packages.
- A
non-root sudo useror access to theroot user. We recommend acting as anon-root sudo user, however, as you can harm your system if you’re not careful when acting as the root.
Install NoMachine on CentOS 8
Step 1. First, let’s start by ensuring your system is up-to-date.
sudo dnf update
Step 2. Installing NoMachine on CentOS 8.
NoMachine is not available on default CentOS 8 repositories. Now we download the RPM binary installer from the official website:
wget https://download.nomachine.com/download/8.11/Linux/nomachine_8.11.3_4_x86_64.rpm
Once downloaded the RPM binary, run the following command to install it:
sudo dnf install nomachine_8.11.3_4_x86_64.rpm
Step 3. Configure Firewall.
You know NoMachine is working on port 4000 so we need to allow connection on that port by adding it to the firewall:
sudo firewall-cmd --add-port=4000/tcp --add-port=4011-4999/udp --permanent
sudo firewall-cmd --reload
Step 4. Accessing NoMachine on CentOS.
Once successfully is installed, you can be able to launch it from the activities tab at the top left corner. You should see NoMachine and NoMachine, service managers.
NoMachine service manager is a small application that gives you access to server NoMachine management tools and User Interface and advises you when someone is requesting to connect.

Congratulations! You have successfully installed NoMachine. Thanks for using this tutorial for installing the NoMachine remote desktop on your CentOS 8 system. For additional help or useful information, we recommend you check the official NoMachine website.