How To Install OpenOffice on Fedora 41

Apache OpenOffice is a powerful open-source office suite that provides a variety of tools for word processing, spreadsheets, presentations, and more. For users of Fedora 41, installing OpenOffice can enhance productivity and offer a viable alternative to other office suites. This guide will provide detailed, step-by-step instructions on how to install OpenOffice on Fedora 41, ensuring a smooth installation process.
Prerequisites
Before diving into the installation process, it’s essential to ensure that your system meets the necessary requirements. Here are the prerequisites:
- System Requirements: Ensure you have Fedora 41 installed with at least 256 MB of RAM (512 MB recommended) and 400 MB of free disk space.
- Dependencies: OpenOffice requires Java Runtime Environment (JRE) for full functionality. Make sure you have JRE installed.
- Updating the System: It’s crucial to update your system to avoid any compatibility issues. You can do this by running
sudo dnf updatein the terminal.
Step-by-Step Installation Guide
Step 1: Download Apache OpenOffice
The first step in installing OpenOffice is downloading the installation package. You can do this using the terminal or a web browser:
-
- Using Terminal: Open your terminal and navigate to a temporary directory where you want to download the file. Use the following command for 64-bit systems:
wget https://sourceforge.net/projects/openofficeorg.mirror/files/4.1.10/binaries/en-US/Apache_OpenOffice_4.1.10_Linux_x86-64_install-rpm_en-US.tar.gz- Using Web Browser: Alternatively, visit the official OpenOffice download page. Select the appropriate version for your system architecture (32-bit or 64-bit) and language.
Step 2: Install Required Dependencies
Before proceeding with the installation of OpenOffice, ensure that JRE is installed on your system. You can install it using the following command:
sudo dnf install java-1.8.0-openjdkThis command installs the OpenJDK package, which is compatible with OpenOffice.
Step 3: Extract and Install OpenOffice Packages
Once you have downloaded OpenOffice, it’s time to extract and install it:
-
- Extracting the Archive: Navigate to the directory where you downloaded the file and extract it using:
tar -xzf Apache_OpenOffice_4.1.10_Linux_x86-64_install-rpm_en-US.tar.gz-
- Navigating to RPMS Directory: Change into the directory that was created after extraction:
cd en-US/RPMS/-
- Installing Packages: Run the following command to install all RPM packages within this directory:
sudo rpm -Uvih *.rpm- This command installs OpenOffice in the default directory, typically located at
/opt/openoffice4.
Step 4: Post-Installation Configuration
After installation, you may want to configure some settings for better usability:
-
- Create Desktop Shortcuts: You can create shortcuts for easy access by navigating to the desktop integration folder:
cd desktop-integration/-
- Install Desktop Integration Packages:
sudo rpm -i openoffice4.x.x-redhat-menus.x.x.noarch.rpm-
- If you encounter an error regarding dependencies like ‘redhat-release’, consider using the freedesktop menu package instead:
sudo rpm -i openoffice4.x.x-freedesktop-menus.x.x.noarch.rpmStep 5: Uninstalling Conflicting Software (Optional)
If you have previously installed LibreOffice or an older version of OpenOffice, it is advisable to remove them to avoid conflicts:
sudo dnf remove libreoffice*This command removes LibreOffice from your system.
Troubleshooting Common Issues
If you encounter issues during or after installation, consider these troubleshooting tips:
-
- Error Messages During Installation: If you see dependency errors, ensure that all required packages are installed. You can check for missing dependencies by running:
sudo dnf check-dependencies openoffice*-
- No Java Runtime Found: If OpenOffice fails to start due to Java issues, verify that JRE is correctly installed and configured. You can check your Java version with:
java -version- Create a New User Profile: If OpenOffice behaves unexpectedly, consider resetting your user profile by renaming or deleting the existing profile folder located at ~/.openoffice.
Launching OpenOffice
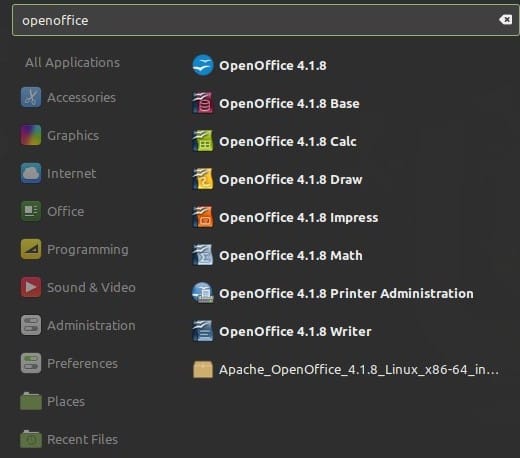
You can launch OpenOffice from the terminal or through your desktop environment’s application menu. To start it from the terminal, simply enter:
openoffice4You should see the startup window appear shortly after executing this command.

Congratulations! You have successfully installed OpenOffice. Thanks for using this tutorial for installing the Apache OpenOffice on your Fedora 41 system. For additional help or useful information, we recommend you check the official OpenOffice website.