How To Install phpMyAdmin on Manjaro

In this tutorial, we will show you how to install phpMyAdmin on Manjaro. phpMyAdmin is a free software tool written in PHP, designed to handle the administration of MySQL and MariaDB databases through a web interface. It is widely used for managing databases, executing queries, and performing various administrative tasks.
This article assumes you have at least basic knowledge of Linux, know how to use the shell, and most importantly, you host your site on your own VPS. The installation is quite simple and assumes you are running in the root account, if not you may need to add ‘sudo‘ to the commands to get root privileges. I will show you the step-by-step installation of the phpMyAdmin on a Manjaro Linux.
Prerequisites
- A server or desktop running one of the following operating systems: Manjaro, and other Arch-based distributions.
- It’s recommended that you use a fresh OS install to prevent any potential issues.
- SSH access to the server (or just open Terminal if you’re on a desktop).
- A stable internet connection is crucial for downloading and installing packages. Verify your connection before proceeding.
- Access to a Manjaro Linux system with a non-root sudo user or root user.
Install phpMyAdmin on Manjaro
Step 1. Before installing phpMyAdmin, it is crucial to update your system to ensure all packages are current. This can prevent compatibility issues and ensure security patches are applied. Use the following command to update Manjaro Linux:
sudo pacman -Syu
This command synchronizes your package database with the servers and upgrades all out-of-date packages, ensuring your system is primed for the installation process.
Step 2. Installing LAMP Server.
A LAMP (Linux, Apache, MySQL/MariaDB, PHP) server is a collection of open-source software that provides a platform for running dynamic websites and web applications. To install Apache, MySQL, and PHP on Manjaro Linux, follow these steps guides.
Step 3. Installing phpMyAdmin on Manjaro.
To install phpMyAdmin on Manjaro Linux, execute the following commands:
sudo pacman -S phpmyadmin
After installation, you need to include the phpMyAdmin configuration in the Apache configuration file. Add the following line to /etc/httpd/conf/httpd.conf:
Include conf/extra/phpmyadmin.conf
Save and close the file. Then, restart the Apache service for the changes to take effect:
sudo systemctl restart httpd
Step 4. Securing phpMyAdmin.
Securing your phpMyAdmin installation is crucial to prevent unauthorized access. Use the following command to set a root password for MariaDB:
sudo mysql_secure_installation
This script helps you secure your MariaDB installation by setting a root password, removing anonymous users, disallowing remote root login, and removing the test database.
Step 5. Using phpMyAdmin on Manjaro.
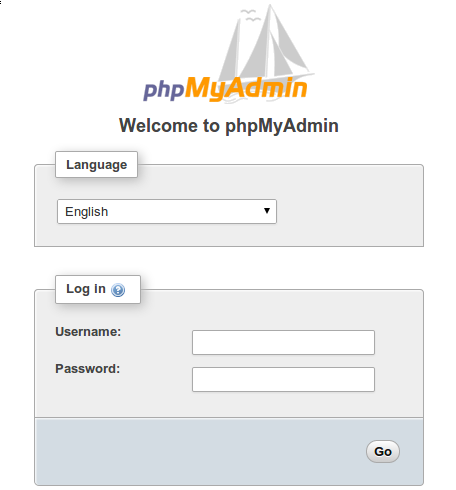
You can now access phpMyAdmin by opening a web browser and navigating to http://localhost/phpmyadmin. Use the username ‘root’ and the password you set earlier to log in.

Congratulations! You have successfully installed phpMyAdmin. Thanks for using this tutorial to install the latest version of phpMyAdmin on the Manjaro system. For additional help or useful information, we recommend you check the official phpMyAdmin website.