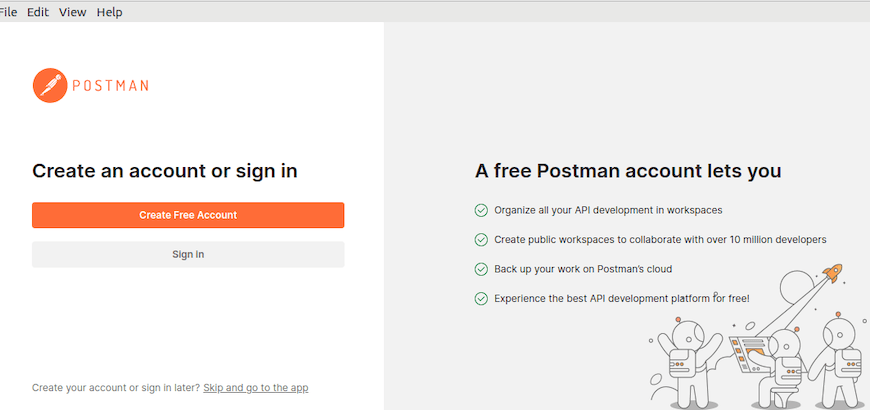
In this tutorial, we will show you how to install Postman on Ubuntu 20.04 LTS. For those of you who didn’t know, Postman is an API development tool that simplifies the process of building, testing, and modifying APIs. It supports various HTTP methods, including GET, POST, PUT, DELETE, and PATCH, and offers features such as environment management, request scripting, and automated testing. Postman is available as a native app for macOS, Linux, and Windows, making it a versatile tool for developers across different platforms.
This article assumes you have at least basic knowledge of Linux, know how to use the shell, and most importantly, you host your site on your own VPS. The installation is quite simple and assumes you are running in the root account, if not you may need to add ‘sudo‘ to the commands to get root privileges. I will show you through the step-by-step installation of Postman on a Ubuntu 20.04 (Focal Fossa) server. You can follow the same instructions for Ubuntu 18.04, 16.04, and any other Debian-based distribution like Linux Mint.
Install Postman on Ubuntu 20.04 LTS Focal Fossa
Step 1. First, make sure that all your system packages are up-to-date by running the following apt commands in the terminal.
sudo apt update
sudo apt upgrade
Step 2. Installing Snapd.
Snapd is the service that enables the installation and management of Snap packages. To install Snapd, open your terminal (Ctrl+Alt+T) and run the following command:
sudo apt update
sudo apt install snapd
Step 3. Installing Postman on Ubuntu 20.04.
With Snapd installed, you can now install the Postman Snap package. Run the following command in your terminal:
sudo snap install postman
The download and installation process may take some time, depending on your internet connection speed. Once the installation is complete, you will see a confirmation message:
postman 10.x.x from Postman, Inc. (postman-inc✓) installed
Alternatively, you can install Postman using the Ubuntu Software Center. Simply search for Postman and click install:

Step 3. Accessing Postman.
To start using Postman, go to the Activities search bar type “Postman” and click on the icon to launch the application.

Step 4. Troubleshooting Tips.
If you encounter issues while using Postman, here are some troubleshooting tips:
- Check Snapd Installation: Ensure that Snapd is installed and running correctly. You can check the status of Snapd with the following command:
sudo systemctl status snapd
- Update Postman: Make sure you are using the latest version of Postman. Snap packages are automatically updated, but you can manually check for updates with:
sudo snap refresh postman
- Check Logs: Postman logs can provide valuable information for troubleshooting. To view logs, go to View > Developer > View Logs in File Manager in the Postman app.
- Disable Hardware Acceleration: If you experience graphical issues, try disabling hardware acceleration. Go to Settings > General and toggle off “Hardware Acceleration”.
Congratulations! You have successfully installed Postman. Thanks for using this tutorial for installing Postman on Ubuntu 20.04 LTS Focal Fossa system. For additional help or useful information, we recommend you to check the official Postman website.