
Proxmox Virtual Environment (VE) stands as one of the most powerful open-source virtualization platforms available today, combining the robustness of KVM virtualization with the efficiency of LXC containers. This enterprise-grade hypervisor solution transforms ordinary hardware into a sophisticated virtualization infrastructure, enabling organizations and homelab enthusiasts to maximize their computing resources. Whether you’re managing a small business network or building an extensive virtualized environment, understanding how to properly install Proxmox VE on Linux is essential for achieving optimal performance and reliability.
This comprehensive guide will walk you through two primary installation methods, from preparation to post-installation configuration. You’ll discover detailed instructions for both clean ISO installations and existing Debian system conversions, ensuring you can choose the approach that best suits your specific requirements and existing infrastructure.
What is Proxmox VE?
Proxmox Virtual Environment represents a complete server virtualization management solution built on the stable foundation of Debian Linux. This Type-1 hypervisor provides direct hardware access, delivering superior performance compared to hosted virtualization solutions. The platform seamlessly integrates KVM (Kernel-based Virtual Machine) technology for full virtualization alongside LXC (Linux Containers) for lightweight containerization.
The web-based management interface serves as the central control hub, enabling administrators to manage virtual machines, containers, storage, and networking through an intuitive graphical interface accessible from any modern web browser. This eliminates the need for complex command-line operations during routine management tasks. Built-in features include automated backup scheduling, live migration capabilities, high availability clustering, and comprehensive monitoring tools.
Proxmox VE offers both open-source and enterprise subscription models. The community edition provides full functionality without cost, while subscription plans include professional support, enterprise repository access, and additional management tools. Organizations can start with the free version and upgrade as their needs grow, making it an excellent choice for businesses of all sizes.
System Requirements and Prerequisites
Minimum Hardware Requirements
Before proceeding with installation, ensure your hardware meets Proxmox VE’s fundamental requirements. Your system must feature a 64-bit Intel or AMD processor with hardware virtualization support enabled. Intel processors require Intel-VT (Virtualization Technology), while AMD systems need AMD-V extensions. Check your processor specifications and enable these features in BIOS/UEFI settings.
Memory requirements start at 1 GB minimum, though this barely supports basic operations. Production environments should provision at least 16 GB RAM to effectively run multiple virtual machines simultaneously. Each virtual machine requires dedicated memory allocation, so calculate your total memory needs based on planned VM deployments.
Storage space begins at 16 GB for the base installation, but practical deployments require significantly more capacity. Consider your virtual machine storage requirements, backup retention policies, and system growth when planning disk allocation.
Recommended Hardware Specifications
For optimal performance, deploy Proxmox VE on systems with multi-core processors, preferably with at least 4 cores for adequate resource distribution. Modern processors with 8 or more cores provide excellent virtualization performance for demanding workloads.
Memory recommendations start at 32 GB for production environments, allowing comfortable operation of multiple virtual machines while maintaining host system stability. High-memory configurations (64 GB or more) support memory-intensive applications and large-scale virtualization deployments.
Solid-state drives dramatically improve virtual machine startup times, backup operations, and overall system responsiveness compared to traditional hard drives. RAID configurations enhance both performance and data protection, with RAID-1 providing redundancy and RAID-10 combining performance with fault tolerance.
Multiple network interfaces enable advanced networking configurations, including dedicated management networks, storage networks, and VM traffic segregation. Gigabit ethernet represents the minimum recommendation, with 10GbE providing superior performance for high-traffic environments.
Install Proxmox VE on Linux
Step 1. First, download the iso image from the official website. Once the download is finished follow each step of this guide in order to get a successful installation on your server or computer.
Step 2. Boot the ISO image using USD or DVD disc and select install Proxmox VE.
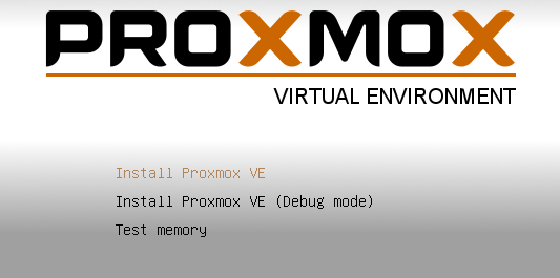
Step 3. In the end-user license agreement, click Agree to proceed next step.
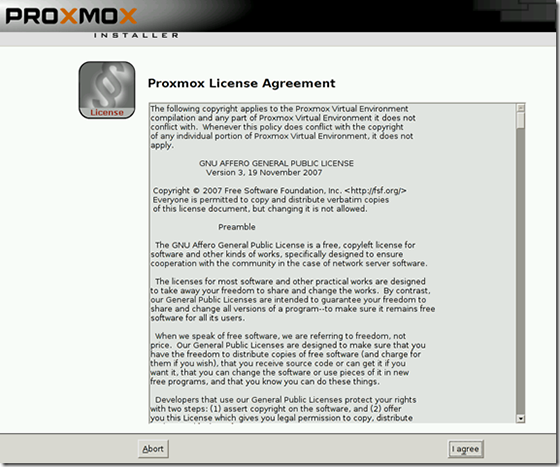
Step 4. Select the target disk to install Proxmox and give Next.
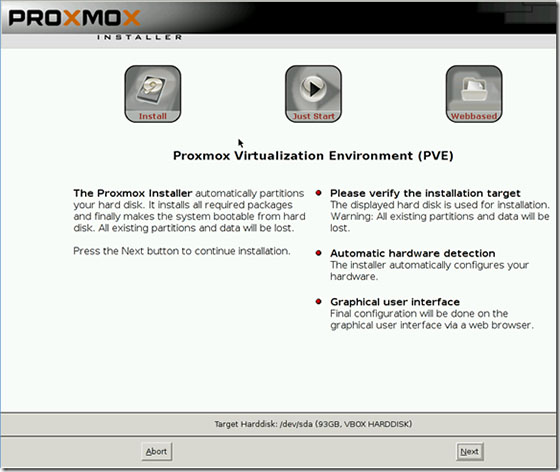
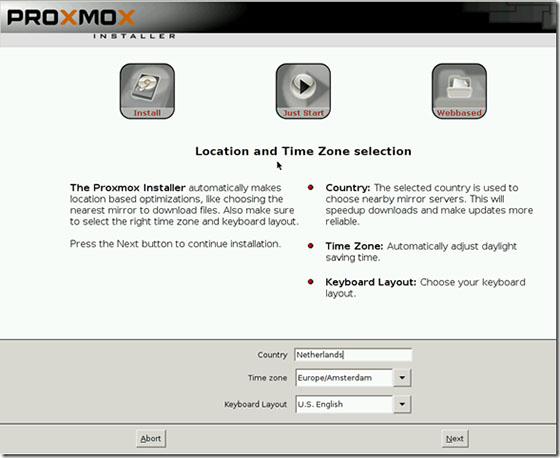
Step 5. Select your country, time zone, and keyboard layout, and then press Next.
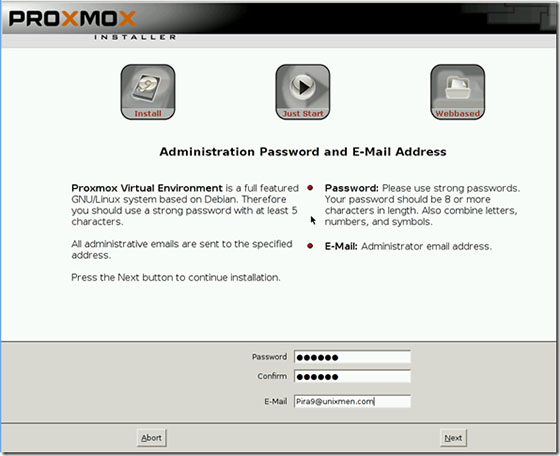
Step 6. On this page you must insert the password for the default root account and then confirm the password, also insert your email address, then press Next.
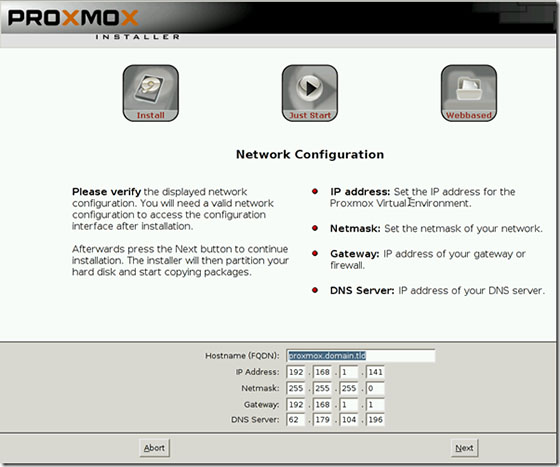
Step 7. In the network configuration, Enter the FQDN for the host and give the IP address, gateway, DNS, and finally click Next.
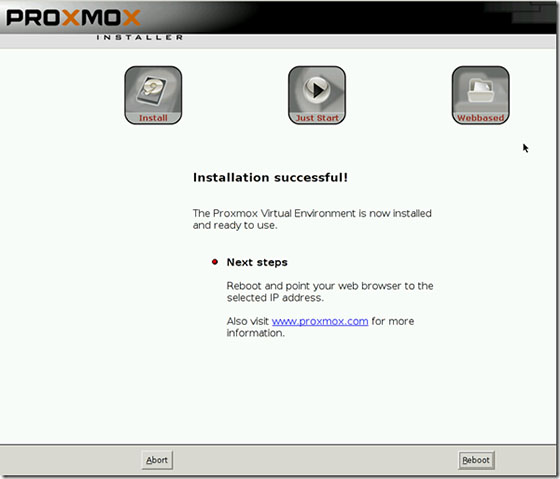
Step 8. We have successfully installed Proxmox, and now reboot the system.
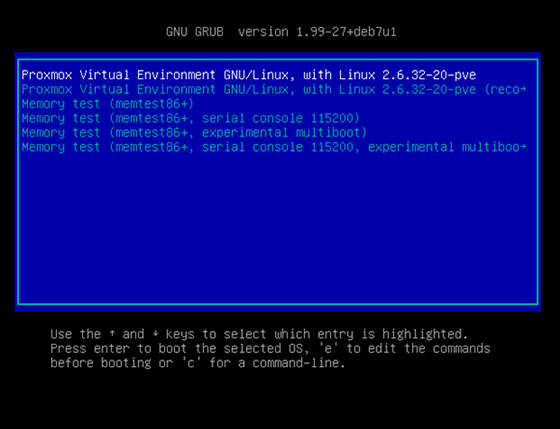
Step 9. After rebooting the system, the following window appears.
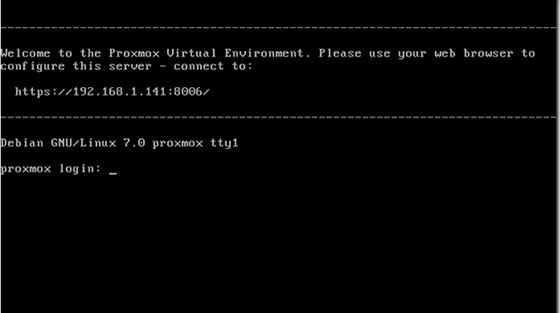
Step 10. Accessing the Proxmox Virtual Environment.
Proxmox Virtual Environment will be available on HTTP port 8006 by default. Open your favorite browser and navigate to https://your-domain.com:8006 or https://server-ip:8006. Insert root for Username, and the password you have set at the installation before. Then press Login.
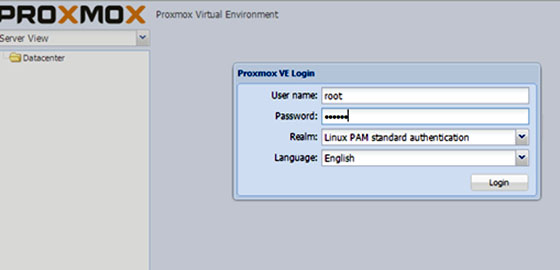
Now you can start to create Vm or create CT.

Congratulations! You have successfully installed Proxmox VE. Thanks for using this tutorial for installing Proxmox Virtual Environment on your Linux system. For additional help or useful information, we recommend you check the official Proxmox website.