How To Install PyCharm on openSUSE

In this tutorial, we will show you how to install PyCharm on openSUSE. PyCharm is a popular Integrated Development Environment (IDE) for Python, developed by JetBrains. It offers a wide range of features such as intelligent code completion, on-the-fly error checking, quick fixes, automated code refactoring, and rich navigation capabilities. PyCharm comes in three editions: Professional, Community, and Educational. The Professional edition is a paid version with more features, while the Community and Educational editions are free.
This article assumes you have at least basic knowledge of Linux, know how to use the shell, and most importantly, you host your site on your own VPS. The installation is quite simple and assumes you are running in the root account, if not you may need to add ‘sudo‘ to the commands to get root privileges. I will show you the step-by-step installation of the PyCharm on openSUSE.
Prerequisites
- A server running one of the following operating systems: openSUSE.
- It’s recommended that you use a fresh OS install to prevent any potential issues.
- You will need access to the terminal to execute commands. openSUSE provides the Terminal application for this purpose. It can be found in your Applications menu.
- You’ll need an active internet connection to download PyCharm and its dependencies.
- You’ll need administrative (root) access or a user account with sudo privileges.
Install PyCharm on openSUSE
Step 1. Before we begin, ensure that your openSUSE system is up-to-date. You can update your system using the zypper command, which is the command-line package manager for openSUSE:
sudo zypper refresh
sudo zypper update
Step 2. Installing PyCharm on openSUSE.
Snaps are universal Linux packages that can be installed across distributions. If Snap is not already installed on your system, you can install it using the following command:
sudo zypper addrepo --refresh https://download.opensuse.org/repositories/system:/snappy/openSUSE_Leap_15.5 snappy
Next, install the Snap daemon which will manage your Snap packages:
sudo zypper install snapd
Enable the Snapd service to start on boot:
sudo systemctl enable snapd
sudo systemctl start snapd
Install PyCharm using the Snap package manager:
sudo snap install pycharm-community --classic
Replace pycharm-community with pycharm-professional or pycharm-educational if you want to install the Professional or Educational editions respectively.
Step 3. Configuring PyCharm.
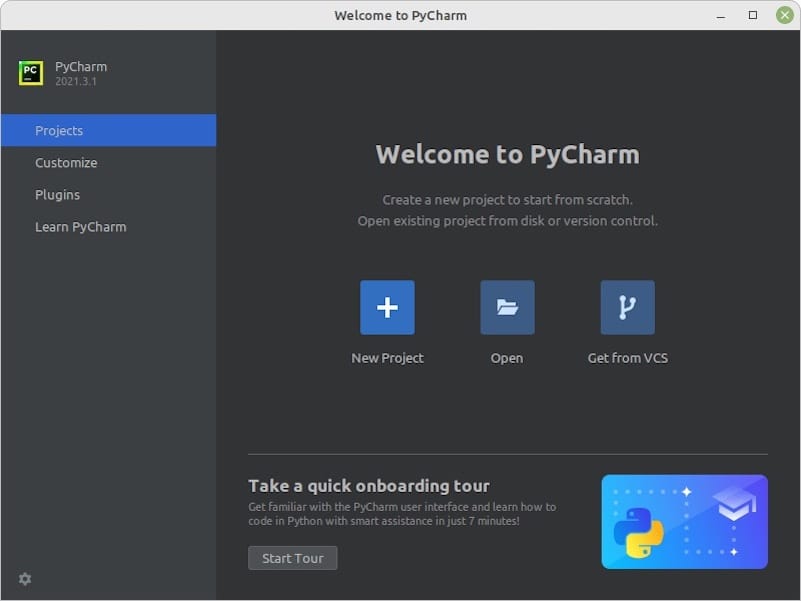
After installing PyCharm, you’ll need to configure it for your use. When you first run PyCharm, you’ll be prompted to accept the terms and conditions, and then you can start setting up your development environment. You can create a new project, open an existing project, or check out a project from a Version Control System (VCS) such as Git.
PyCharm also allows you to create and manage run/debug configurations for your Python scripts. These configurations define how your projects or scripts are run or debugged in PyCharm. You can create configurations from a template, save a temporary configuration as permanent, or copy an existing configuration.
Step 4. Accessing PyCharm on openSUSE Linux.
To launch PyCharm on openSUSE, you have a few options depending on how you installed the IDE. If you installed PyCharm using the Snap package manager, you should be able to find PyCharm in your desktop environment’s application menu and launch it from there.

Congratulations! You have successfully installed PyCharm. Thanks for using this tutorial for installing the PyCharm integrated development environments (IDEs) on your openSUSE system. For additional or useful information, we recommend you check the official JetBrains website.