How To Install ReactJS on Manjaro

In this tutorial, we will show you how to install ReactJS on Manjaro. ReactJS is a powerful and popular JavaScript library for building user interfaces. Its component-based architecture and efficient rendering make it an excellent choice for developing modern web applications. If you’re using Manjaro Linux and want to get started with ReactJS development, this comprehensive guide will walk you through the installation process step by step.
This article assumes you have at least basic knowledge of Linux, know how to use the shell, and most importantly, you host your site on your own VPS. The installation is quite simple and assumes you are running in the root account, if not you may need to add ‘sudo‘ to the commands to get root privileges. I will show you the step-by-step installation of the ReactJS on a Manjaro Linux.
Prerequisites
- A server or desktop running one of the following operating systems: Manjaro, and other Arch-based distributions.
- Basic familiarity with the command line interface (CLI).
- SSH access to the server (or just open Terminal if you’re on a desktop).
- A stable internet connection is crucial for downloading and installing packages. Verify your connection before proceeding.
- Access to a Manjaro Linux system with a non-root sudo user or root user.
Install ReactJS on Manjaro
Step 1. Update Your System.
To ensure a smooth installation process, it’s essential to update your Manjaro Linux system to the latest version. Open a terminal and run the following command:
sudo pacman -Syu
This command will synchronize the package databases and update any outdated packages to their latest versions.
Step 2. Installing Node.js and npm.
ReactJS relies on Node.js and its package manager, npm, for development and package management. To install Node.js and npm on Manjaro Linux, follow these steps:
sudo pacman -S nodejs npm
Wait for the installation process to complete. Once finished, you can verify the installation by checking the versions of Node.js and npm:
node -v
npm -v
Step 3. Installing Create-react-app
To quickly set up a new ReactJS project, we’ll use the create-react-app package. It provides a pre-configured development environment with a build pipeline and a development server. Install create-react-app globally by running the following command:
sudo npm install -g create-react-app
Step 4. Create a New ReactJS Project.
Now that you have all the necessary tools installed, let’s create a new ReactJS project. Follow these steps:
npx create-react-app my-app
Wait for the project creation process to complete. This may take a few minutes as it downloads and installs the required dependencies.
Step 5. Start the Development Server.
Once the project is created, you can start the development server to see your ReactJS application in action. Follow these steps:
cd my-app
Start the development server:
npm start
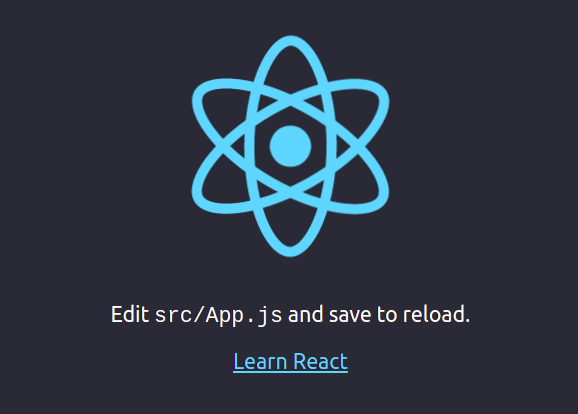
Open a web browser and visit http://localhost:3000. You should see your ReactJS application running.

Step 6. Troubleshooting Tips.
If you encounter any issues during the installation process or while running your ReactJS application, here are a few troubleshooting tips:
- Make sure you have a stable internet connection to download the necessary packages.
- If you encounter permission issues, try running the commands with
sudoto gain administrative privileges. - If you face issues with
create-react-app, make sure you have the latest version installed. You can update it by runningsudo npm install -g create-react-app. - If your application fails to start, check the console output for any error messages and refer to the ReactJS documentation or community forums for solutions.
Congratulations! You have successfully installed ReactJS. Thanks for using this tutorial to install the latest version of ReactJS on the Manjaro system. For additional help or useful information, we recommend you check the official ReactJS website.