How To Install ReactJS on Ubuntu 24.04 LTS

In this tutorial, we will show you how to install ReactJS on Ubuntu 24.04 LTS. React.JS is a popular open-source JavaScript library used for building dynamic user interfaces. Developed by Facebook, React allows developers to create reusable UI components and efficiently update and render them as data changes.
This article assumes you have at least basic knowledge of Linux, know how to use the shell, and most importantly, you host your site on your own VPS. The installation is quite simple and assumes you are running in the root account, if not you may need to add ‘sudo‘ to the commands to get root privileges. I will show you the step-by-step installation of the ReactJS on Ubuntu 24.04 (Noble Numbat). You can follow the same instructions for Ubuntu 22.04 and any other Debian-based distribution like Linux Mint, Elementary OS, Pop!_OS, and more as well.
Prerequisites
- A server running one of the following operating systems: Ubuntu and any other Debian-based distribution like Linux Mint.
- It’s recommended that you use a fresh OS install to prevent any potential issues.
- SSH access to the server (or just open Terminal if you’re on a desktop).
- An active internet connection. You’ll need an internet connection to download the necessary packages and dependencies.
- An Ubuntu 24.04 system with root access or a user with sudo privileges.
Install ReactJS on Ubuntu 24.04 LTS
Step 1. Updating the Package Repository.
To ensure a smooth installation process, it’s crucial to update your Ubuntu system to the latest stable version. Open a terminal and run the following commands:
sudo apt update
This will fetch the latest package information and upgrade any outdated packages to their newest versions.
Step 2. Installing Node.js and npm.
React.JS requires Node.js and npm (Node Package Manager) to be installed on your system. We’ll install them using the official NodeSource repository for the most up-to-date versions.
First, add the NodeSource repository to your system:
curl -sL https://deb.nodesource.com/setup_20.x | sudo -E bash -
Next, install Node.js and npm by running:
sudo apt install nodejs
Verify the installation by checking the versions of Node.js and npm:
node -v
npm -v
Step 3. Installing create-react-app.
To simplify the process of creating a new React application, we’ll use the create-react-app utility. This tool sets up a development environment with all the necessary build tools and configurations.
Install create-react-app globally using npm:
sudo npm install -g create-react-app
Verify the installation by running:
create-react-app --version
Step 4. Create Your First React Application
With create-react-app installed, let’s create our first React application. Navigate to the directory where you want to create your project and run the following command:
create-react-app my-app
Replace my-app with your desired application name. This command will create a new directory with the specified name and set up a basic React project structure inside it.
Once the project creation process is complete, navigate into the project directory:
cd my-app
To start the development server and run your React application, use the following command:
npm start
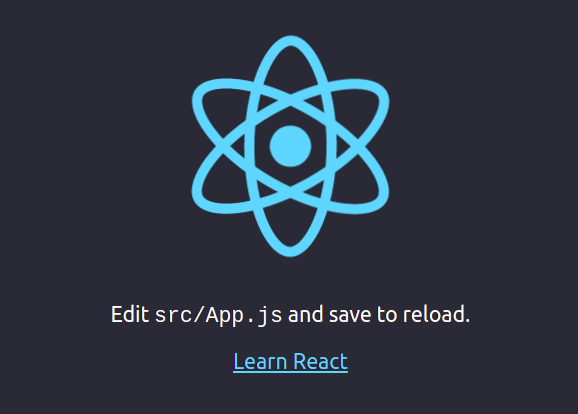
This will compile your application and start a local development server. Open your web browser and visit http://localhost:3000 to see your React application in action.
Step 5. Set Up a Reverse Proxy with Apache.
If you want to deploy your React application and make it accessible via a domain name, you can set up a reverse proxy using an Apache web server. This step is optional but recommended for production deployments.
Install Apache by running:
sudo apt install apache2
Create a new Apache virtual host configuration file:
sudo nano /etc/apache2/sites-available/react-app.conf
Add the following configuration to the file:
<VirtualHost *:80>
ServerName yourdomain.com
ProxyRequests off
ProxyPass / http://127.0.0.1:3000/
ProxyPassReverse / http://127.0.0.1:3000/
</VirtualHost>
Replace yourdomain.com with your actual domain name.
Save the file and exit the editor, then enable the new virtual host and required Apache modules:
sudo a2ensite react-app.conf
sudo a2enmod proxy proxy_http
sudo systemctl restart apache2
Your React application should now be accessible via your domain name.

Congratulations! You have successfully installed ReactJS. Thanks for using this tutorial for installing ReactJS on the Ubuntu 24.04 LTS system. For additional help or useful information, we recommend you check the ReactJS website.