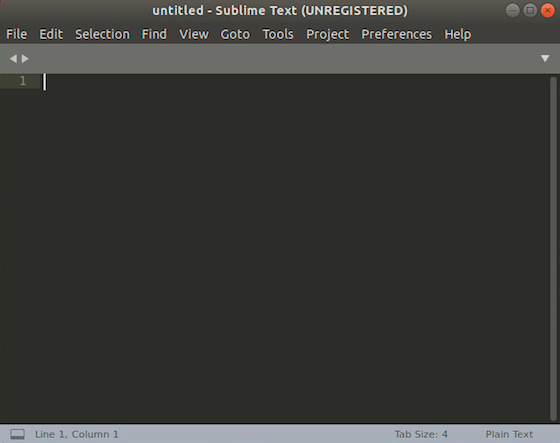
In this tutorial, we will show you how to install Sublime Text 3 on your Ubuntu 16.04 server. For those of you who didn’t know, Sublime Text 3 is a cross-platform code editor that offers a wide range of features, including syntax highlighting for multiple programming languages, code folding, split editing, and a robust plugin ecosystem. Its minimalist design and intuitive interface make it a joy to use, while its speed and responsiveness ensure a smooth coding experience.
Sublime Text 3 Features
- “Goto Anything,” quick navigation to files, symbols, or lines
- “Command palette” uses adaptive matching for quick keyboard invocation of arbitrary commands
- Simultaneous editing: simultaneously make the same interactive changes to multiple selected areas
- Python-based plugin API
- Project-specific preferences
- Extensive customizability via JSON settings files, including project-specific and platform-specific settings
- Cross-platform (Windows, OS X, Linux)
- Compatible with many language grammars from Textmate.
- proprietary software may be downloaded and evaluated for free, however, a license must be purchased for continued use.
This article assumes you have at least basic knowledge of Linux, know how to use the shell, and most importantly, you host your site on your own VPS. The installation is quite simple and assumes you are running in the root account, if not you may need to add ‘sudo‘ to the commands to get root privileges. I will show you the step-by-step installation of Sublime Text 3 on a Ubuntu 16.04 (Xenial Xerus) server.
Install Sublime Text 3 on Ubuntu 16.04
Step 1. First, make sure that all your system packages are up-to-date by running the following apt-get commands in the terminal.
sudo apt-get update
sudo apt-get upgrade
Step 2. Installing Sublime Text 3.
The Sublime Text 3 is currently in beta. Webupd8 Team has made an installer script into PPA which automatically downloads the Sublime Text 3 archive from its website and installs it on Ubuntu. First, you have to add the PPA to your system, and update the local repository index:
sudo add-apt-repository ppa:webupd8team/sublime-text-3
sudo apt-get update
After adding the PPA, run commands to install the script:
sudo apt-get install sublime-text-installer
Once installed, open the editor from Unity Dash or Menu. To disable new version notifications, add the following to your User Preferences file (Preferences > Settings – User):
"update_check": false
Step 3. Accessing Sublime Text.
Once successfully installed, now launch Sublime Text either from the application menu or by typing subl in the terminal.

Congratulations! You have successfully installed Sublime Text 3. Thanks for using this tutorial for installing the Sublime Text editor on Ubuntu 16.04 LTS systems. For additional help or useful information, we recommend you to check the official Sublime Text website.