How To Install Sysdig on Rocky Linux 9

In this tutorial, we will show you how to install Sysdig on Rocky Linux 9. For those of you who didn’t know, Sysdig is an open-source, powerful system monitoring and troubleshooting tool that provides in-depth visibility into your system’s processes, files, network connections, and more.
This article assumes you have at least basic knowledge of Linux, know how to use the shell, and most importantly, you host your site on your own VPS. The installation is quite simple and assumes you are running in the root account, if not you may need to add ‘sudo‘ to the commands to get root privileges. I will show you the step-by-step installation of the Sysdig system monitoring and troubleshooting tool on Rocky Linux 9 or RHEL-based.
Prerequisites
- A server running one of the following operating systems: Rocky Linux 9.
- It’s recommended that you use a fresh OS install to prevent any potential issues.
- SSH access to the server (or just open Terminal if you’re on a desktop).
- An active internet connection. You’ll need an internet connection to download the necessary packages and dependencies for Sysdig.
- A
non-root sudo useror access to theroot user. We recommend acting as anon-root sudo user, however, as you can harm your system if you’re not careful when acting as the root.
Install Sysdig on Rocky Linux 9
Step 1. The first step is to update your system to the latest version of the package list. To do so, run the following commands:
sudo dnf update
sudo dnf install epel-release
Step 2. Installing Sysdig on Rocky Linux 9.
- Method 1: Installing Sysdig using DNF √
The easiest way to install Sysdig on Rocky Linux 9 is by using the DNF package manager. Now install Sysdig using the following command below:
sudo dnf install sysdig
To verify that Sysdig is installed correctly, run the following command:
sysdig -v
- Method 2: Installing Sysdig using the Sysdig repository √
If the version of Sysdig available in the default Rocky Linux 9 repository is not up-to-date, you can install Sysdig from the Sysdig repository. Now add the Sysdig repository to your system using the following command:
sudo rpm --import https://s3.amazonaws.com/download.draios.com/DRAIOS-GPG-KEY.public
sudo curl -s -L https://s3.amazonaws.com/download.draios.com/stable/rpm/draios.repo -o /etc/yum.repos.d/draios.repo
After the repository is added, install Sysdig using the following command below:
sudo dnf install sysdig
Step 3. Accessing Sysdig on Rocky Linux 9.
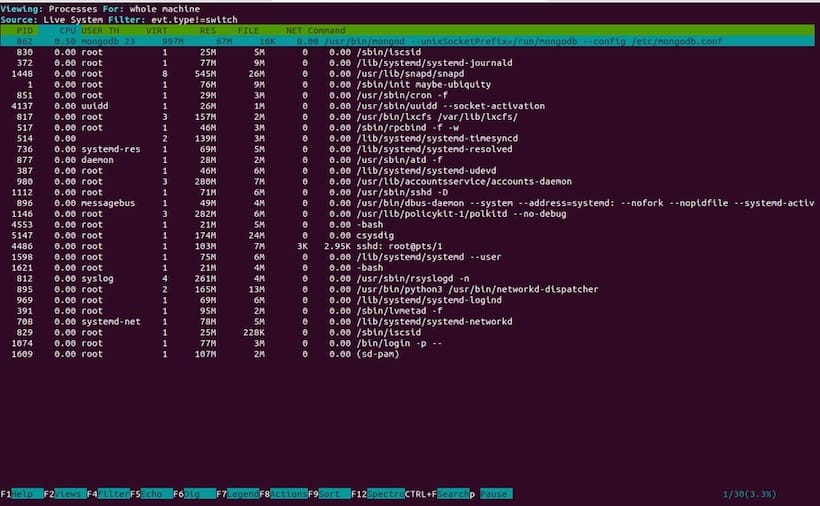
Sysdig is a command-line tool, which means you need to run it from the terminal. To launch Sysdig, open the terminal and type the following command:
sudo sysdig
This will launch Sysdig in real-time mode, and you will see the system activity being captured and displayed on the terminal.

Sysdig provides a comprehensive set of commands and filters that allow you to monitor system activity, container performance, network performance, and much more. Some of the useful commands and filters are:
sysdig -l: List all available system calls.sysdig -c spy_users: Monitor user activity on the system.sysdig -c topfiles_bytes: Display the top files by bytes read and written.sysdig -c topcontainers_cpu: Display the top containers by CPU usage.
You can also use filters to narrow down the output to specific events or conditions. For example:
sysdig proc.name=firefox: Display activity only for the Firefox process.sysdig fd.filename contains /etc/passwd: Display activity only for the file/etc/passwd.
Congratulations! You have successfully installed Sysdig. Thanks for using this tutorial for installing Sysdig system monitoring, logging, and troubleshooting capabilities on your Rocky Linux 9 system. For additional help or useful information, we recommend you check the official Sysdig website.