How To Install Timeshift on Linux Mint 21

In this tutorial, we will show you how to install Timeshift on Linux Mint 21. Timeshift is a powerful tool that has become an essential part of the Linux user’s toolkit. It provides a robust and reliable method for creating system snapshots, allowing users to roll back their system to a previous state in case of a failure or other unforeseen issues.
This article assumes you have at least basic knowledge of Linux, know how to use the shell, and most importantly, you host your site on your own VPS. The installation is quite simple and assumes you are running in the root account, if not you may need to add ‘sudo‘ to the commands to get root privileges. I will show you the step-by-step installation of Timeshift on a Linux Mint 21.2 (Victoria).
Prerequisites
- A server running one of the following operating systems: Linux Mint 21.
- It’s recommended that you use a fresh OS install to prevent any potential issues.
- While we’ll guide you through the process, a basic understanding of the command line will be beneficial. If you’re new to the CLI, you might want to acquaint yourself with some fundamental commands.
- An active internet connection.
- Administrative privileges are essential for installing and configuring software on your system. Ensure that you have superuser or sudo access.
Install Timeshift on Linux Mint 21
Step 1. Keeping your system’s package list updated is crucial for the smooth installation of any new software, including Timeshift. This ensures you have the latest versions of packages and their dependencies. To update the package list, use the following command:
sudo apt update
sudo apt upgrade
Step 2.Installing Timeshift on Linux Mint 21.
To install Timeshift, use the following command:
sudo apt install timeshift
This command downloads and installs the latest version of Timeshift from the repository.
Step 3. Configure Timeshift.
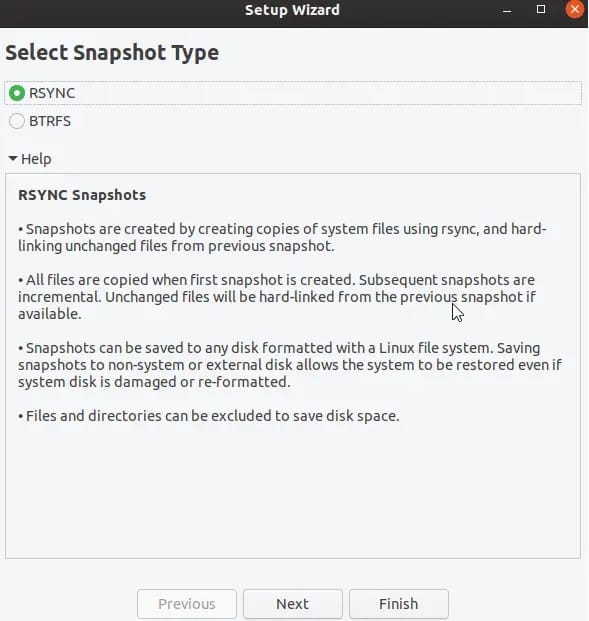
After installation, the next step is to configure Timeshift according to your preferences. Timeshift offers a variety of configuration options, including the type of snapshot, location of snapshots, and snapshot levels. Use the following command to open the Timeshift configuration:
sudo timeshift --config
This will allow you to set parameters such as snapshot levels and storage locations.
Step 4. Create a System Snapshot.
A system snapshot is a point-in-time image of your system, which can be used to restore your system in case of failure. To create a system snapshot, use the following command:
sudo timeshift --create --comments "Initial snapshot" --tags D
This command creates a new snapshot with a comment and tags it for daily use.
Step 5. Restore a System Snapshot.
There may come a time when you need to restore your system to a previous state, such as after a failed software update or system crash. To restore a system snapshot, use the following command:
sudo timeshift --restore
This command will guide you through the process of selecting and restoring a snapshot.
Step 6. Schedule Automatic Snapshots
Scheduling automatic snapshots is a proactive measure to ensure you always have a recent backup of your system. To schedule automatic snapshots, use the following command:
sudo timeshift --schedule
This command opens the Timeshift scheduler, where you can set the frequency of automatic snapshots.
Step 7. Accessing Timeshift GUI.
To access the Timeshift GUI on Linux Mint after installation, you can follow these steps:
- Click on the Menu button on the taskbar to open the applications menu.
- Type “Timeshift” in the search bar or navigate through the menu to find Timeshift, usually under the Administration section.
- Click on the Timeshift application to launch it. If prompted, enter your administrative password to allow Timeshift to make changes to the system.

Congratulations! You have successfully installed Timeshift. Thanks for using this tutorial to install the latest version of Timeshift on the Linux Mint system. For additional help or useful information, we recommend you check the official Timeshift website.