![]()
In this tutorial, we will show you how to install Uptime Kuma on AlmaLinux 9. In today’s digital landscape, ensuring the uptime and performance of websites and services is crucial for maintaining user satisfaction and business continuity. Uptime Kuma, a self-hosted monitoring tool, offers a robust solution for tracking the availability and performance of various services, including HTTP(s), TCP, Ping, and more. This guide will walk you through the process of installing Uptime Kuma on AlmaLinux 9, a popular Linux distribution known for its stability and compatibility.
Introduction to Uptime Kuma
Uptime Kuma is designed to provide real-time status updates, customizable alerting options, and detailed metrics, making it an ideal choice for web administrators and developers seeking a reliable and user-friendly monitoring tool. Its intuitive interface and ease of setup make it accessible to users of all skill levels.
Prerequisites for Installation
Before proceeding with the installation, ensure you have the following prerequisites in place:
- AlmaLinux 9 Server: You need a dedicated server or KVM VPS running AlmaLinux 9.
- User with sudo Privileges: Ensure you have a user account with sudo privileges to execute commands that require elevated permissions.
- Basic Knowledge of Terminal Commands: Familiarity with basic terminal commands is necessary for navigating through the installation process.
Step-by-Step Installation Guide
Step 1: Update Your System
Updating your system ensures that all packages are up-to-date, which is essential for a smooth installation process.
sudo dnf update -yThis command updates your package index and upgrades all installed packages to their latest versions.
Step 2: Install Node.js and npm
Uptime Kuma requires Node.js version 14 or higher. Here’s how you can install Node.js and npm on AlmaLinux 9:
- Enable the Node.js Repository: AlmaLinux 9 uses the `
dnf` package manager, which doesn’t include Node.js by default. You can enable the EPEL repository to install Node.js.sudo dnf install -y epel-release - Install Node.js: Once the EPEL repository is enabled, you can install Node.js. However, AlmaLinux 9 might not have the latest Node.js version available in its repositories. For the latest version, you can use a NodeSource repository.
curl -fsSL https://rpm.nodesource.com/setup_18.x | sudo bash -
sudo dnf install -y nodejs
This command installs Node.js version 18.x, which is compatible with Uptime Kuma.
Step 3: Install Git
Git is required to clone the Uptime Kuma repository from GitHub. If Git is not already installed, you can install it using:
sudo dnf install -y gitStep 4: Clone and Install Uptime Kuma
Now, let’s clone the Uptime Kuma repository and install it:
- Clone the Repository:
git clone https://github.com/louislam/uptime-kuma.git cd uptime-kuma - Install Dependencies and Build Uptime Kuma:
npm run setupThis command installs the necessary dependencies and builds Uptime Kuma.
Step 5: Install and Configure PM2
PM2 is a process manager for Node.js applications that ensures Uptime Kuma runs continuously in the background.
- Install PM2:
npm install pm2 -g - Start Uptime Kuma with PM2:
pm2 start server/server.jsThis command starts Uptime Kuma using PM2.
- Enable PM2 to Start at Boot:
To ensure PM2 starts automatically on system reboot, execute:sudo env PATH=$PATH:/usr/bin pm2 startup systemdFollow the instructions provided by PM2 to complete the setup.
Step 6: Configure Firewall Rules
To allow access to Uptime Kuma, you need to configure your firewall rules. AlmaLinux 9 uses `firewalld` by default. Here’s how you can open the necessary ports:
sudo firewall-cmd --permanent --zone=public --add-port=3001/tcp
sudo firewall-cmd --reload
This opens port 3001, which is the default port for Uptime Kuma.
Configuring Uptime Kuma for Secure Access
Securing access to Uptime Kuma is crucial to prevent unauthorized access. Here’s how you can set up HTTPS using a reverse proxy server like Nginx:
Step 1: Install Nginx
If Nginx is not already installed, you can install it using:
sudo dnf install -y nginxStep 2: Configure Nginx as a Reverse Proxy
1. Create a Configuration File:
Create a new file in the `/etc/nginx/conf.d/` directory, for example, `uptime-kuma.conf`.
server {
        listen 80;
        server_name yourdomain.com;

        location / {
            proxy_pass http://localhost:3001;
            proxy_http_version 1.1;
            proxy_set_header Upgrade $http_upgrade;
            proxy_set_header Connection 'upgrade';
            proxy_set_header Host $host;
            proxy_cache_bypass $http_upgrade;
        }
    }
Replace `yourdomain.com` with your actual domain name.
2. Enable HTTPS:
To enable HTTPS, you can obtain a free SSL certificate from Let’s Encrypt using Certbot.
sudo dnf install -y certbot python3-certbot-nginx
sudo certbot --nginx
Follow the prompts to configure your SSL certificate.
3. Restart Nginx:
After configuring Nginx, restart the service to apply the changes:
sudo systemctl restart nginxSetting Up Monitoring with Uptime Kuma
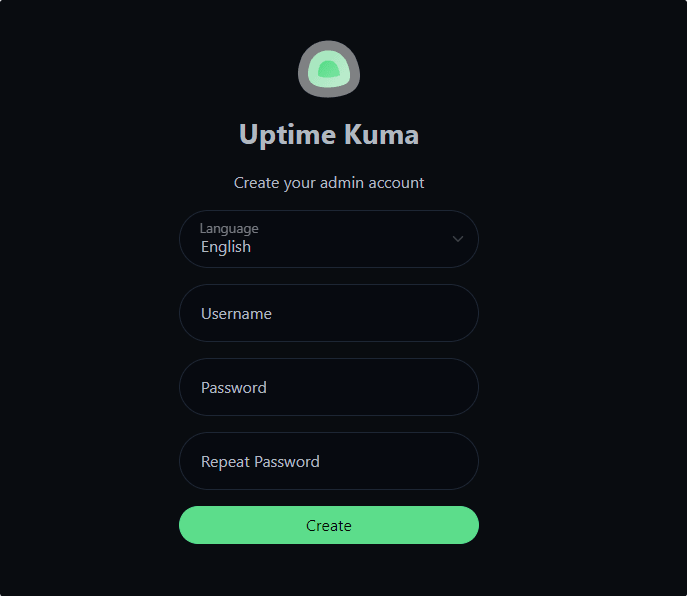
Once Uptime Kuma is installed and configured, you can start setting up monitors for your services.
Creating Monitors
- Access Uptime Kuma Dashboard:
Navigate to `http://yourdomain.com` (or the IP address of your server if you haven’t configured a domain) to access the Uptime Kuma dashboard.
- Create a New Monitor:
- Click on the “Add Monitor” button.
- Choose the type of monitor you want to create (e.g., HTTP, HTTPS, TCP).
- Enter the URL or IP address of the service you want to monitor.
- Set the heartbeat interval and alert settings as needed.

Customizing Alerts
Uptime Kuma allows you to customize alert settings to notify you when a service goes down. You can configure notifications via email, Discord, or other platforms.
1. Configure Notification Settings:
- Go to the “Settings” section.
- Click on “Notifications”.
- Choose your preferred notification method and configure it according to the instructions provided.
Troubleshooting Common Issues
During the installation or setup process, you might encounter some common issues. Here are some troubleshooting tips:
- Uptime Kuma Not Starting:
Check if PM2 is running and if Uptime Kuma is listed among the processes. If not, try restarting PM2 or manually starting Uptime Kuma. - Service Reports as DOWN:
Ensure that the service you are monitoring is accessible from the server running Uptime Kuma. Check firewall rules and network connectivity.
Congratulations! You have successfully installed Uptime Kuma. Thanks for using this tutorial to install the latest version of the Uptime Kuma monitoring tool on AlmaLinux 9. For additional help or useful information, we recommend you check the official Uptime Kuma website.