How To Install Virtualmin on Rocky Linux 9

In this tutorial, we will show you how to install Virtualmin on Rocky Linux 9. For those of you who didn’t know, Virtualmin is an open-source web hosting Cpanel used for hosting websites, web applications, databases, and mailboxes. Virtualmin is built on top of Webmin with full integration of user management, monitoring features, software management, ACLs, and security features.
This article assumes you have at least basic knowledge of Linux, know how to use the shell, and most importantly, you host your site on your own VPS. The installation is quite simple and assumes you are running in the root account, if not you may need to add ‘sudo‘ to the commands to get root privileges. I will show you the step-by-step installation of the Virtualmin web hosting control panel on Rocky Linux. 9.
Prerequisites
- A server running one of the following operating systems: Rocky Linux 9.
- It’s recommended that you use a fresh OS install to prevent any potential issues.
- SSH access to the server (or just open Terminal if you’re on a desktop).
- A
non-root sudo useror access to theroot user. We recommend acting as anon-root sudo user, however, as you can harm your system if you’re not careful when acting as the root.
Install Virtualmin on Rocky Linux 9
Step 1. The first step is to update your system to the latest version of the package list. To do so, run the following commands:
sudo dnf check-update
sudo dnf install dnf-utils wget perl
This will update all installed packages to their latest versions, including security patches and bug fixes.
Step 2. Installing Virtualmin on Rocky Linux 9.
By default, Virtualmin is not available on the Rocky Linux 9 AppStream repository. Now run the following command below to download the latest version of the Virtualmin script installer from the official page using the following command:
wget -O install.sh http://software.virtualmin.com/gpl/scripts/install.sh
After downloading, now execute the script with the following command:
## RHEL ##
/bin/sh install.sh

## Rocky Linux 9 ##
/bin/sh install.sh --unstable
Depending on your server configuration, the installation process could take between 5-15 minutes. So be patient.
Output:
Running Virtualmin 7 pre-installation setup:
  Syncing system time ..
  .. done
  Updating CA certificates ..
  .. done

  Welcome to the Virtualmin GPL installer, version 7.0.0

  This script must be run on a freshly installed supported OS. It does not
  perform updates or upgrades (use your system package manager) or license
  changes (use the "virtualmin change-license" command).

  The systems currently supported by install script are:

    Red Hat Enterprise Linux and derivatives
      - RHEL 8 and 9 on x86_64
      - Alma and Rocky 8 and 9 on x86_64
      - CentOS 7 on x86_64Debian Linux and derivatives
      - Debian 10 and 11 on i386 and amd64
      - Ubuntu 20.04 LTS and 22.04 LTS on i386 and amd64

  If your OS/version/arch is not listed, installation will fail. More
  details about the systems supported by the script can be found here:

    https://www.virtualmin.com/os-support

  The selected package bundle is LAMP and the size of install is
  full. It will require up to 650 MB of disk space.

  Exit and re-run this script with --help flag to see available options.

 Continue? (y/n) y

[SUCCESS] Installation Complete!
[SUCCESS] If there were no errors above, Virtualmin should be ready
[SUCCESS] to configure at https://rocky.idroot.us:10000 (or https://192.168.77.21:10000).
[SUCCESS] You may receive a security warning in your browser on your first visit.
[SUCCESS] Chromium based browsers, to bypass security warning screen may require
[SUCCESS] you to type `thisisunsafe` to get to the login page.
Step 3. Configure Firewall.
Rocky Linux 9 comes with firewalld enabled by default, and it will block other connections from other computers that are trying to access our Virtualmin service. We must open the appropriate ports so that the Virtualmin resources can be accessed from other machines:
sudo firewall-cmd --zone=public --add-port=10000/tcp --permanent
sudo firewall-cmd --reload
Step 4. Accessing Virtualmin Web Interface.
Once successfully installed, open your web browser and access the Virtualmin Web UI using the URL http://your-IP-address:10000.
Log in using the root credentials:
username: root
password:root-user-password
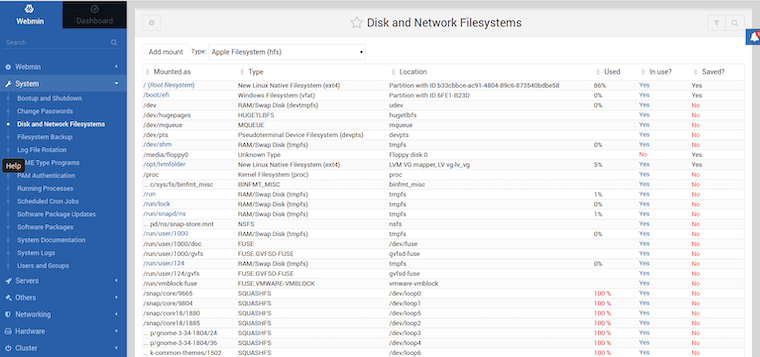
You will be redirected to the following page:

Congratulations! You have successfully installed Virtualmin. Thanks for using this tutorial for installing the Virtualmin web hosting control panel on your Rocky Linux 9 system. For additional help or useful information, we recommend you check the official Virtualmin website.