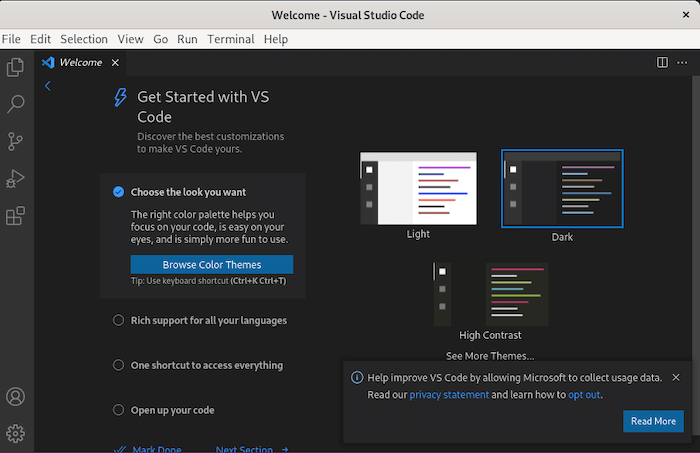
How To Install Visual Studio Code on Manjaro

In this tutorial, we will show you how to install Visual Studio Code on Manjaro. Visual Studio Code (VSCode) is a versatile, open-source code editor developed by Microsoft that has gained immense popularity among developers for its extensibility, cross-platform compatibility, and extensive library of extensions. Manjaro, a Linux distribution known for its user-friendliness and Arch Linux underpinnings, is an excellent choice for developers. By following this guide, you’ll have VSCode up and running on your Manjaro system in no time.
This article assumes you have at least basic knowledge of Linux, know how to use the shell, and most importantly, you host your site on your own VPS. The installation is quite simple and assumes you are running in the root account, if not you may need to add ‘sudo‘ to the commands to get root privileges. I will show you the step-by-step installation of Visual Studio Code on a Manjaro Linux.
Prerequisites
- A server or desktop running one of the following operating systems: Manjaro, and other Arch-based distributions.
- It’s recommended that you use a fresh OS install to prevent any potential issues.
- SSH access to the server (or just open Terminal if you’re on a desktop).
- An active internet connection. You’ll need an internet connection to download the necessary packages and dependencies for Visual Studio Code.
- A
non-root sudo useror access to theroot user. We recommend acting as anon-root sudo user, however, as you can harm your system if you’re not careful when acting as the root.
Install Visual Studio Code on Manjaro
Step 1. Before diving into the Visual Studio Code installation, it’s crucial to make sure your Manjaro system is up to date. Open a terminal and execute the following commands:
sudo pacman -Syu
Step 2. Installing Visual Studio Code on Manjaro.
- Method 1: Using Pacman (Recommended)
Using Pacman, the default package manager for Manjaro is the most straightforward method to get Visual Studio Code on your system. Now you can proceed with the installation of Visual Studio Code:
sudo pacman -S code
Let Pacman do its magic, and in no time, Visual Studio Code will be installed on your Manjaro system.
- Method 2: Install Visual Studio Code from the AUR repository
The Arch User Repository (AUR) is a community-driven repository of Arch Linux packages. Manjaro users can access AUR packages as well. If you haven’t already installed Yay, it’s a practical AUR helper tool that makes the installation of AUR packages a breeze. Install it with Pacman:
sudo pacman -S yay
Use Yay to search for the Visual Studio Code package in AUR:
yay -S visual-studio-code
- Method 3: Manual Installation Visual Studio Code from Microsoft
Retrieve the latest version of Visual Studio Code from Microsoft’s servers. Replace <version> with the specific version number you want:
wget https://az764295.vo.msecnd.net/stable/e7e037083ff4455cf320e344325dacb480062c3c/code-stable-x64-1696349520.tar.gz
Unpack the downloaded archive:
tar -xvf code-stable-x64-1696349520.tar.gz
Move the extracted Visual Studio Code folder to the appropriate directory:
sudo mv code-<version> /usr/share/
Create a symbolic link to make it easier to run Visual Studio Code from the terminal:
sudo ln -s /usr/share/code-<version>/code /usr/bin/code
- Method 4: Install Visual Studio Code using Snap
Run the following command to install Snap packages:
sudo pacman -S snapd
sudo systemctl enable --now snapd.socket
sudo ln -s /var/lib/snapd/snap /snap
To install Visual Studio Code, simply use the following command:
sudo snap install code --classic
Step 3. Accessing Visual Studio Code on Manjaro.
Before you start coding, it’s a good idea to verify that Visual Studio Code has been successfully installed. Open your terminal and simply enter:
code

Congratulations! You have successfully installed VS Code. Thanks for using this tutorial to install the latest version of Visual Studio Code on the Manjaro system. For additional help or useful information, we recommend you check the official VS Code website.