How To Install Warp Terminal on Fedora 39

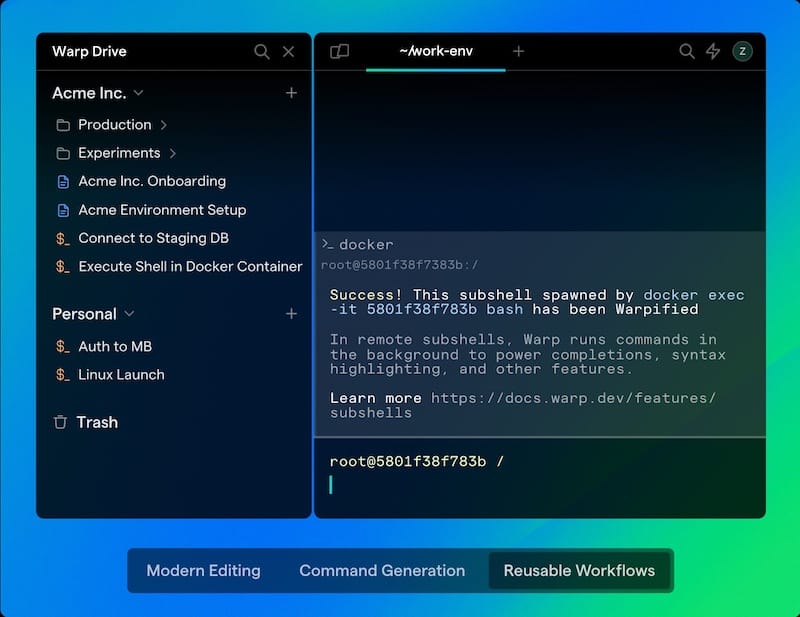
In this tutorial, we will show you how to install Warp Terminal on Fedora 39. Warp Terminal is a revolutionary terminal application that reimagines the command-line experience for developers. Built with Rust, Warp Terminal offers lightning-fast performance and a sleek, modern user interface. It comes packed with features like AI-powered command suggestions, collaborative workspaces, and block-based command organization, making it a game-changer for developers seeking to enhance their productivity.
This article assumes you have at least basic knowledge of Linux, know how to use the shell, and most importantly, you host your site on your own VPS. The installation is quite simple and assumes you are running in the root account, if not you may need to add ‘sudo‘ to the commands to get root privileges. I will show you the step-by-step installation of the Warp Terminal on a Fedora 39.
Prerequisites
Before diving into the installation process, let’s ensure that you have everything you need:
- A server running one of the following operating systems: Fedora 39.
- It’s recommended that you use a fresh OS install to prevent any potential issues.
- You will need access to the terminal to execute commands. Fedora 39 provides the Terminal application for this purpose. It can be found in your Applications menu.
- A network connection or internet access to download the Warp Terminal package.
- A
non-root sudo useror access to theroot user. We recommend acting as anon-root sudo user, however, as you can harm your system if you’re not careful when acting as the root.
Install Warp Terminal on Fedora 39
Step 1. Before proceeding with the installation, it’s crucial to update your Fedora 39 system to ensure you have the latest packages and security patches. Open your current terminal and run the following command:
sudo dnf clean all
sudo dnf update
Confirm that your system has the necessary hardware and software requirements as specified by Warp Terminal’s documentation.
Step 2. Installing Warp Linux Terminal on Fedora 39.
To download Warp Terminal, you can use the wget command, which is a tool to transfer data from or to a server. The following command will fetch the latest Warp Terminal package for Fedora:
wget https://releases.warp.dev/stable/v0.2024.02.27.08.01.stable_03/warp-terminal-v0.2024.02.27.08.01.stable_03-1.x86_64.rpm
Once the download is complete, you can install Warp Terminal using Fedora’s dnf package manager. Navigate to the directory containing the downloaded package and execute:
sudo dnf install [Warp_Terminal_Package_Name]
Replace [Warp_Terminal_Package_Name] with the name of the downloaded Warp Terminal package file.
Step 3. Accessing Warp Terminal on Fedora.
Once installed, launch Warp Terminal from your applications menu or by running the warp command in the terminal.
To use Warp Terminal, you’ll need to create an account. You may encounter an issue with the “Sign up” button not working on Fedora 39. As a workaround, you can manually open your default web browser and navigate to the following URL to create an account:
https://app.warp.dev/signup/
After creating an account, you’ll be prompted to open Warp Terminal, which will automatically log you in.

Step 4. Troubleshooting.
If you encounter issues with Warp Terminal, consider the following troubleshooting tips:
- Ensure that your system meets the minimum requirements for Warp Terminal.
- Check the official Warp Terminal GitHub repository for known issues and potential workarounds.
- If you experience problems with the “Sign up” button, follow the workaround mentioned in the “Signing Up and Logging In” section.
- For other issues, consult the Warp Terminal community or submit an issue on the official GitHub repository.
Congratulations! You have successfully installed Warp. Thanks for using this tutorial for installing the Warp Linux Terminal on your Fedora 39 system. For additional or useful information, we recommend you check the official Warp website.