How To Install Webuzo on AlmaLinux 9

In this tutorial, we will show you how to install Webuzo on AlmaLinux 9. Web hosting is a critical element of any online presence, whether you’re running a personal blog or managing a business website. AlmaLinux 9, a robust Linux distribution, provides a stable and secure environment for hosting web applications and services. If you’re looking for an efficient control panel to simplify web hosting management, Webuzo is an excellent choice.
This article assumes you have at least basic knowledge of Linux, know how to use the shell, and most importantly, you host your site on your own VPS. The installation is quite simple and assumes you are running in the root account, if not you may need to add ‘sudo‘ to the commands to get root privileges. I will show you the step-by-step installation of Webuzo on AlmaLinux 9. You can follow the same instructions for CentOS and Rocky Linux or RHEL-based.
Prerequisites
- A server running one of the following operating systems: AlmaLinux 9.
- It’s recommended that you use a fresh OS install to prevent any potential issues.
- SSH access to the server (or just open Terminal if you’re on a desktop).
- An active internet connection. You’ll need an internet connection to download the necessary packages and dependencies for Webuzo.
- A
non-root sudo useror access to theroot user. We recommend acting as anon-root sudo user, however, as you can harm your system if you’re not careful when acting as the root.
Install Webuzo on AlmaLinux 9
Step 1. Before diving into the installation process, ensure your AlmaLinux 9 system is up-to-date. Run the following commands in your terminal:
sudo dnf clean all
sudo dnf update
Step 2. Installing Webuzo on AlmaLinux 9.
To download the Webuzo installer, run the following command in your terminal:
wget https://files.webuzo.com/install.sh
Next, you need to make the installer executable by running the following command:
chmod 0755 install.sh
To run the Webuzo installer, simply run the following command:
./install.sh
This command launches the installation process. Follow the prompts and provide the necessary information when prompted.
Step 3. Configuring Firewall.
Open ports in your firewall to allow web traffic and secure your server. For instance, to open HTTP and HTTPS ports:
firewall-cmd --permanent --add-service=http
firewall-cmd --permanent --add-service=https
firewall-cmd --reload
Step 4. Accessing the Webuzo Control Panel via the Web Interface.
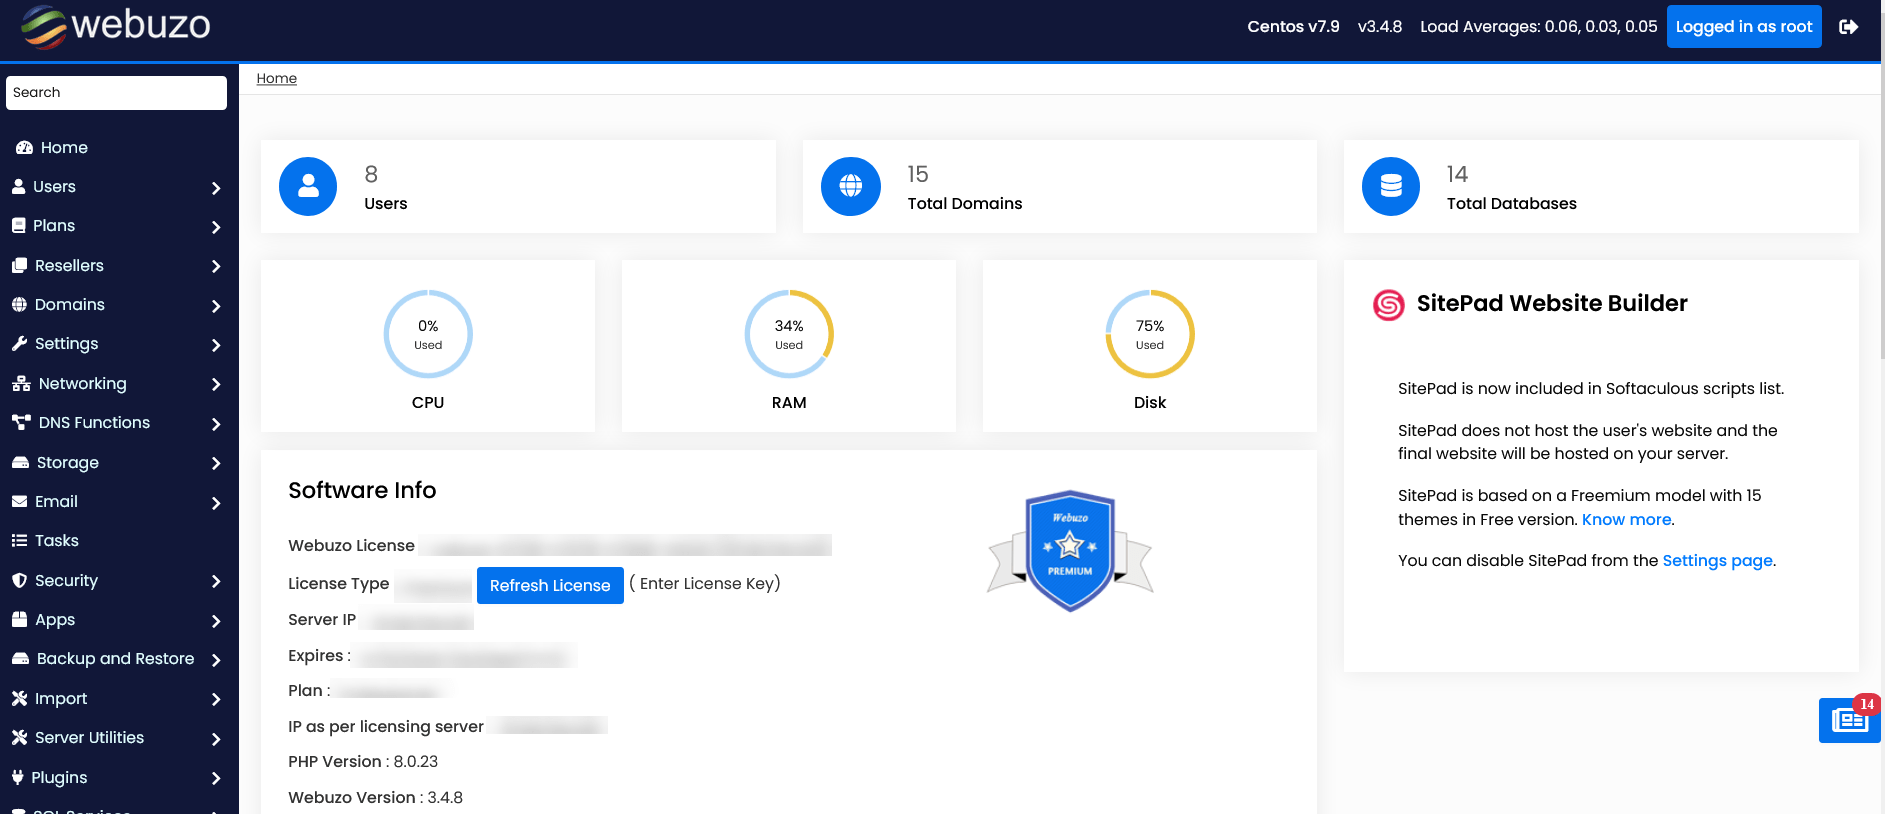
Open a web browser and enter the IP address of your server. The Webuzo control panel should load, and you can log in with the provided credentials.
https://your-server-ip:2005/

Congratulations! You have successfully installed Webuzo. Thanks for using this tutorial for installing Webuzo on your AlmaLinux 9 system. For additional help or useful information, we recommend you check the official Webuzo website.