How To Install Wireshark on Rocky Linux 9

In this tutorial, we will show you how to install Wireshark on Rocky Linux 9. For those of you who didn’t know, Wireshark is a powerful and widely-used network protocol analyzer that allows network administrators and security professionals to capture and analyze network traffic.
This article assumes you have at least basic knowledge of Linux, know how to use the shell, and most importantly, you host your site on your own VPS. The installation is quite simple and assumes you are running in the root account, if not you may need to add ‘sudo‘ to the commands to get root privileges. I will show you the step-by-step installation of Wireshark on Rocky Linux. 9.
Prerequisites
- A server running one of the following operating systems: Rocky Linux 9.
- It’s recommended that you use a fresh OS install to prevent any potential issues.
- SSH access to the server (or just open Terminal if you’re on a desktop).
- An active internet connection. You’ll need an internet connection to download the necessary packages and dependencies for Wireshark and sufficient disk space available for the installation.
- A
non-root sudo useror access to theroot user. We recommend acting as anon-root sudo user, however, as you can harm your system if you’re not careful when acting as the root.
Install Wireshark on Rocky Linux 9
Step 1. The first step is to update your system to the latest version of the package list. To do so, run the following commands:
sudo dnf check-update
Step 2. Installing Required Dependencies.
Wireshark has certain dependencies that need to be installed beforehand. Open the terminal on your Rocky Linux system and execute the following commands:
sudo dnf install qt5-qtbase-devel
sudo dnf install libpcap-devel
sudo dnf install gcc
Step 3. Installing Wireshark on Rocky Linux 9.
- Installing Wireshark from the Default Rocky Linux 9 Repositories
Rocky Linux 9 includes Wireshark in its default repositories, making the installation process straightforward. To install Wireshark using the dnf package manager, follow these steps:
sudo dnf install wireshark
Once the installation is complete, verify the version of Wireshark by running:
wireshark --version
- Building Wireshark from Source Code
If you prefer to use the latest stable release of Wireshark or if you need specific features not available in the default repositories, you can build Wireshark from source code. Follow these steps to compile and install Wireshark from source:
wget https://2.na.dl.wireshark.org/src/wireshark-4.0.6.tar.xz
After the download is complete, we can proceed with the compilation and installation process. Execute the following commands:
tar xvf wireshark-*.tar.xz
cd wireshark-*/
./configure
make
sudo make install
The configure script will check for any missing dependencies and configure the build environment accordingly. The make command will compile the Wireshark source code, and make install will install it onto your system.
Step 4. Configuring Wireshark for Non-Root Users.
By default, Wireshark requires root privileges to capture network traffic. However, it is recommended to configure it to allow non-root users to utilize its capabilities without compromising system security. Run the following command to enable non-root users to capture packets:
sudo setcap cap_net_raw,cap_net_admin=eip /usr/local/bin/dumpcap
This command grants necessary permissions to the dumpcap binary, allowing it to be executed by non-root users.
Step 5. Accessing Wireshark on Rocky Linux 9.
Once the installation is complete, you can launch the Wireshark client from the applications menu or by running the following command in the terminal:
wireshark
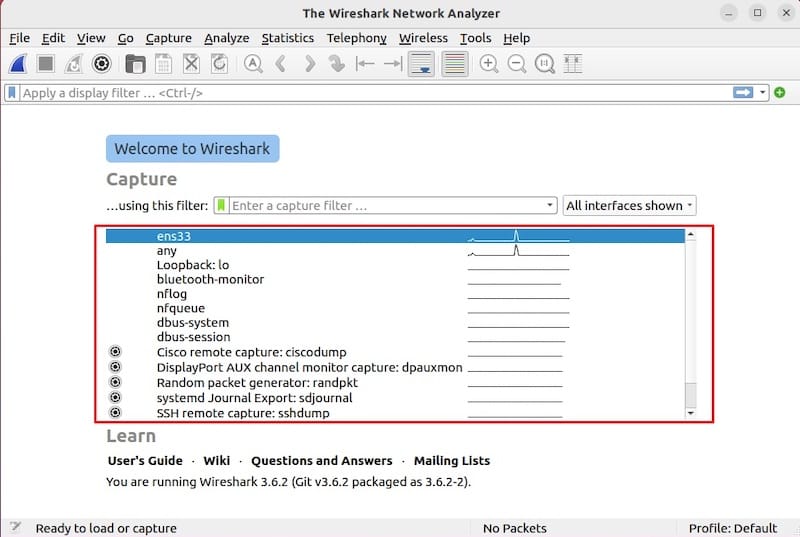
If the installation is successful, the Wireshark graphical user interface will launch.

Congratulations! You have successfully installed Wireshark. Thanks for using this tutorial for installing Wireshark on your Rocky Linux 9 system. For additional help or useful information, we recommend you check the official Wireshark website.