How To Install XFCE Desktop on Linux Mint 20

In this tutorial, we will show you how to install XFCE Desktop on Linux Mint 20. For those of you who didn’t know, Xfce is a lightweight desktop environment for UNIX-like operating systems. The XFCE desktop uses fewer resources (Memory and CPU) than the other desktops and is also comparatively stable. If you have Cinnamon or the MATE desktop running on your system, you can still install and switch to the XFCE desktop in Linux Mint.
This article assumes you have at least basic knowledge of Linux, know how to use the shell, and most importantly, you host your site on your own VPS. The installation is quite simple and assumes you are running in the root account, if not you may need to add ‘sudo‘ to the commands to get root privileges. I will show you the step-by-step installation of an XFCE Desktop on a Linux Mint 20 (Ulyana).
Prerequisites
- A server running one of the following operating systems: Linux Mint 20 (Ulyana).
- It’s recommended that you use a fresh OS install to prevent any potential issues.
- An active internet connection.
- A
non-root sudo useror access to theroot user. We recommend acting as anon-root sudo user, however, as you can harm your system if you’re not careful when acting as the root.
Install XFCE Desktop on Linux Mint 20 Ulyana
Step 1. Before running the tutorial below, it’s important to make sure your system is up to date by running the following apt commands in the terminal:
sudo apt update
sudo apt install curl build-essential gcc make
Step 2. Installing XFCE Desktop on Linux Mint 20.
- Install the XFCE desktop using the command line.
Run the following command below to install the XFCE desktop to your Linux Mint system:
sudo apt install task-xfce-desktop
Once the installation is completed, run the following command below to set the default target to graphical:
sudo systemctl set-default graphical.target
- Install XFCE Desktop from GUI.
First, we open ‘Synaptic Package Manager’ by searching from the start menu.
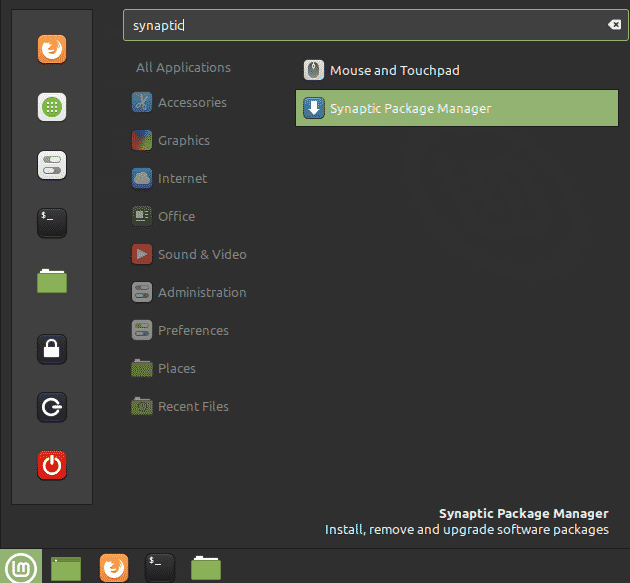
When it prompts for authentication provide the password. Then, click the Authenticate button. Next, in the Synaptic Package Manager application, search for the xfce4 package:
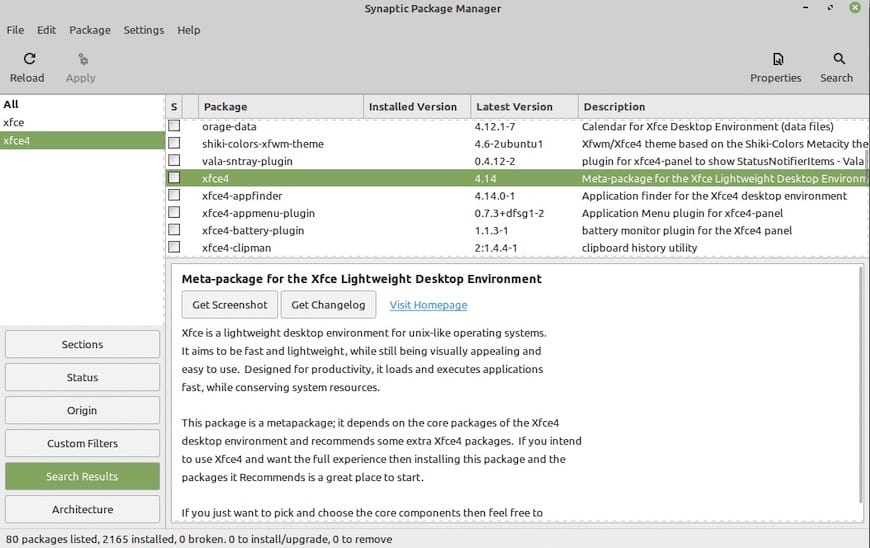
Click on the xfce4 package and select Mark for Installation from the context menu:
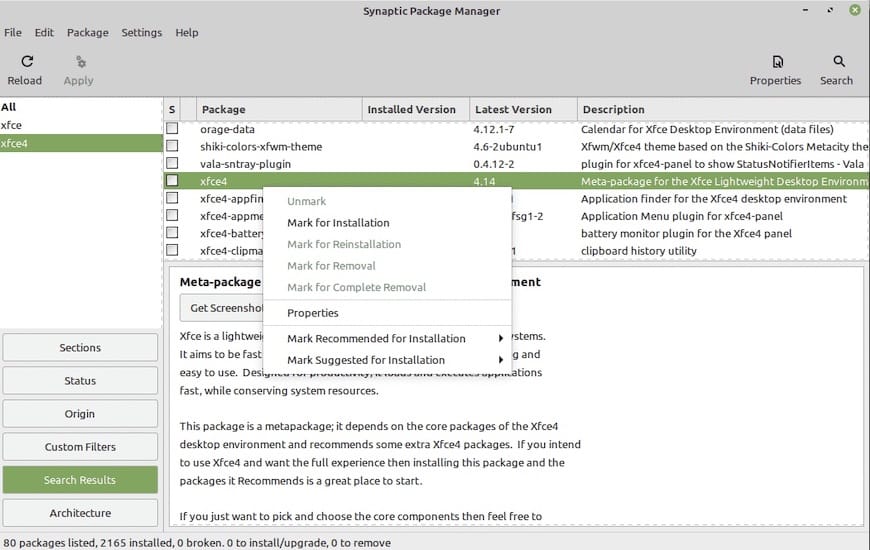
Click Mark to select the dependencies for installation:
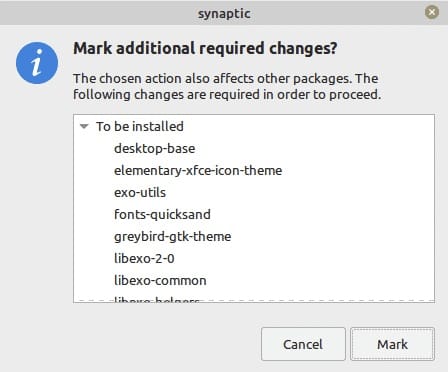
Once the installation is complete, you will see the following window. Click the Close button to close the window:
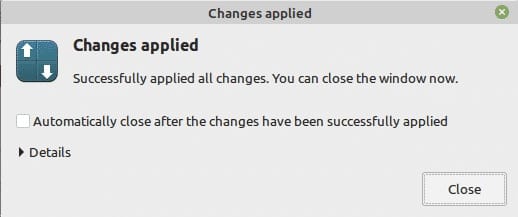
Finally, reboot your system using the following command below:
reboot
Step 3. Accessing XFCE Desktop on Linux Mint.
Once the system is up, The following login screen appears for login click the icon as highlighted below:
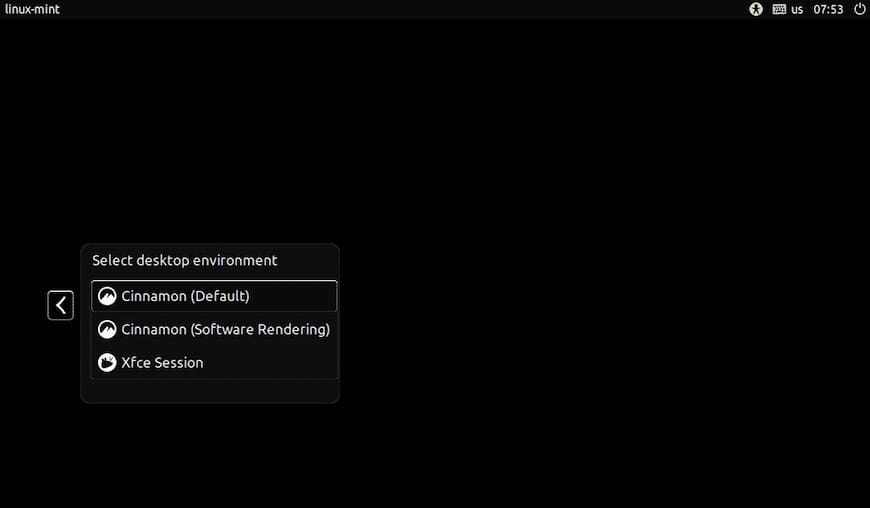
Congratulations! You have successfully installed XFCE. Thanks for using this tutorial for installing the latest version of XFCE Desktop on the Linux Mint system. For additional help or useful information, we recommend you check the official XFCE website.