How To Install Zenmap on Debian 12

In this tutorial, we will show you how to install Zenmap on Debian 12. Zenmap serves as an intuitive frontend for Nmap, simplifying complex network scanning tasks through a user-friendly interface. It allows users to visualize network topologies, save and compare scan results, and create custom scanning profiles. For Debian 12 users, installing Zenmap might seem challenging at first, as it’s not available in the default repositories. However, with the right approach, you can have this powerful tool up and running on your system in no time.
This article assumes you have at least basic knowledge of Linux, know how to use the shell, and most importantly, you host your site on your own VPS. The installation is quite simple and assumes you are running in the root account, if not you may need to add ‘sudo‘ to the commands to get root privileges. I will show you the step-by-step installation of the Zenmap Nmap GUI on a Debian 12 (Bookworm).
Prerequisites
- A server running one of the following operating systems: Debian 12 (Bookworm).
- It’s recommended that you use a fresh OS install to prevent any potential issues.
- SSH access to the server (or just open Terminal if you’re on a desktop).
- Make sure your Debian 12 system is connected to the internet. An active connection is essential for downloading the required packages and updates during the installation.
- A
non-root sudo useror access to theroot user. We recommend acting as anon-root sudo user, however, as you can harm your system if you’re not careful when acting as the root.
Install Zenmap on Debian 12 Bookworm
Step 1. The first step in any software installation process on Debian is to ensure your system is up-to-date. This helps prevent conflicts and ensures you have the latest security patches. Open a terminal and run the following commands:
sudo apt update
sudo apt upgrade
This command updates the package list and upgrades the installed packages to their latest versions.
Step 2. Installing Zenmap on Debian 12.
Zenmap is built on top of Nmap, so we need to install Nmap first. Fortunately, Nmap is available in the default Debian repositories. Install it using the following command:
sudo apt install nmap
After the installation completes, verify that Nmap is installed correctly by checking its version:
nmap --version
Once your Nmap package is installed, it’s time to install Zenmap. Use the following command:
sudo apt install zenmap
This command tells Debian’s package manager, apt, to install Zenmap. It will prompt you for confirmation; simply type ‘Y‘ and press Enter to proceed.
Step 3. Running Zenmap on Debian.
After the installation is complete, you can run Zenmap. Simply open your terminal and type:
zenmap
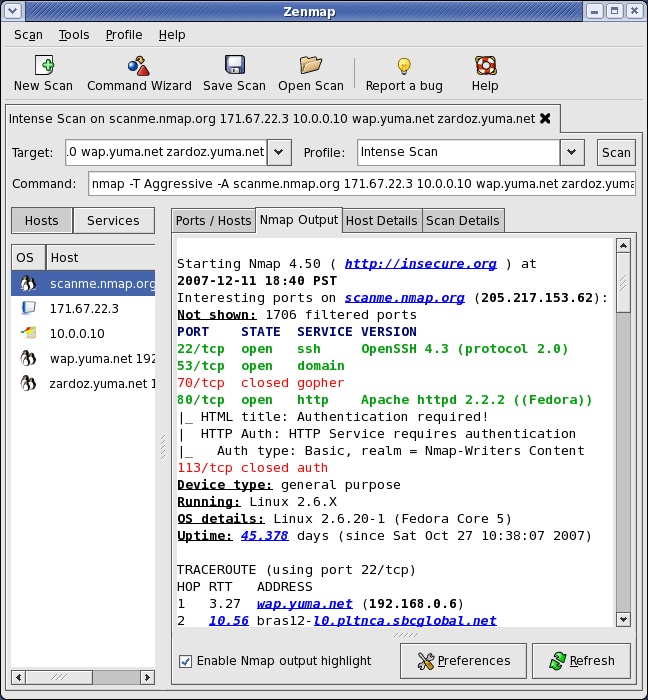
This command launches the Zenmap graphical user interface (GUI). You’ll find Zenmap’s interface user-friendly and intuitive, allowing you to scan your network, detect open ports, and identify vulnerabilities with ease.

Step 4. Uninstalling Zenmap (Optional).
If, for any reason, you need to uninstall Zenmap, follow these steps:
sudo apt remove zenmap
This command removes Zenmap from your system. If you want to delete any residual configuration files, use:
sudo apt purge zenmap
Congratulations! You have successfully installed Zenmap. Thanks for using this tutorial to install the latest version of Zenmap Nmap GUI on Debian 12 Bookworm. For additional help or useful information, we recommend you check the official Zenmap website.