How To Install Apache Airflow on Ubuntu 24.04 LTS

In this tutorial, we will show you how to install Apache Airflow on Ubuntu 24.04 LTS. Apache Airflow is an open-source platform designed to programmatically author, schedule, and monitor workflows. As data orchestration becomes increasingly vital in modern data engineering, mastering tools like Apache Airflow can significantly enhance your productivity and efficiency. This guide provides a comprehensive step-by-step process for installing Apache Airflow on Ubuntu 24.04, ensuring you have a robust setup for managing your data workflows.
Prerequisites
System Requirements
Before installation, ensure your system meets the following minimum requirements:
- CPU: 2 cores or more
- RAM: At least 4 GB
- Disk Space: Minimum of 10 GB free space
Software Dependencies
You will need the following software components:
- Python: Version 3.6 or higher
- Pip: Python package installer
- PostgreSQL: Recommended for the metadata database
- Virtualenv: For creating isolated Python environments
Access Requirements
You should have access to your Ubuntu server with a non-root user that has sudo privileges. This ensures you can perform administrative tasks without compromising system security.
Step 1: Preparing Your Environment
Updating the System
The first step is to update your package lists and upgrade any existing packages to ensure you have the latest security updates and features. Run the following commands:
sudo apt update
sudo apt upgrade -y
Installing Required Packages
Next, install Python and virtual environment tools with the command:
sudo apt install python3-pip python3-venv -y
Setting Up a Virtual Environment
A virtual environment allows you to manage dependencies for different projects separately. Create and activate a virtual environment with these commands:
mkdir airflow-project
cd airflow-project
python3 -m venv airflow-env
source airflow-env/bin/activate
Step 2: Installing Apache Airflow
Choosing the Installation Method
You can install Apache Airflow using pip or Docker. This guide focuses on the pip installation method, which is straightforward and widely used.
Installing Airflow via pip
You can install Apache Airflow along with necessary extras like PostgreSQL support by running:
pip install apache-airflow[postgres,celery,rabbitmq]
This command installs Airflow along with its dependencies for PostgreSQL, Celery for distributed task execution, and RabbitMQ as a message broker.
Verifying Installation
After installation, verify that Airflow is correctly installed by checking its version:
airflow version
Step 3: Initializing the Database
Setting Up the Metadata Database
The metadata database is crucial as it stores information about task instances, DAG runs, and other operational data. By default, Airflow uses SQLite but it’s recommended to use PostgreSQL in production environments.
Initializing the Database
You can initialize the database using the following command:
airflow db init
Step 4: Configuring Apache Airflow
Edit the Configuration File
The main configuration file for Airflow is located at $AIRFLOW_HOME/airflow.cfg. Open this file in your preferred text editor to adjust settings such as executor type and database connection string.
Main Configuration Settings to Modify:
- [core]: Set the executor type (e.g., LocalExecutor or CeleryExecutor).
- [database]: Update connection string for PostgreSQL (e.g.,
sql_alchemy_conn = postgresql+psycopg2://user:password@localhost/dbname). - [webserver]: Configure web server settings such as port number.
Setting Environment Variables
You may need to set environment variables to define where Airflow stores its files. Use this command to set AIRFLOW_HOME:
export AIRFLOW_HOME=~/airflow
Step 5: Starting Apache Airflow
Starting the Web Server and Scheduler
The web server provides a user interface for monitoring and managing workflows. To start both the web server and scheduler, run these commands in separate terminal windows:
# Start Web Server
airflow webserver --port 8080

# Start Scheduler
airflow scheduler
Accessing the Web Interface
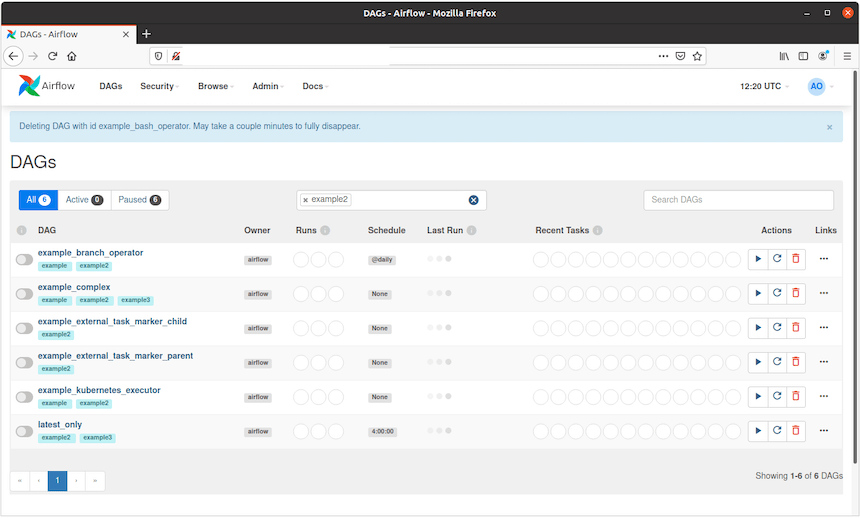
You can access the Airflow web interface by navigating to http://localhost:8080. The default username is “admin” and the password is also “admin“. Make sure to change these credentials after your first login.

Troubleshooting Common Issues
If you encounter issues during installation or while running Airflow, consider these common troubleshooting steps:
- No Tasks Running: Check if your DAGs are correctly defined and ensure that they are not paused in the UI.
- DAG Not Triggering: Verify that your scheduling interval is set correctly in your DAG definition.
- Error Logs Missing: Ensure that logging is properly configured in
airflow.cfg. - DAGs Stuck in Queued State: Check resource availability and executor settings.
- Error Messages in UI: Review logs from both the web server and scheduler for specific error messages.
Congratulations! You have successfully installed Apache Airflow. Thanks for using this tutorial for installing the Apache Airflow workflows management tool on Ubuntu 24.04 LTS system. For additional help or useful information, we recommend you check the official Apache Airflow website.