How To Install Atom Text Editor on Linux Mint 20

In this tutorial, we will show you how to install Atom Text Editor on Linux Mint 20. For those of you who didn’t know, Atom is a free and open-source text editor that was first released in 2014 by GitHub. It is built using web technologies such as HTML, CSS, and JavaScript, making it highly customizable and extensible. Atom is designed to be a “modified” text editor, which means users can modify and enhance its functionality through plugins and themes.
One of the standout features of Atom is its cross-platform compatibility. It runs seamlessly on Linux, macOS, and Windows, providing a consistent user experience across different operating systems. Atom also offers a built-in package manager that allows users to easily install and manage plugins, extending the editor’s capabilities to suit their specific needs.
This article assumes you have at least basic knowledge of Linux, know how to use the shell, and most importantly, you host your site on your own VPS. The installation is quite simple and assumes you are running in the root account, if not you may need to add ‘sudo‘ to the commands to get root privileges. I will show you the step-by-step installation of Atom Text Editor on a Linux Mint 20 (Ulyana).
Prerequisites
- A server running one of the following operating systems: Linux Mint 20 (Ulyana).
- It’s recommended that you use a fresh OS install to prevent any potential issues.
- 200 MB disk space.
- 1 GB RAM.
- 1 GHz processor.
- A
non-root sudo useror access to theroot user. We recommend acting as anon-root sudo user, however, as you can harm your system if you’re not careful when acting as the root.
Install Atom Text Editor on Linux Mint 20 Ulyana
Step 1. Before running the tutorial below, it’s important to make sure your system is up to date by running the following apt commands in the terminal:
sudo apt update
Step 2. Installing Atom Text Editor on Linux Mint 20.
- Install the Atom text editor from the Atom repository.
Now we add the Atom official repository to the source list:
wget -q https://packagecloud.io/AtomEditor/atom/gpgkey -O- | sudo apt-key add –
sudo add-apt-repository "deb [arch=amd64] https://packagecloud.io/AtomEditor/atom/any/ any main"
Once the Atom repository is added, run the following command below to install it:
sudo apt update
sudo apt install atom
- Install the Atom text editor from Snap.
Now run the following commands to install Snap packages:
sudo rm /etc/apt/preferences.d/nosnap.pref
sudo apt update
sudo apt install snapd
To install Atom, simply use the following command:
sudo snap install atom --classic
Step 3. Accessing Atom Text Editor on Linux Mint.
Once successfully installed, you can start Atom from the command line or by searching on your Desktop start menu.
atom
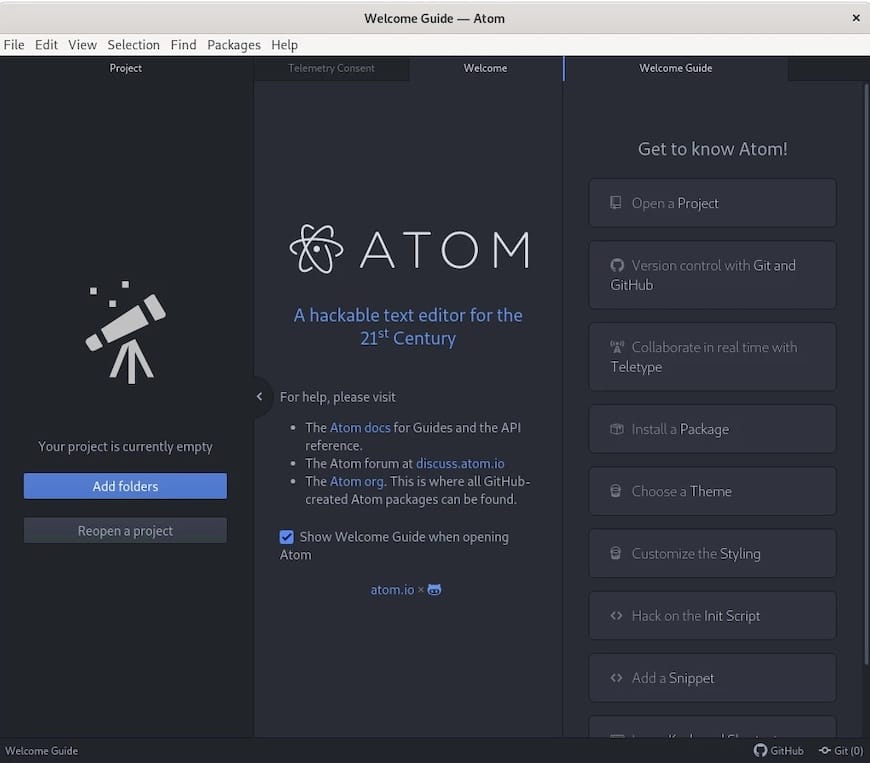
When you launch Atom for the first time, it will display a welcome screen with options to customize the editor’s appearance and behavior. Take some time to explore these options and set them according to your preferences.

Congratulations! You have successfully installed Atom. Thanks for using this tutorial for installing the latest version of Atom Text Editor on the Linux Mint system. For additional help or useful information, we recommend you check the official Atom website.