How To Install BleachBit on Ubuntu 24.04 LTS

In this tutorial, we will show you how to install BleachBit on Ubuntu 24.04 LTS. BleachBit is a free and open-source system cleaning software that helps users free up disk space, maintain privacy, and optimize system performance. It’s designed to work across multiple platforms, including Linux distributions like Ubuntu. With its powerful features and user-friendly interface, BleachBit has become a go-to tool for many Linux enthusiasts and system administrators.
This article assumes you have at least basic knowledge of Linux, know how to use the shell, and most importantly, you host your site on your own VPS. The installation is quite simple and assumes you are running in the root account, if not you may need to add ‘sudo‘ to the commands to get root privileges. I will show you the step-by-step installation of the BleachBit on Ubuntu 24.04 (Noble Numbat). You can follow the same instructions for Ubuntu 22.04 and any other Debian-based distribution like Linux Mint, Elementary OS, Pop!_OS, and more as well.
Prerequisites
- A server running one of the following operating systems: Ubuntu and any other Debian-based distribution like Linux Mint.
- It’s recommended that you use a fresh OS install to prevent any potential issues.
- SSH access to the server (or just open Terminal if you’re on a desktop).
- An active internet connection. You’ll need an internet connection to download the necessary packages and dependencies.
- An Ubuntu 24.04 system with root access or a user with sudo privileges.
Install BleachBit on Ubuntu 24.04
Step 1. Updating the Package Repository.
Before installing BleachBit, it’s essential to update your system packages to ensure compatibility and avoid potential issues. Open a terminal and run the following command:
sudo apt update
sudo apt upgrade
This command will refresh the package lists and upgrade any outdated packages to their latest versions. Keeping your system up-to-date is a good practice for maintaining stability and security.
Step 2. Installing BleachBit on Ubuntu 24.04.
- Install BleachBit via APT.
The easiest way to install BleachBit on Ubuntu 24.04 LTS is through the APT package manager. Follow these steps:
sudo apt install bleachbit
Wait for the installation process to complete.
If the installation is successful, you should see a message indicating that BleachBit has been installed.
- Install BleachBit via Snap.
An alternative method to install BleachBit on Ubuntu 24.04 LTS is using the Snap package manager. Snaps offer a containerized and secure way to install applications. Here’s how to install BleachBit using Snap:
sudo apt install snapd
Once Snap is installed, use the following command to install BleachBit:
sudo snap install bleachbit
Wait for the installation to finish.
The Snap version of BleachBit runs in a confined environment, providing an additional layer of security and isolation from the rest of the system.
- Install BleachBit from Source.
For advanced users who prefer to compile and install BleachBit from source, follow these steps:
Install the necessary dependencies:
sudo apt install git python3
Clone the BleachBit repository from GitHub:
git clone https://github.com/bleachbit/bleachbit.git
Navigate to the cloned directory:
cd bleachbit
Run BleachBit from the source code:
python3 bleachbit.py
Installing from source allows you to access the latest development features and modifications before they are released in stable versions.
Step 3. Launching BleachBit.
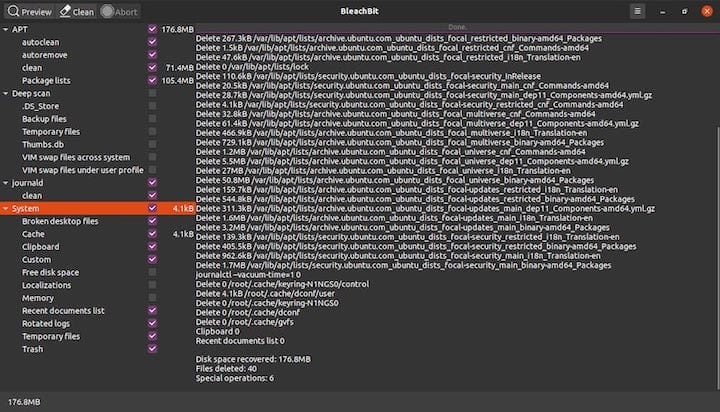
You can launch BleachBit from the terminal by running the following command:
bleachbit
Alternatively, you can find BleachBit in the application menu under the “System Tools” category.

Congratulations! You have successfully installed BleachBit. Thanks for using this tutorial for installing the BleachBit on the Ubuntu 24.04 LTS system. For additional help or useful information, we recommend you check the official BleachBit website.