How To Install GitLab on Fedora 38

In this tutorial, we will show you how to install GitLab on Fedora 38. For those of you who didn’t know, GitLab, a powerful web-based Git repository manager, offers a versatile platform for collaborative software development. Integrating Git repository management, code review, and continuous integration (CI/CD) pipelines, GitLab streamlines the development process.
This article assumes you have at least basic knowledge of Linux, know how to use the shell, and most importantly, you host your site on your own VPS. The installation is quite simple and assumes you are running in the root account, if not you may need to add ‘sudo‘ to the commands to get root privileges. I will show you the step-by-step installation of GitLab on a Fedora 38.
Prerequisites
- A server running one of the following operating systems: Fedora 38.
- It’s recommended that you use a fresh OS install to prevent any potential issues.
- SSH access to the server (or just open Terminal if you’re on a desktop).
- An active internet connection. You’ll need an internet connection to download the necessary packages and dependencies for GitLab.
- A
non-root sudo useror access to theroot user. We recommend acting as anon-root sudo user, however, as you can harm your system if you’re not careful when acting as the root.
Install GitLab on Fedora 38
Step 1. Before we can install GitLab on Fedora 38, it’s important to ensure that our system is up-to-date with the latest packages. This will ensure that we have access to the latest features and bug fixes and that we can install GitLab without any issues:
sudo dnf update
Step 2. Installation of Dependencies.
To set the stage for GitLab’s installation, you must install essential packages and configure firewall settings. Use the following commands to accomplish this:
sudo dnf install curl policycoreutils openssh-server openssh-clients
Step 3. Installing GitLab on Fedora 38.
First, we added the GitLab package repository:
curl -sS https://packages.gitlab.com/install/repositories/gitlab/gitlab-ce/script.rpm.sh | sudo bash
Once the repository is added, install GitLab using the following command:
sudo dnf install gitlab-ce
Step 4. Configure GitLab.
Navigate through the configuration files and directories to customize GitLab settings according to your requirements. Access /etc/gitlab/gitlab.rb to adjust parameters like SMTP email settings, database configuration, and GitLab Pages setup.
- Setting Up SSL for Secure Access:
To ensure secure access to your GitLab instance, follow these steps:
- Acquire an SSL certificate from a trusted provider.
- Edit the GitLab configuration file:
sudo nano /etc/gitlab/gitlab.rb
Uncomment and modify the external URL line to include “https” and your domain.
- Reconfigure GitLab:
sudo gitlab-ctl reconfigure
Step 5. Troubleshooting Tips.
Encountering hurdles is not uncommon during software installations. Here are some troubleshooting tips:
- Connection Issues: If you face connectivity problems during repository addition, ensure your network settings are correct.
- SELinux Errors: If SELinux issues persist, review your SELinux configuration and ensure proper file labeling.
-
SSL Configuration: For SSL-related errors, double-check your certificate’s validity and configuration settings in the GitLab configuration file.
Step 6. Access GitLab on Fedora.
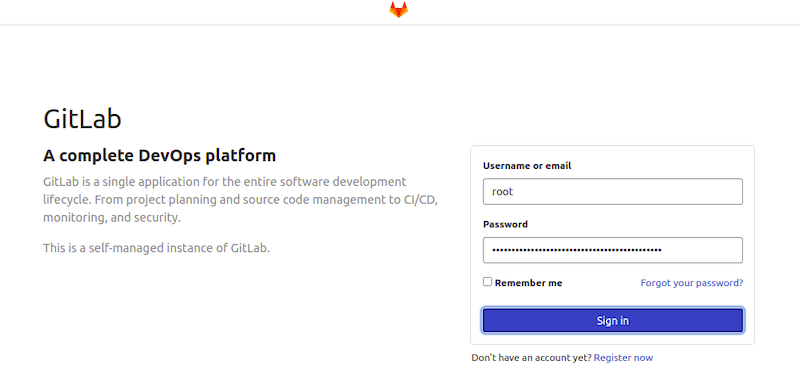
Once the installation is complete, you can access GitLab by opening a web browser and navigating to http://localhost/ or http://<your-server-hostname>/.

Congratulations! You have successfully installed GitLab. Thanks for using this tutorial for installing GitLab on your Fedora 38 system. For additional help or useful information, we recommend you check the official GitLab website.