In this tutorial, we will show you how to install JFrog Artifactory on CentOS 8. For those of you who didn’t know, JFrog Artifactory is a binary storage management tool that manages the binary warehouse dependent on the build tool (such as maven, Gradle) to facilitate managing third-party libraries and publishing the target repository, thereby improving software development efficiency. With JFrog you have the flexibility of using your favorite orchestration tools to manage your application deployments using different configuration packages and application artifacts managed in Artifactory.
This article assumes you have at least basic knowledge of Linux, know how to use the shell, and most importantly, you host your site on your own VPS. The installation is quite simple and assumes you are running in the root account, if not you may need to add ‘sudo‘ to the commands to get root privileges. I will show you the step-by-step installation of the Postman on a CentOS 8.
Prerequisites
- A server running one of the following operating systems: CentOS 8.
- It’s recommended that you use a fresh OS install to prevent any potential issues.
- SSH access to the server (or just open Terminal if you’re on a desktop).
- A
non-root sudo useror access to theroot user. We recommend acting as anon-root sudo user, however, as you can harm your system if you’re not careful when acting as the root.
Install JFrog Artifactory on CentOS 8
Step 1. It’s always a good practice to keep your system up-to-date with the latest security patches and bug fixes. Run the following command to update all installed packages:
sudo dnf update
sudo dnf install epel-release
Step 2. Installing JFrog Artifactory on CentOS 8.
Now we created a simple script to install the Jfrog on the CentOS system:
nano jfrog-installer.sh
Add the following lines:
#/bin/bash

# Disable the SELINUX on CentOS 8
# set temporary permissive selinux mode. reboot not require
sudo setenforce 0
# In next reboot,the below line will help to set disable selinux permanently.
sudo sed -i s/^SELINUX=.*$/SELINUX=disabled/ /etc/selinux/config

# jfrog oss 7.x require Java 11, installing wget and openjdk
sudo dnf install -y wget java-11-openjdk*

# download jfrog repo and directly keep in /etc/yum.repos.d dir
sudo wget https://bintray.com/jfrog/artifactory-rpms/rpm -O /etc/yum.repos.d/bintray-jfrog-artifactory-oss-rpms.repo

# install jfrog-artifactory-oss (open source)
sudo dnf install -y jfrog-artifactory-oss

# yaml files are indent sensitive. So do not remove spaces while copying. Keep as it is.
# creating system.yaml
cat <<EOF >system.yaml
configVersion: 1
shared:
    extraJavaOpts: "-server -Xms512m -Xmx2g -Xss256k -XX:+UseG1GC"
    security:
    node:
    database:
EOF

# copying above created system.yaml and replacing by original one
sudo cp -brvf system.yaml /var/opt/jfrog/artifactory/etc/system.yaml

# enable artifactoyr.service as well as start the service at a same time
sudo systemctl enable --now artifactory

# Now open web browser - http://<jfrog-ip-or-fqdn>:8081 and do the post setup of jfrog.
Next, give executable permission to the script:
sudo chmod +x jfrog-installer.sh
After that, execute the script:
sh jfrog-installer.sh
Step 3. Configure Firewall.
If you have a firewall enabled on your CentOS 8 server, you’ll need to open the required ports for Artifactory. Use the following commands:
sudo firewall-cmd --add-port=8081/tcp --permanent
sudo firewall-cmd --reload
This opens port 8081 (the default Artifactory port) and makes the change persistent across reboots.
Step 4. Accessing JFrog Web Interface.
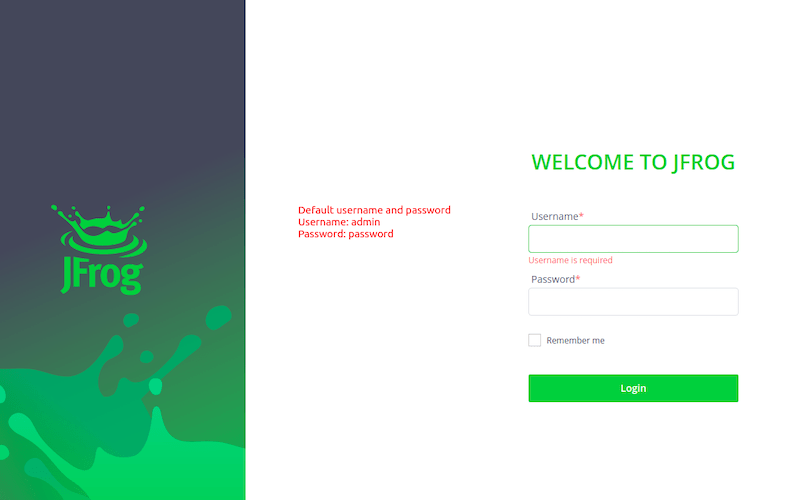
Once successfully installed, now open the web browser and hit URL http://your-ip-address:8081 from a client browser.
The default logins are:
Username: admin
Password: password

Congratulations! You have successfully installed JFrog. Thanks for using this tutorial for installing the JFrog Artifactory on your CentOS 8 system. For additional help or useful information, we recommend you check the official JFrog website.