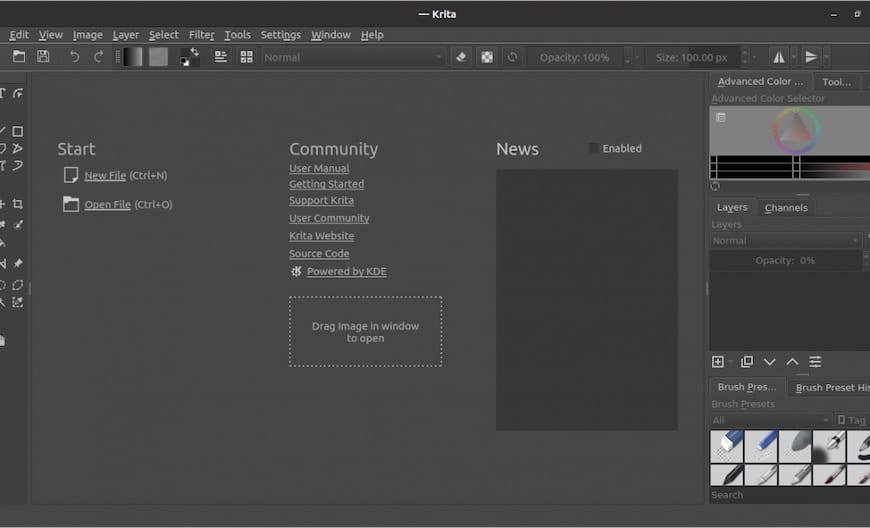
How To Install Krita on Ubuntu 24.04 LTS

In this tutorial, we will show you how to install Krita on Ubuntu 24.04 LTS. Krita is a professional-grade digital painting application that offers a wide range of tools and features for creating digital art. Developed by artists for artists, Krita aims to provide an affordable and accessible solution for digital painting, sketching, and illustration. The software boasts an impressive array of brush engines, each designed to mimic traditional art tools like pencils, pens, and paintbrushes. Krita also supports multiple color spaces, including RGB and CMYK, making it suitable for both digital and print work
This article assumes you have at least basic knowledge of Linux, know how to use the shell, and most importantly, you host your site on your own VPS. The installation is quite simple and assumes you are running in the root account, if not you may need to add ‘sudo‘ to the commands to get root privileges. I will show you the step-by-step installation of the Krita free and open-source raster graphics editor on Ubuntu 24.04 (Noble Numbat). You can follow the same instructions for Ubuntu 22.04 and any other Debian-based distribution like Linux Mint, Elementary OS, Pop!_OS, and more as well.
Prerequisites
- A server running one of the following operating systems: Ubuntu and any other Debian-based distribution like Linux Mint.
- It’s recommended that you use a fresh OS install to prevent any potential issues.
- SSH access to the server (or just open Terminal if you’re on a desktop).
- 4GB of RAM (8GB or more recommended for larger canvases).
- 2GHz dual-core processor or better.
- 1GB of free disk space.
- An active internet connection. You’ll need an internet connection to download the necessary packages and dependencies.
- An Ubuntu 24.04 system with root access or a user with sudo privileges.
Install Krita on Ubuntu 24.04 LTS
Step 1. Updating the Package Repository.
Before proceeding with the installation of Krita, it’s crucial to update your Ubuntu 24.04 LTS system to the latest version. This ensures that you have access to the most recent software packages and security patches. To update your system, open a terminal and run the following commands:
sudo apt update
sudo apt upgrade
These commands will refresh the package list and upgrade any outdated packages to their latest versions. Once the update process is complete, you can move on to installing Krita using one of the methods outlined below.
Step 2. Installing Krita on Ubuntu 24.04.
- Method 1: Installing Krita from the Ubuntu Software Center
The simplest way to install Krita on Ubuntu 24.04 LTS is through the Ubuntu Software Center, a user-friendly graphical interface for managing software packages. To install Krita using this method, follow these steps:
-
- Open the Ubuntu Software Center by clicking on the Ubuntu icon in the top-left corner of your screen and searching for “Ubuntu Software.”
- In the search bar at the top of the Ubuntu Software Center window, type “Krita” and press Enter.
- From the search results, click on the Krita icon to open its details page.
- Click the “Install” button to begin the installation process. You may be prompted to enter your user password to authorize the installation.
- Wait for the installation to complete. Once finished, you can launch Krita from the Applications menu or by searching for it in the Activities overview.
While installing Krita through the Ubuntu Software Center is convenient, it may not always provide the latest version of the software. If you require the most up-to-date features and bug fixes, consider using one of the alternative installation methods described below.
- Method 2: Installing Krita via Command Line (APT)
For users who prefer working with the command line or need more control over the installation process, installing Krita using APT (Advanced Package Tool) is a straightforward alternative:
sudo apt install krita
This method allows for easy updates and management of Krita through the command line in the future.

- Method 3: Installing Krita as a Snap Package
Snap packages offer the advantage of containerized applications, ensuring compatibility across different Linux distributions. To install Krita as a Snap package:
sudo snap install krita
Snap packages automatically update, ensuring you always have the latest version of Krita.
- Method 4: Installing Krita as a Flatpak
Flatpak is another universal package format that offers sandboxed applications. To install Krita using Flatpak:
sudo apt install flatpak
Add the Flathub repository:
flatpak remote-add --if-not-exists flathub https://flathub.org/repo/flathub.flatpakrepo
Install Krita:
flatpak install flathub org.kde.krita
Wait for the installation process to complete. Once finished, you can launch Krita from the Applications menu or by searching for it in the Activities overview.
Congratulations! You have successfully installed Krita. Thanks for using this tutorial for installing the Krita free and open-source raster graphics editor on the Ubuntu 24.04 LTS system. For additional help or useful information, we recommend you check the official Krita website.