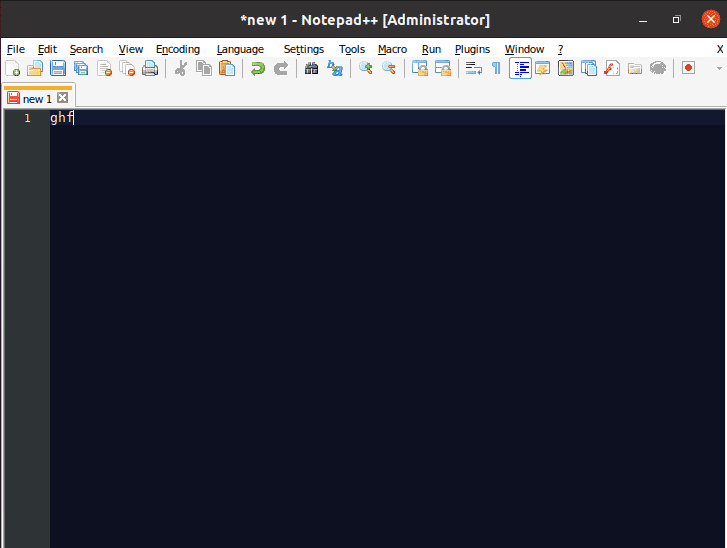
How To Install Notepad++ on Fedora 39

In this tutorial, we will show you how to install Notepad++ on Fedora 39. Notepad++ is a highly regarded text editor among developers and writers who use Windows. Its rich feature set, including syntax highlighting, code folding, and a tabbed document interface, makes it a favorite for coding, scripting, and plain text editing. Although Notepad++ is not natively available for Linux, Fedora users can still enjoy its benefits through the use of Snap packages.
This article assumes you have at least basic knowledge of Linux, know how to use the shell, and most importantly, you host your site on your own VPS. The installation is quite simple and assumes you are running in the root account, if not you may need to add ‘sudo‘ to the commands to get root privileges. I will show you the step-by-step installation of the Notepad++ text editor on a Fedora 39.
Prerequisites
Before diving into the installation process, let’s ensure that you have everything you need:
- A server running one of the following operating systems: Fedora 39.
- It’s recommended that you use a fresh OS install to prevent any potential issues.
- You will need access to the terminal to execute commands. Fedora 39 provides the Terminal application for this purpose. It can be found in your Applications menu.
- A network connection or internet access to download the Notepad++ package.
- A
non-root sudo useror access to theroot user. We recommend acting as anon-root sudo user, however, as you can harm your system if you’re not careful when acting as the root.
Install Notepad++ on Fedora 39
Step 1. Before diving into the Notepad++ installation, it’s crucial to prepare your Fedora system by updating it and installing the necessary dependencies. Open your terminal and execute:
sudo dnf clean all
sudo dnf update
Step 2. Installing Snap.
Snapd is the background service that manages and maintains your snaps. To install Snapd on Fedora, open your terminal and execute the following command:
sudo dnf install snapd
Enable Snapd to start automatically at boot:
sudo systemctl enable --now snapd.socket
Once Snapd is installed, create a symbolic link to enable classic snap support:
sudo ln -s /var/lib/snapd/snap /snap
For the changes to take effect, either reboot your system or log out and log back in.
Step 3. Installing Notepad++ on Fedora 39.
With Snapd installed, you can now install Notepad++:
sudo snap install notepad-plus-plus
Wait for the installation to complete. You will receive a confirmation message once Notepad++ is installed.
Step 4. Create a Desktop Entry (Optional).
For easier access, you can create a desktop entry for Notepad++. Create a new file named notepad-plus-plus.desktop in the ~/.local/share/applications/ directory with the following content:
[Desktop Entry]
Version=1.0
Type=Application
Name=Notepad++
Exec=/snap/bin/notepad-plus-plus
Icon=/var/lib/snapd/snap/notepad-plus-plus/current/meta/gui/icon.png
Terminal=false
After saving the file, Notepad++ should appear in your applications menu and possibly on your desktop, depending on your desktop environment.
Step 5: Launch Notepad++ on Fedora.
After installation, Notepad++ can be launched from the applications menu of your Fedora system. Look for Notepad++ and click on its icon to start the application or launch via the command line:
notepad-plus-plus

Congratulations! You have successfully installed Notepad++. Thanks for using this tutorial for installing the Notepad++ text editor on your Fedora 39 system. For additional or useful information, we recommend you check the official Notepad++ website.