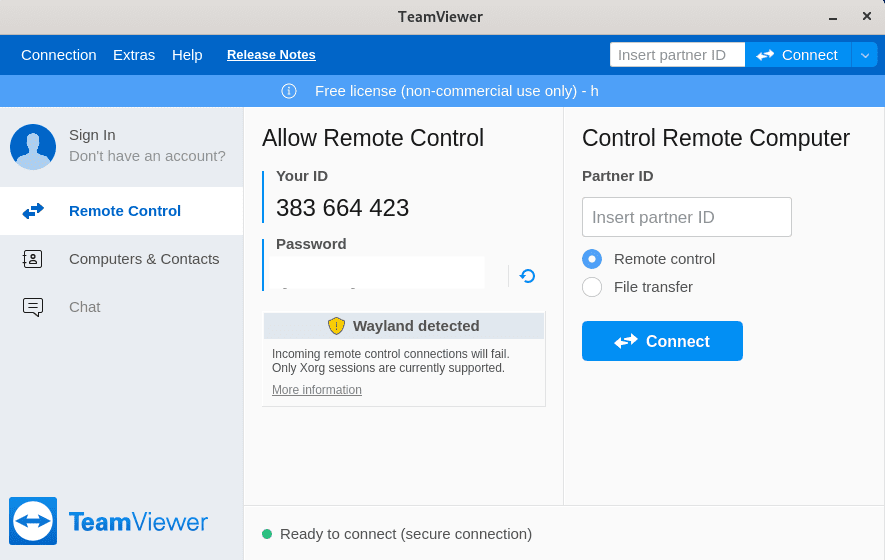
In this tutorial, we will show you how to install and configuration of TeamViewer on your Ubuntu 18.04 LTS server. For those of you who didn’t know, TeamViewer is a powerful remote access and remote control software that allows you to securely connect to other devices over the internet. Whether you need to provide technical support, collaborate on projects, or access your own computer remotely, TeamViewer offers a reliable and user-friendly solution. One of the great advantages of TeamViewer is its cross-platform compatibility, including support for various Linux distributions like Ubuntu.
This article assumes you have at least basic knowledge of Linux, know how to use the shell, and most importantly, you host your site on your own VPS. The installation is quite simple and assumes you are running in the root account, if not you may need to add ‘sudo‘ to the commands to get root privileges. I will show you the step-by-step installation of TeamViewer on a Ubuntu 18.04 (Bionic Beaver) server.
Prerequisites
- A server running one of the following operating systems: Ubuntu 18.04, and any other Debian-based distribution like Linux Mint.
- It’s recommended that you use a fresh OS install to prevent any potential issues.
- SSH access to the server (or just open Terminal if you’re on a desktop).
- An active internet connection.
- A
non-root sudo useror access to theroot user. We recommend acting as anon-root sudo user, however, as you can harm your system if you’re not careful when acting as the root.
TeamViewer features
- Remote QuickSteps. Save yourself hundreds of clicks with one-click shortcuts for your most-used remote support actions. (Premium and above)
- Remote control tabs for Mac OS. Conveniently run multiple remote sessions on macOS in tabs with Sierra’s latest tab-view technology.
- Service case notifications. Take swift action on the pop-up and email notifications. Delegate tasks faster, for more effective IT support. (Business and above)
- Remote Sticky Note. Leave a message behind for a more personal customer relationship.
- Provides screen sharing with frame rates up to 60 fps (frames per second). No stuttering, no lag.
- Intelligent connection setup. Connect with the best possible quality via automatic intelligent system adjustments, based on your network conditions and system hardware.
- Faster file transfer.
- And more.
Install TeamViewer on Ubuntu 18.04 LTS Bionic Beaver
Step 1. Before installing TeamViewer, it’s a good practice to ensure that your Ubuntu system is up-to-date with the latest package lists and installed packages. Open the terminal and run the following commands:
sudo apt-get update
sudo apt-get upgrade
Step 2. Installing TeamViewer on Ubuntu 18.04 LTS.
First, Go to TeamViewer 12 beta download page and download the deb file via your Web browser:
wget https://download.teamviewer.com/download/linux/teamviewer_amd64.deb
Install gdebi command-line package installer with the following command:
sudo apt install gdebi-core
Then install the TeamViewer 12 deb package with:
sudo gdebi teamviewer_amd64.deb
Alternatively, you can use the dpkg command to install the TeamViewer package directly. However, this method may require you to manually resolve any missing dependencies.
sudo dpkg -i teamviewer_amd64.deb
Step 3. Launching and Setting Up TeamViewer.
After the installation, you can launch TeamViewer from the Applications menu or by running the following command in the terminal:
teamviewer

Congratulations! You have successfully installed TeamViewer. Thanks for using this tutorial for installing TeamViewer on Ubuntu 18.04 LTS (Bionic Beaver) system. For additional help or useful information, we recommend you check the official TeamViewer website.