
Every few months, someone on a rendering team asks the same question in a support ticket: “Blender crashed mid-render on our workstation, and now it won’t reopen the file.” Nine times out of ten, the root cause traces back to how Blender was installed in the first place — not a bug in the software itself. Package management choices matter far more with a resource-hungry application like Blender than with, say, a text editor, because the install method dictates how GPU drivers, sandboxing, and file permissions interact with the rest of the system.
Ubuntu 26.04 LTS (codenamed “Resolute”) ships with meaningfully updated repositories compared to 24.04, and Blender’s Ubuntu package has caught up as well — the distro now carries the 5.0.x release line directly in Universe. That’s a big shift from the 22.04 days, when the repository version lagged so far behind that most studios simply ignored APT and downloaded the tarball instead. On 26.04, that calculus has changed, and for the first time in a while, the “boring” distro-managed install path is actually a reasonable default for production machines.
This guide walks through all three supported installation methods — APT, Snap, and Flatpak — explains when each one makes sense, and covers the GPU driver, permissions, and performance issues that tend to surface once Blender actually starts rendering something heavier than the default cube. If you’re managing a render farm, a shared workstation, or just your own desktop, the method you pick early on will save (or cost) you hours down the line.
Why the Installation Method Actually Matters
Blender isn’t a lightweight utility. It touches the GPU stack directly through OpenGL, Vulkan, and CUDA/OptiX for rendering, it reads and writes large binary project files, and it depends on system libraries like OpenColorIO for color management. Each packaging format handles these dependencies differently.
APT installs Blender as a native Ubuntu package tied to system libraries already present on the machine. Snap and Flatpak bundle their own runtime and libraries, isolating Blender from the host system to varying degrees. That isolation is a security feature, but it’s also the source of most “why can’t Blender see my external drive” tickets you’ll get from users.
| Method | Version tracking | Confinement | Update cadence | Best for |
|---|---|---|---|---|
| APT | Ubuntu 26.04 ships 5.0.x | None (native) | Tied to Ubuntu release/updates | Production servers, render nodes, minimal overhead |
| Snap | Blender Foundation latest/stable channel | Classic confinement (broad access) | Auto-refresh, independent of Ubuntu | Desktop users wanting newest Blender fast |
| Flatpak | Flathub stable channel | Sandboxed, filesystem/device scoped | Independent of Ubuntu | Multi-user desktops, sandboxing-conscious setups |
Prerequisites Before You Install
Before touching any package manager, confirm a few basics. Skipping this step is how you end up debugging a “broken” Blender install that was never actually broken — just missing GPU drivers or disk space.
- Confirm you’re on Ubuntu 26.04:
lsb_release -a - Check available disk space (Blender plus cache files can eat several GB fast):
df -h / - Verify GPU presence for render acceleration:
lspci | grep -i vga - Make sure your user has sudo rights, or follow Ubuntu’s sudoers documentation if not
If you’re deploying to a headless render node instead of a desktop workstation, you’ll want the CLI-only rendering path later in this guide rather than launching the GUI at all.
Method 1: Installing Blender via APT (Recommended for Most Servers)
APT is the cleanest option when you want Blender to behave like any other Ubuntu package — patched during regular system updates, uninstalled cleanly, and fully visible to your existing monitoring and package auditing tools. For render farms managed with Ansible or Puppet, this predictability is worth more than having the bleeding-edge Blender release.
Step 1: Update the Package Index
sudo apt update && sudo apt upgradeDon’t skip this. Running apt install against a stale package index is a common cause of “package not found” errors that have nothing to do with Blender itself.
Step 2: Confirm Universe Repository Is Enabled
Blender lives in Ubuntu’s universe component. Standard desktop installs have it enabled by default, but minimal server installs or hardened images often don’t.
sudo add-apt-repository universe
sudo apt update
Step 3: Install Blender
sudo apt install blenderStep 4: Verify the Installation
blender --versionOn Ubuntu 26.04, this should return something close to Blender 5.0.1, corresponding to the 5.0.1+dfsg-1ubuntu1 package build. If you’re coming from 24.04 or 22.04, note the version jump — those releases ship 4.0.x and 3.0.x respectively, so don’t be surprised if colleagues on older LTS versions report a noticeably older feature set.
Method 2: Installing Blender via Snap
Snap tracks the Blender Foundation’s own latest/stable channel rather than Ubuntu’s repository snapshot, which means you get Blender releases faster than APT can package them. This is the right call for artists and hobbyists who want the newest features the day they land, but it’s rarely the right call for a shared production render node — auto-refreshing software on a machine mid-render job is asking for trouble.
sudo snap install blender --classicThe --classic flag matters here. Blender’s stable Snap uses classic confinement specifically so it can access project files and the graphics stack without the sandboxing restrictions that trip up GPU-heavy applications. Verify the install:
snap list blenderYou should see a version tracking latest/stable from the blenderfoundation publisher. If your pipeline depends on a specific long-term series rather than rolling releases, Snapcraft also maintains LTS tracks:
sudo snap install blender --classic --channel=4.5lts/stableThis is worth knowing if a studio’s render scripts or add-ons were validated against a specific Blender LTS series and you can’t risk an auto-refresh silently bumping the version mid-project.
Method 3: Installing Blender via Flatpak
Flatpak pulls Blender from Flathub, running it against Flathub’s own runtime stack rather than Ubuntu’s system libraries. If you manage a multi-user lab machine or a kiosk-style workstation where sandboxing matters more than raw convenience, this is the method to reach for.
Step 1: Install Flatpak Support
sudo apt install flatpak gnome-software-plugin-flatpakStep 2: Add the Flathub Remote
sudo flatpak remote-add --if-not-exists flathub https://dl.flathub.org/repo/flathub.flatpakrepoConfirm it registered correctly:
flatpak remotesStep 3: Install Blender
sudo flatpak install flathub org.blender.Blender -yCheck what you got:
flatpak info org.blender.BlenderThe current Flathub manifest grants GPU access via devices=dri and broad host filesystem access, so most users won’t need to manually adjust Flatpak permissions just to open project folders on their home directory. That said, if you’re running Blender inside a locked-down container environment or a chroot-style deployment, this is exactly the permission flag you’ll want to audit first.
Launching Blender After Installation
The launch command differs by installation method, and mixing them up is a surprisingly common source of “which Blender am I even running” confusion when multiple install paths exist on the same box.
blender                          # APT install
flatpak run org.blender.Blender  # Flatpak install
snap run blender                 # Snap install
On a headless render node, skip the GUI entirely and drive Blender from the command line for background rendering:
blender -b myscene.blend -o /render/output/frame_### -f 1The -b flag runs Blender in background mode without initializing a display, which matters a lot on servers that don’t have an X server or Wayland compositor running at all.
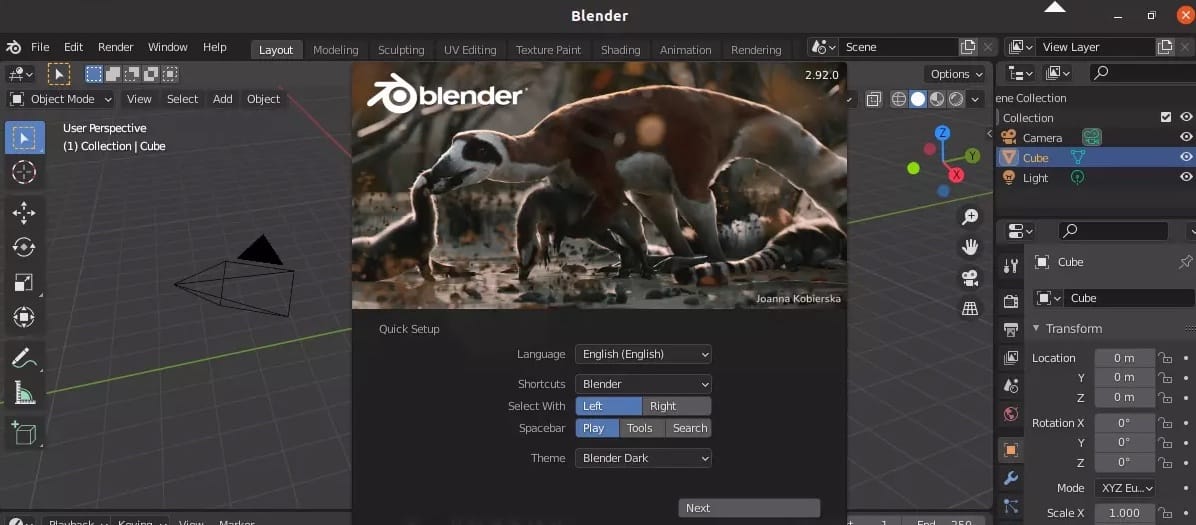
Updating and Removing Blender
Keeping Blender current matters for both security patches and render engine bug fixes — Cycles and EEVEE both receive fixes between major releases that quietly resolve rendering artifacts nobody bothered filing a public bug for.
Update via APT:
sudo apt update && sudo apt upgradeUpdate via Flatpak:
sudo flatpak update org.blender.Blender -yUpdate via Snap:
sudo snap refresh blenderSnap also refreshes automatically in the background on its own schedule unless you’ve explicitly disabled that behavior — worth knowing before you assume a render node is running a fixed, predictable version.
Removal, matched to install method:
sudo apt remove blender && sudo apt autoremove --dry-run   # review first
sudo flatpak remove --delete-data org.blender.Blender -y
sudo snap remove --purge blender
Don’t mix removal commands across methods unless Blender genuinely got installed more than one way on that machine — it happens more often than you’d think when multiple admins touch the same server over time.
GPU Acceleration and Rendering Performance
This is where most real-world Blender problems actually live. Installation rarely fails outright; render performance quietly disappointing everyone is the far more common ticket.
Verifying GPU Detection
For NVIDIA GPUs, confirm the driver is loaded and active:
nvidia-smiA healthy output shows a driver version and GPU utilization table. If the command errors out or isn’t found, Blender will silently fall back to CPU-only rendering — which on a complex Cycles scene can mean the difference between a two-minute render and a two-hour one.
For AMD or Intel open-source graphics, Mesa driver freshness matters more than most people expect:
sudo apt update && sudo apt upgrade
sudo reboot
A reboot after Mesa updates isn’t optional theater — kernel-loaded graphics modules genuinely need the fresh load to pick up library changes cleanly.
Enabling GPU Rendering Inside Blender
Once drivers are confirmed working, open Blender and navigate to Edit > Preferences > System, then select CUDA, OptiX, or HIP depending on your GPU vendor. OptiX generally outperforms CUDA on RTX-class cards for Cycles rendering, thanks to hardware-accelerated ray tracing — a detail that trips up a lot of users still defaulting to CUDA out of habit from older tutorials.
CPU, RAM, and Disk I/O Considerations
Rendering is CPU-bound for Cycles when GPU acceleration isn’t available, and memory-bound for large scenes with high-resolution textures or dense particle systems. A few practical tuning notes worth applying on production render machines:
- Set Blender’s tile size to match your GPU’s core count for Cycles GPU rendering; smaller tiles help GPU utilization, larger tiles help CPU rendering.
- Monitor RAM headroom during renders with
htoporfree -h— texture-heavy scenes can spike memory usage well past what the .blend file size suggests. - If rendering to network storage, local disk I/O for temp files and cache almost always outperforms writing directly to NFS or SMB shares mid-render.
- On multi-GPU render nodes, confirm Blender is actually using all detected devices under Preferences > System rather than defaulting to just the primary card.
Security Considerations for Production Environments
Blender isn’t typically exposed to the internet directly, but render farms and shared workstations still carry real security surface worth locking down.
- Keep the install method’s update channel active — Snap and Flatpak security patches ship independently of Ubuntu’s own update cycle, so disabling auto-refresh without a manual patching process creates drift.
- On multi-user machines, Flatpak’s sandboxing genuinely reduces blast radius compared to a classic-confined Snap or a native APT install, since it restricts filesystem and device access by default.
- Restrict firewall rules on render nodes to only the ports actually needed for distributed rendering tools (Flamenco, Deadline, etc.) — Blender itself doesn’t need inbound access for local rendering.
- Audit file permissions on shared project directories; Blender’s
.blendfiles can embed absolute file paths, and loose permissions on shared render storage is a common way stale or malicious assets end up referenced in a scene.
Troubleshooting Common Issues
“Package blender has no installation candidate”
Universe repository is likely disabled. Run sudo add-apt-repository universe && sudo apt update and retry.
Blender opens but renders are unusably slow
Almost always a missing or inactive GPU driver. Check with nvidia-smi, and if that fails, resolve the driver issue before assuming anything is wrong with Blender itself.
OpenGL or Mesa-related crash on launch
Update system packages and reboot to ensure Mesa libraries load cleanly against the current kernel:
sudo apt update && sudo apt upgrade && sudo rebootFlatpak build can’t see files outside the home directory
Check granted permissions first before assuming it’s broken:
flatpak info --show-permissions org.blender.BlenderThe default manifest already grants host filesystem and GPU device access, so most path issues trace back to normal Linux file permissions rather than Flatpak sandboxing.
Snap version feels outdated compared to what you expected
Confirm which channel you’re tracking — latest/stable differs from an LTS track like 4.5lts/stable, and switching requires an explicit channel flag on install or refresh.
Blender crashes only on specific project files
Often a corrupted .blend file rather than an installation problem. Try opening the auto-saved backup (.blend1) before reinstalling anything.

