Ubuntu 26.04 LTS installs Darktable most cleanly with sudo apt install darktable, which gives you version 5.4.1 from the universe repository. If you want the newer 5.6 series, which has the first AI features, use the official AppImage or build from source. The right choice depends on how much you value stability against new features.
Picking an install method for a RAW editor sounds trivial until the first time a library database refuses to open. A photographer imports 4,000 frames from a wedding, edits for a week, then lets an automatic update bump the application by a minor version. Darktable now warns that a database written by a newer release may not open in an older one. That is annoying on a laptop. It is a real problem on a shared workstation, a studio machine, or a render box that several people log into.
Ubuntu 26.04 LTS (Resolute Raccoon) makes the decision more interesting. The archive ships a stable but not-newest Darktable. Upstream has moved on to the 5.6 series, with AI-assisted masking and a neural restore module, and 5.6.2 landed on 4 October 2026. So you have at least four reasonable ways to get Darktable running, and each one has different update behavior, sandboxing, GPU access, and maintenance cost.
This guide covers all four. It also covers what happens after the install, because a Darktable that launches but runs on the CPU only, or can’t see your lens profiles, is not really installed. The commands below target Ubuntu 26.04, but most of them work unchanged on Ubuntu 24.04, Debian 12 and 13, and derivatives. A few notes for AlmaLinux and Fedora-family systems are included where they differ.
What Ubuntu 26.04 Ships and What Upstream Offers
Before running anything, check what each channel actually delivers today. Version numbers drift, and a tutorial that hardcodes them goes stale within weeks.
| Method | Darktable version (as of early Oct 2026) | Updates | Best for |
|---|---|---|---|
| APT (universe) | 5.4.1 | With system updates, security-patched by Ubuntu | Stability, shared machines |
| Flatpak (Flathub) | Tracks upstream stable | flatpak update |
Newer versions with sandboxing |
| AppImage (upstream) | 5.6.2 | Manual download | Trying 5.6 features without touching the system |
| Source build | Any tag or master | Manual rebuild | Packagers, testers, custom flags |
Ubuntu currently ships darktable 5.4.1-1 on Ubuntu 26.04, and Ubuntu Studio’s 26.04 release notes list Darktable 5.4.1 as well. The upstream install page publishes the 5.6.2 source tarball and AppImages for x86_64 and aarch64. Its OBS package list has historically covered older Ubuntu releases only, up to 24.04, so the OBS route does not cover 26.04.
One more detail matters if you care about the newest features. The darktable 5.6 series introduced its first AI features, an AI object mask that builds a vector mask from a single click and a neural restore module for denoise and upscale. The project’s install page notes that the Flatpak does not include darktable’s AI features. That caveat may change between releases, so check the current notes before choosing Flatpak for AI work.
Prepare the System First
A few minutes of preparation prevents most of the problems in the troubleshooting section.
Update the package index and the system
sudo apt update
sudo apt full-upgrade -y
On a fresh Ubuntu 26.04 install, this pulls in kernel and Mesa updates that matter for GPU acceleration. If a new kernel arrives, reboot before continuing. Running OpenCL tests against a stale graphics stack wastes an afternoon.
Confirm the release and architecture
lsb_release -ds
uname -m
You should see Ubuntu 26.04 LTS and either x86_64 or aarch64. Darktable ships AppImages for both architectures, but a few extras, such as vendor OpenCL runtimes, behave differently on ARM.
Check that universe is enabled
Darktable lives in the universe component. Standard desktop installs already enable it, but minimal cloud images and containers sometimes don’t. Ubuntu 26.04 uses the deb822 format, so the sources file is /etc/apt/sources.list.d/ubuntu.sources.
sudo apt install -y software-properties-common
sudo add-apt-repository universe
sudo apt update
Check your hardware before choosing
Darktable is demanding in a specific way. It wants RAM for large tile caches, fast storage for thumbnails and the library database, and ideally a GPU with a working OpenCL driver. The pixel pipeline runs on the CPU if no GPU is available, but heavy modules such as diffuse or sharpen, contrast equalizer and denoise (profiled) get painfully slow.
lscpu | grep -E 'Model name|^CPU\(s\)'
free -h
lspci | grep -Ei 'vga|3d|display'
A workable baseline is 16 GB of RAM, an SSD or NVMe drive, and a GPU with at least 4 GB of VRAM. Darktable runs on less. It just stops being enjoyable.
Method 1: Install Darktable with APT
This is the default recommendation for most people, and the one most sysadmins will pick. The package is built and tested against the exact libraries on your system, it updates through the normal channel, and removal is clean.
Step 1: Look at what the archive offers
apt-cache policy darktableThe output shows the installed and candidate versions and the repository that provides them. On Ubuntu 26.04 the candidate should be 5.4.1 from universe. Checking first avoids surprises, especially if a PPA or a third-party source is present.
Step 2: Install
sudo apt install darktableAPT pulls a fair number of dependencies: GTK 3, Exiv2, LensFun, GraphicsMagick, OpenEXR, libraw-related pieces, and so on. On a clean system expect several hundred megabytes of download.
A small habit worth keeping: add --no-install-recommends only if you know what you are trimming. Darktable recommends packages for optional features, such as lens data and Lua support, and stripping them tends to cause confusing missing-feature reports later.
Step 3: Verify the install
darktable --versionThis prints the version and the build’s compiled-in features. Look at the lines for OpenCL, OpenMP, Lua and so on. A line showing OpenCL as unavailable at build time means a different problem from OpenCL being compiled in but failing at runtime. The Ubuntu package is built with OpenCL support, so any failure will be a runtime driver issue.
Step 4: Launch it
From the application grid, search for darktable. From a terminal:
darktableRunning from a terminal the first time is a good habit. Darktable writes useful warnings to stdout, such as missing OpenCL platforms, a failing lens database, or unreadable raw files. That output disappears when launched from the menu.
Keeping the APT version in a good state
Security and bug-fix updates arrive through the normal apt upgrade flow. If you want a deliberate freeze on a production editing workstation, hold the package:
sudo apt-mark hold darktableLift the hold with sudo apt-mark unhold darktable when you are ready to move. This matters more than it sounds. Because a newer Darktable may alter the library schema, a hold prevents an unplanned jump in the middle of a project.
Method 2: Install the Darktable Flatpak
Flatpak is a sensible middle path. You get a newer upstream build than the distro offers, a sandbox, and updates decoupled from the OS release.
Step 1: Install Flatpak
Flatpak is not pre-installed on Ubuntu.
sudo apt install flatpakUbuntu’s desktop is built around Snap, so the GNOME Software plugin for Flatpak is not installed by default. You do not need it. The CLI is enough.
Step 2: Add Flathub
sudo flatpak remote-add --if-not-exists flathub https://dl.flathub.org/repo/flathub.flatpakrepoThe --if-not-exists flag makes the command safe to rerun, which is useful in provisioning scripts.
Step 3: Install Darktable
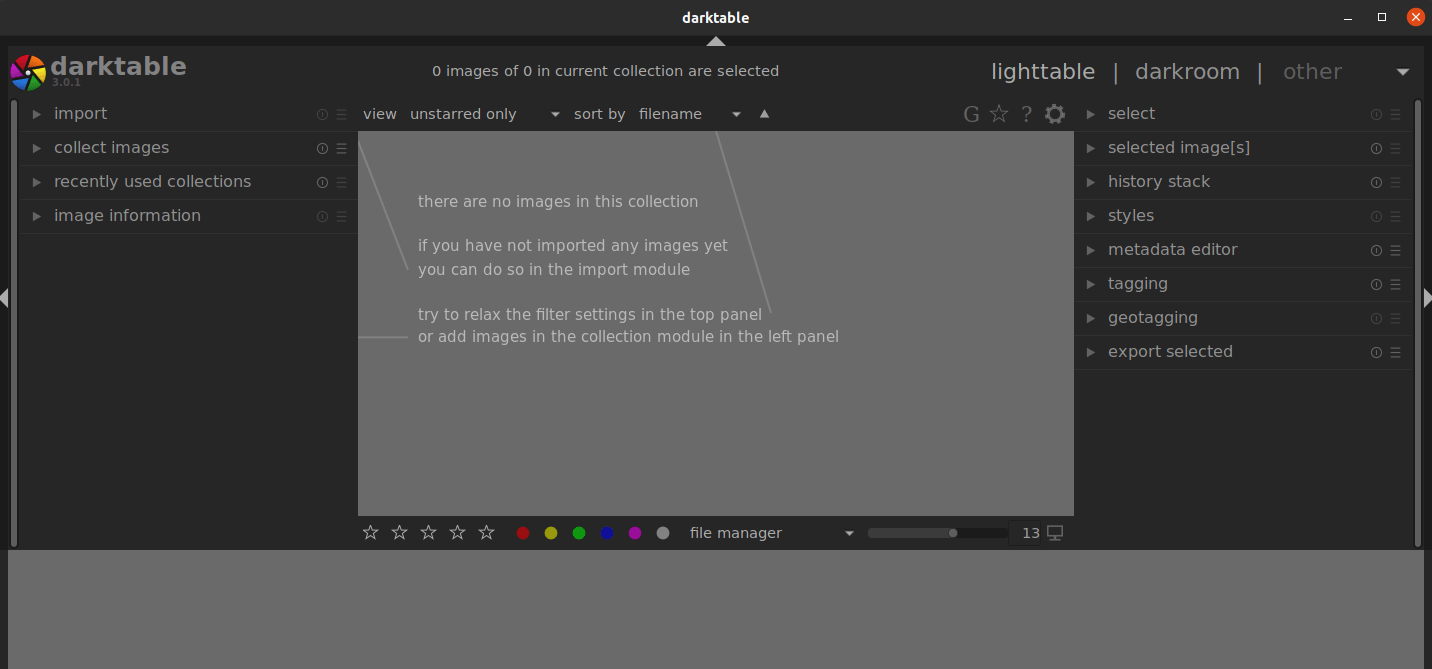
sudo flatpak install flathub org.darktable.DarktableThen run it:
flatpak run org.darktable.DarktableLog out and back in once so the desktop picks up the exported launcher. Without that, the menu entry sometimes does not appear until the next session.
Sandbox permissions for photographers
The sandbox is the point of Flatpak and also the most common source of confusion. Darktable inside Flatpak sees only what it has been granted. If your photo library lives on a second drive, a NAS mount or /srv/photos, grant access explicitly:
flatpak override --user --filesystem=/srv/photos org.darktable.Darktable
flatpak override --user --filesystem=/mnt/nas/raw:ro org.darktable.Darktable
The :ro suffix gives read-only access, a nice safety net when the originals should never be touched. To see what is currently granted:
flatpak info --show-permissions org.darktable.DarktableCheck these permissions before you import anything. A common failure is a first import that shows an empty folder tree, simply because the sandbox cannot see the path.
GPU acceleration under Flatpak
OpenCL inside Flatpak depends on runtime extensions that match your GPU vendor. Intel and AMD users generally need the corresponding OpenCL extension from Flathub, and NVIDIA users need the matching NVIDIA GL extension for their driver version. Search what is available with:
flatpak search opencl
flatpak list --runtime | grep -i -E 'opencl|nvidia'
If this feels like too much plumbing for a production editing box, that is a fair signal to use APT or the AppImage instead.
Method 3: Run the Upstream AppImage
The AppImage is the fastest way to get the 5.6 series, including its new AI masking and neural restore features, without installing anything system-wide. Upstream currently publishes Darktable 5.6.2 for x86_64 and aarch64.
Step 1: Install the FUSE dependency
AppImages need FUSE 2. On Ubuntu 26.04 and 24.04, the package carries the t64 suffix from the 64-bit time transition:
sudo apt install libfuse2t64On older releases, it is libfuse2. Skipping this step produces the well-known “dlopen(): error loading libfuse.so.2” message.
Step 2: Download and verify
Download Darktable-5.6.2-x86_64.AppImage from the official install page, then verify its integrity against the SHA-256 checksum published with the release notes.
cd ~/Downloads
sha256sum Darktable-5.6.2-x86_64.AppImage
Compare the printed hash with the one published in the official release announcement. This takes ten seconds and is the difference between running software you verified and running whatever a mirror served. Release announcements for earlier versions publish these checksums in full, and the 5.6.2 release comes with checksums as well.
Step 3: Make it executable and place it sensibly
mkdir -p ~/Applications
mv Darktable-5.6.2-x86_64.AppImage ~/Applications/
chmod +x ~/Applications/Darktable-5.6.2-x86_64.AppImage
~/Applications/Darktable-5.6.2-x86_64.AppImage
For a system-wide location on a shared workstation, /opt/darktable/ works fine, with a symlink in /usr/local/bin:
sudo mkdir -p /opt/darktable
sudo mv ~/Applications/Darktable-5.6.2-x86_64.AppImage /opt/darktable/
sudo ln -sf /opt/darktable/Darktable-5.6.2-x86_64.AppImage /usr/local/bin/darktable-appimage
A different binary name is used on purpose. If APT’s Darktable is also installed, you can run both and compare versions side by side. Just keep in mind that both read the same ~/.config/darktable directory by default. To avoid damaging a 5.4 library with a 5.6 run, point the newer build at a separate config directory:
darktable-appimage --configdir ~/.config/darktable-5.6 --cachedir ~/.cache/darktable-5.6This is a practical lesson from migrating libraries. Test a new minor series with a copy of your data first. When updating from the stable 5.4 series, edits are preserved, but the new library and configuration are no longer usable with 5.4. That is an upstream warning, and it deserves respect.
Desktop integration
AppImages do not register themselves. Create a launcher manually:
cat > ~/.local/share/applications/darktable-appimage.desktop <<'EOF'
[Desktop Entry]
Type=Application
Name=darktable (AppImage 5.6)
Exec=/opt/darktable/Darktable-5.6.2-x86_64.AppImage %F
Icon=darktable
Categories=Graphics;Photography;
MimeType=image/x-dcraw;image/x-canon-cr2;image/x-nikon-nef;
Terminal=false
EOF
update-desktop-database ~/.local/share/applications
Updates are manual. That is the tradeoff. For a tool that holds years of edits, a manual update step can be a feature.
Method 4: Build Darktable from Source
Building from source makes sense in a few cases: you need the exact 5.6.2 code and no AppImage fits, you are testing a fix, you want custom CPU flags, or you package for others. It is more work, and every future update becomes your responsibility.
Step 1: Get the right source
Upstream is clear about this. Do not use the autogenerated tarball from the GitHub release page. Download the project’s own .tar.xz instead, or clone the git repo directly. The 5.6.2 notes also highlight a bad-tarball problem for people building from source, which makes the official tarball the safe pick.
cd ~/src
wget https://github.com/darktable-org/darktable/releases/download/release-5.6.2/darktable-5.6.2.tar.xz
tar -xf darktable-5.6.2.tar.xz
cd darktable-5.6.2
Verify that file against the published checksum before extracting if you have one on hand.
Cloning works too:
git clone --recurse-submodules --depth 1 --branch release-5.6.2 https://github.com/darktable-org/darktable.git
cd darktable
Step 2: Install build dependencies
The easiest approach is to borrow the dependency list from the distro package. Enable source repositories first. On Ubuntu 26.04 with deb822, edit /etc/apt/sources.list.d/ubuntu.sources and add deb-src to the Types: line of the main stanza:
sudo sed -i 's/^Types: deb$/Types: deb deb-src/' /etc/apt/sources.list.d/ubuntu.sources
sudo apt update
sudo apt build-dep darktable
sudo apt install build-essential cmake git ninja-build
If build-dep falls short for a newer release, because 5.6 adds a library the 5.4 package does not need, the CMake configure step will tell you exactly what is missing. Install it and rerun.
Step 3: Build and install to /opt
./build.sh --prefix /opt/darktable --build-type Release --install --sudoInstalling under /opt/darktable keeps it away from files owned by APT. Then:
/opt/darktable/bin/darktable --versionAdding that directory to your path or creating a symlink finishes the job.
Build time performance
A full build uses all cores and a surprising amount of memory in the linker stage. On a small VPS or a 4 GB virtual machine, limit parallelism:
cmake --build build -j2If the compiler is killed with no explanation, that’s the OOM killer. Check dmesg | tail to confirm, then reduce the job count or add swap.
Enable and Verify OpenCL (GPU Acceleration)
This is where most “slow Darktable” complaints begin. A fresh install that isn’t using the GPU feels like a different application.
Check what the system sees
sudo apt install clinfo
clinfo -l
If clinfo reports no platforms, Darktable cannot use the GPU either. Fix that first.
Install the right driver stack
- NVIDIA: install the proprietary driver through
ubuntu-drivers, which includes the OpenCL ICD.
ubuntu-drivers devices
sudo ubuntu-drivers install
sudo reboot- AMD: the ROCm OpenCL runtime or the Mesa Rusticl implementation, depending on the card generation.
- Intel: the compute runtime (
intel-opencl-icd) from the Ubuntu archive.
sudo apt install intel-opencl-icdThe 5.6.2 release specifically improves OpenCL support for recent Intel graphics drivers, which is relevant if you are on a recent Intel iGPU or Arc card.
Ask Darktable directly
darktable-cltestThis runs a quick compute test and prints the devices it found. For deeper diagnostics when something misbehaves:
darktable -d opencl -d perfThe log shows which devices were detected, which kernels compiled, and where it fell back to the CPU. Kernel compile failures usually point at driver bugs. A one-time compile on the first start is normal and slow, and the results are cached afterwards.
Turning it on in preferences
In Darktable, go to preferences, then processing, and make sure OpenCL support is enabled. For a card with plenty of VRAM, the “very fast GPU” scheduling profile pushes all work to the GPU. On weaker integrated graphics, the default profile is usually a better balance.
Troubleshooting Common Problems
“darktable: command not found” after install
If you installed through Flatpak, the binary isn’t on the path. Run it with flatpak run org.darktable.Darktable. If you used the AppImage, call it by full path or create the symlink shown earlier.
AppImage will not start: libfuse error
Install libfuse2t64 on Ubuntu 26.04 and 24.04. As a last resort, extract it and run without FUSE:
./Darktable-5.6.2-x86_64.AppImage --appimage-extract
./squashfs-root/AppRun
OpenCL not detected
Work through the stack in order:
clinfo -lshows a platform? If not, the driver is the problem.darktable-cltestpasses? If not, read its output for the failing device.darktable -d openclreveals kernel compile errors.
If the logs show failures on one module only, disabling OpenCL for that device in darktablerc or switching to a different scheduling profile usually restores stability. Also check that you are not running a Flatpak without the matching GPU extension.
Crash on startup after an upgrade
A mismatched or corrupted configuration is the usual culprit. Back it up and let Darktable create a fresh one:
mv ~/.config/darktable ~/.config/darktable.bak
darktable
Then restore the library by copying library.db and data.db back only if the versions are compatible. For the 5.4 to 5.6 jump, remember that the new library can’t be opened by 5.4 again.
Imports show empty folders (Flatpak)
Sandbox permissions again. Use flatpak override --user --filesystem=/path org.darktable.Darktable and restart.
Lens corrections not applied
Lens profiles come from the LensFun database. Update it:
sudo apt install --reinstall liblensfun-data-v1
lensfun-update-data   # if available on your system
New camera bodies sometimes land in Darktable before the distro’s LensFun data catches up. The 5.6.2 release, for example, adds white balance presets for newer cameras such as the Leica SL3-P and Sony Alpha 7R VI, which an older packaged version won’t know about. If a brand-new camera is not recognized, that is a strong reason to move to a newer build.
Wayland versus X11 oddities
Ubuntu’s GNOME session runs on Wayland by default. Most things work, but color management and window placement occasionally misbehave. For a one-off test under X11 behavior:
GDK_BACKEND=x11 darktableIf this fixes your issue, make it permanent in a custom launcher. Also make sure a display profile is loaded; a wrong monitor profile makes every edit look off.
Build fails with a missing dependency
Read the first error, not the last. CMake lists the missing package near the top. Install the -dev package and rerun cmake. When switching branches, delete the build directory, because stale caches create phantom failures.
Updating, Migrating and Removing Darktable
APT: sudo apt update && sudo apt install --only-upgrade darktable.
Flatpak: flatpak update org.darktable.Darktable.
AppImage: download the new file, verify it, replace the symlink target.
Source: pull the new tag, rebuild into the same prefix.
Removal
sudo apt remove --purge darktable
sudo apt autoremove
For Flatpak:
flatpak uninstall --delete-data org.darktable.DarktableThe --delete-data flag clears ~/.var/app/org.darktable.Darktable. Leave it off if you want to keep configuration. Regular APT removal leaves ~/.config/darktable alone, and that is deliberate: your edits live there. Delete it manually only when you are sure you have backups and XMP sidecars.

