How To Install OpenVAS on Debian 12

In this tutorial, we will show you how to install OpenVAS on Debian 12. OpenVAS, short for Open Vulnerability Assessment System, is a powerful open-source vulnerability scanner and manager. It helps organizations identify and manage security vulnerabilities in their networks and systems. OpenVAS is built on the foundation of the popular Nessus scanner and has evolved into a comprehensive solution for vulnerability management.
This article assumes you have at least basic knowledge of Linux, know how to use the shell, and most importantly, you host your site on your own VPS. The installation is quite simple and assumes you are running in the root account, if not you may need to add ‘sudo‘ to the commands to get root privileges. I will show you the step-by-step installation of the OpenVAS on a Debian 12 (Bookworm).
Prerequisites
- A server running one of the following operating systems: Debian 12 (Bookworm).
- It’s recommended that you use a fresh OS install to prevent any potential issues.
- Accessing the terminal is as simple as opening your terminal emulator. You can usually find it in your application menu or by using a keyboard shortcut, such as
Ctrl + Alt + T. - Make sure your Debian 12 system is connected to the internet. An active connection is essential for downloading the required packages and updates during the installation.
- You can either log in as a superuser (root) or use the
sudocommand before running any administrative tasks. This ensures you have the necessary permissions.
Install OpenVAS on Debian 12 Bookworm
Step 1. Before installing OpenVAS, it is essential to update your system packages. This ensures that you have the latest security patches and software updates. To update your system packages, execute the following commands in the terminal:
sudo apt update
sudo apt upgrade
Step 2. Installing Necessary Dependencies.
Next, install the required dependencies for OpenVAS. Run the following commands:
sudo apt install software-properties-common wget gnupg
Step 3. Installing OpenVAS on Debian 12.
To install OpenVAS, you first need to add the OpenVAS repository to your system. Execute the following commands:
wget -q -O - https://www.atomicorp.com/RPM-GPG-KEY.atomicorp.txt | sudo gpg --dearmor -o /usr/share/keyrings/atomicorp-archive-keyring.gpg
echo "deb [signed-by=/usr/share/keyrings/atomicorp-archive-keyring.gpg] https://updates.atomicorp.com/channels/atomic/debian bookworm main" | sudo tee /etc/apt/sources.list.d/atomicorp.list
Update your package list and install the OpenVAS package by running:
sudo apt update
sudo apt install openvas
The installation process involves downloading and installing the necessary OpenVAS components, including the scanner, manager, and web interface. The process may take some time, depending on your system and internet connection.
Step 4. Configuring OpenVAS.
After installing OpenVAS, you need to configure it by running the setup script. Execute the following command:
sudo openvas-setup
This script performs several tasks, including:
- Downloading and updating the vulnerability data
- Generating SSL certificates
- Configuring the OpenVAS services
Step 5. Configuring Firewall Rules.
If you have a firewall enabled on your Debian 12 system, you need to configure the appropriate rules to allow OpenVAS traffic. Assuming you are using the default UFW firewall, run the following commands:
sudo ufw allow 9392/tcp
sudo ufw reload
Step 6. Setting Up Periodic Updates.
To keep your OpenVAS installation up-to-date with the latest vulnerability data, set up a cron job to update the data regularly. Open the crontab editor by running:
sudo crontab -e
Add the following line to the file, which updates the vulnerability data daily at 3:00 AM:
0 3 * * * /usr/sbin/greenbone-nvt-sync >/dev/null 2>&1
Step 7. Using OpenVAS.
A. Starting and Stopping the OpenVAS Service.
To start the OpenVAS service, run:
sudo systemctl start openvas
To stop the service, execute:
sudo systemctl stop openvas
Step 8. Accessing the OpenVAS Web Interface.
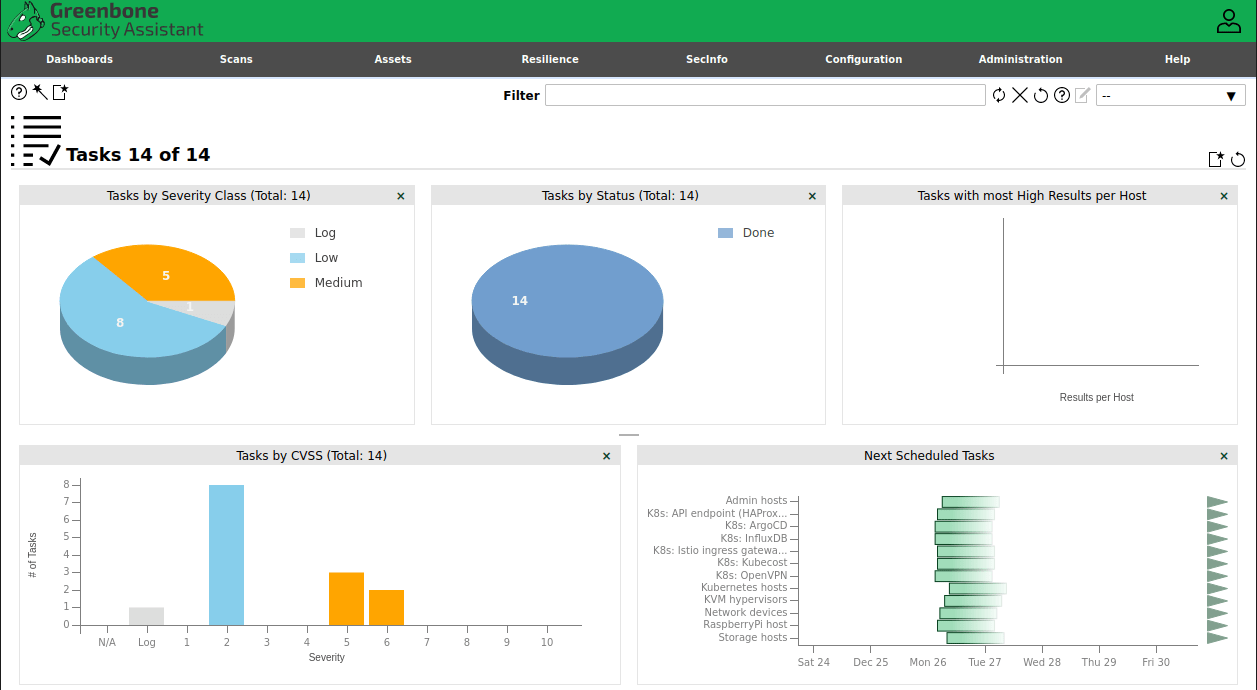
Once the OpenVAS service is running, you can access the web interface by navigating to the following URL in your web browser:
https://<your-server-ip>:9392
Log in using the default credentials:
- Username: admin
- Password: (generated during the setup process)

Congratulations! You have successfully installed OpenVAS. Thanks for using this tutorial to install the latest version of OpenVAS on Debian 12 Bookworm. For additional help or useful information, we recommend you check the official OpenVAS website.