
Fedora 44 landed with a lot of moving parts—GNOME 50, kernel 7.0, dnf5 as the default package manager, and a full transition away from X11 sessions. If you’re a 3D artist, a game dev tinkering with assets, or just someone who wants to render a decent turntable animation without fighting your operating system, getting Blender running cleanly on this release isn’t quite the same experience it was on Fedora 40 or 41.
Here’s the thing nobody tells you upfront: there isn’t one “correct” way to install Blender on Linux anymore, and that’s actually a problem for a lot of users. You’ve got the native RPM sitting in Fedora’s official repos, Flatpak through Flathub, Snap from Canonical’s store, and the raw tarball straight from blender.org. Each one behaves differently when it comes to GPU acceleration, plugin compatibility, and update cadence. Pick the wrong one for your workflow and you’ll spend an evening debugging why OptiX rendering refuses to show up in your Preferences panel.
There’s also a known headache specific to Fedora 44 right now: some users have reported Blender crashing or misbehaving around color management due to an OpenColorIO version mismatch introduced with the newer library shipped in this release. It’s not catastrophic, but if you don’t know what’s causing it, it looks like Blender itself is just broken.
This guide walks through every realistic installation path for Fedora 44, explains the tradeoffs of each, covers NVIDIA GPU setup for CUDA/OptiX rendering, and includes the troubleshooting steps that actually work—not the copy-paste advice you find in outdated forum threads. Whether you’re setting this up on a personal workstation or a render node in a small studio pipeline, the goal here is a stable, fast, and secure Blender install that doesn’t need to be revisited every time Fedora pushes an update.
What’s New in Fedora 44 That Affects Blender
Fedora 44 shipped on April 28, 2026, after a couple of release delays caused by blocker bugs. For Blender users specifically, three changes matter:
- GNOME 50 is Wayland-only now—X11 sessions are gone entirely on GNOME, which occasionally affects how some older NVIDIA drivers and legacy OpenGL apps behave.
- Kernel 7.0 brings improved hardware support, which generally helps GPU detection but can momentarily break out-of-tree kernel modules like NVIDIA’s proprietary driver until akmod rebuilds it.
- dnf5 is now the default package manager, replacing classic dnf syntax in some edge cases—most commands still work the same, but scripting around package management should account for this if you’re automating deployments.
None of this breaks Blender outright, but it does change how you troubleshoot GPU rendering issues, which we’ll get into later.
Choosing Your Installation Method
Before running a single command, decide what you actually need. This decision matters more than most tutorials suggest.
| Method | Update Speed | GPU Support (CUDA/OptiX) | Sandboxing | Best For |
|---|---|---|---|---|
| DNF (official repo) | Slower, tied to Fedora release cycle | Full, native | None | Stability-focused users, production machines |
| Flatpak (Flathub) | Fast | Sometimes limited (OpenCL/plugin issues reported) | Sandboxed | Desktop users wanting frequent updates |
| Snap | Fastest, auto-updates | Good, some builds include OptiX | Sandboxed (classic confinement) | Users chasing the newest Blender release |
| Official tarball/AppImage | Manual, but always latest | Full, native | None | Studios, render farms, version pinning |
Fedora’s native RPM package is native—no sandboxing—and updates automatically through your regular system updates, but it can lag behind blender.org’s latest release by a version or two. Flatpak users have historically reported problems with plugins, scripts, and OpenCL support due to sandboxing restrictions. Snap tends to track newer releases more aggressively and even offers community builds with OptiX support that Fedora’s own package doesn’t include.
If reliability across kernel/driver updates is your priority—say, this machine also runs other production workloads—the native RPM or the official tarball extracted to /opt or ~/software is the safer bet.
Method 1: Installing Blender via DNF (Recommended for Most Users)
This is the path most sysadmins should default to. It integrates with your existing update workflow, respects SELinux contexts properly, and doesn’t introduce a second package management layer to babysit.
Step 1: Update your system first
Never install a graphics-heavy application on a system that hasn’t been patched recently. Kernel-level GPU driver issues love to hide behind stale package caches.
sudo dnf upgrade --refresh
sudo reboot
Reboot if the kernel got updated—akmod-based drivers (which we’ll touch on shortly) need a matching kernel-devel package to rebuild correctly.
Step 2: Install Blender
sudo dnf install blenderThat’s genuinely it for most desktop setups. Fedora’s package maintainers keep this reasonably current—Fedora 44’s stable branch tracks Blender 4.5.x releases, with newer builds occasionally landing in the testing repo first.
Step 3: Verify the install
blender --versionYou should see the version string along with build hash information. If Blender launches but crashes immediately on startup with a GPU-related error, skip ahead to the troubleshooting section—this is common right after a fresh Fedora 44 install with proprietary NVIDIA drivers not yet configured.
Why this matters for production environments
On a render node or shared workstation, native packages mean one update path, one dependency tree, and predictable SELinux behavior. Sandboxed formats introduce their own filesystem namespaces, which occasionally cause headaches when Blender needs to read network shares, external drives, or NFS-mounted asset libraries—a very real scenario in small studio pipelines.
Method 2: Installing Blender via Flatpak
Flatpak is pre-integrated into Fedora’s Software Center, so it’s the path of least resistance for desktop users who don’t live in the terminal.
flatpak install flathub org.blender.Blender
flatpak run org.blender.Blender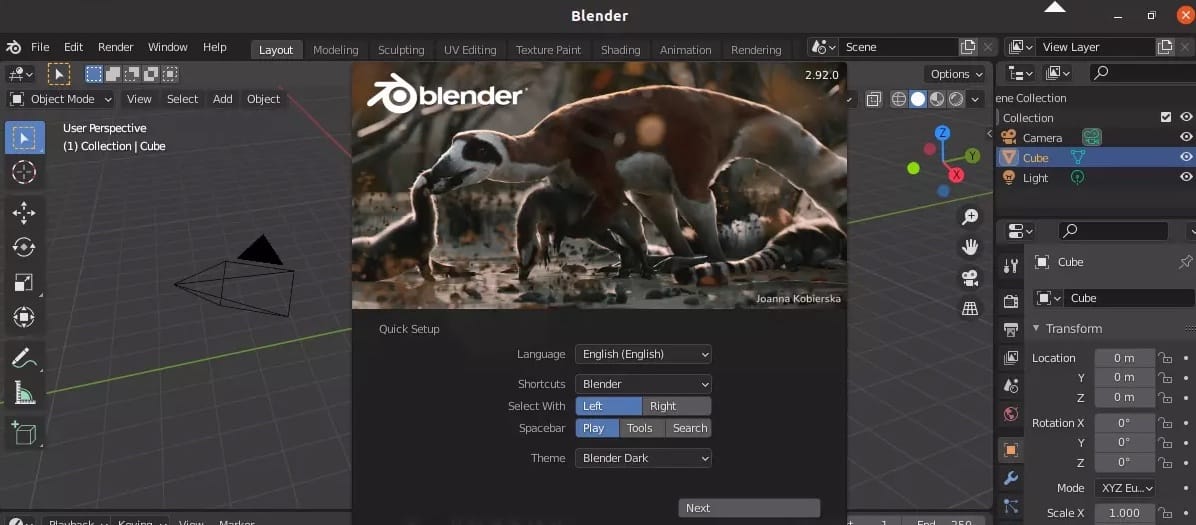
Flatpak’s sandboxing is genuinely useful for security—each app runs with restricted filesystem access by default. The catch: some users have reported plugin failures, OpenCL detection issues, and general instability with certain scripts under Flatpak confinement. If your workflow depends on custom Python add-ons that touch the filesystem outside the sandbox, you’ll need to grant explicit permissions:
flatpak override --user org.blender.Blender --filesystem=homeThis widens the sandbox to your entire home directory, which somewhat defeats the purpose of sandboxing but is often necessary for real-world asset management.
Method 3: Installing Blender via Snap
Snap requires an extra setup step on Fedora since it doesn’t ship pre-installed like it does on Ubuntu.
sudo dnf install snapd
sudo ln -s /var/lib/snapd/snap /snap
Log out and back in (or reboot) so snapd’s paths get picked up correctly. Then install Blender with classic confinement:
sudo snap install blender --classicClassic confinement means Snap skips most of its sandboxing restrictions, which is honestly the only sane way to run Blender through Snap given how heavily it interacts with GPU drivers and the filesystem. The tradeoff for auto-updates is losing some of Snap’s security isolation—a reasonable trade for most creative workstations, less so for hardened production servers.
Some community-maintained Snap builds (Snapcrafters) also ship with OptiX support baked in, which Fedora’s own RPM doesn’t include by default due to licensing constraints around NVIDIA’s proprietary tooling.
Method 4: Official Binary (Tarball) from Blender.org
This is the method serious studios and render-farm operators actually prefer, because it gives full control over exactly which Blender version runs where—critical when a project file was authored in 4.5.2 and suddenly behaves differently in 5.0.0.
Step 1: Download and extract
wget https://download.blender.org/release/Blender4.5/blender-4.5.4-linux-x64.tar.xz
mkdir -p ~/software
tar -xf blender-4.5.4-linux-x64.tar.xz -C ~/software
Step 2: Create a launcher
sudo ln -s ~/software/blender-4.5.4-linux-x64/blender /usr/local/bin/blenderNow blender is callable from any terminal session, and you can maintain multiple versions side by side under ~/software—handy when you need to reproduce a rendering bug that only appears in an older release.
Why version pinning matters in production
If you’re managing a render farm or CI pipeline that automates Blender renders (a legitimate use case for background rendering via blender -b file.blend -f 1), pinning an exact version prevents subtle regressions from breaking your batch jobs after an unattended dnf upgrade. Studios that learned this lesson the hard way now treat Blender versions the same way they treat compiler versions—locked, tested, and upgraded deliberately.
Setting Up GPU Rendering: NVIDIA, CUDA, and OptiX
Blender’s Cycles renderer is dramatically faster with GPU acceleration, and on Fedora 44 this means going through RPM Fusion rather than Fedora’s default repos, since proprietary NVIDIA drivers aren’t distributed there for licensing reasons.
Step 1: Enable RPM Fusion
sudo dnf install \
  https://mirrors.rpmfusion.org/free/fedora/rpmfusion-free-release-$(rpm -E %fedora).noarch.rpm \
  https://mirrors.rpmfusion.org/nonfree/fedora/rpmfusion-nonfree-release-$(rpm -E %fedora).noarch.rpm
Step 2: Install the driver
For most desktop GPUs, the open-kernel-module driver is now NVIDIA’s recommended path for Fedora 44:
sudo dnf install akmod-nvidia xorg-x11-drv-nvidia-cudaakmod-nvidia handles automatic driver rebuilds every time the kernel updates—this single detail saves you from the classic “GPU stopped working after a routine update” scenario that plagues unmanaged NVIDIA installs.
Step 3: Wait for the kernel module to build—don’t reboot yet
sudo akmods --force
sudo dracut --force
modinfo -F version nvidia
If that last command returns a version number, the module compiled successfully. Reboot only after confirming this.
sudo rebootStep 4: Verify and enable in Blender
After reboot:
nvidia-smiThis should list your GPU, driver version, and current memory usage. Inside Blender, go to Edit > Preferences > System, and under “Cycles Render Devices,” enable CUDA or OptiX. Fedora’s native Blender package sometimes ships without OptiX compiled in due to licensing restrictions on NVIDIA’s OptiX SDK, which is why some users switch to the Snapcrafters Snap build specifically for OptiX rendering.
Troubleshooting Common Issues
Blender crashes on launch after a fresh Fedora 44 install
This is almost always a GPU driver mismatch, not a Blender bug. Run blender --debug-gpu from a terminal to see the actual error rather than a silent crash. If it references Mesa or a missing OpenGL 3.3 context, your system is likely relying on the open-source Nouveau driver, which Blender doesn’t fully support for serious rendering work.
Color management or OpenColorIO errors on Fedora 44
There’s a known issue where Blender running on Fedora 44 throws OpenColorIO-related errors because the system’s OCIO library version has moved ahead of what Blender’s bundled config expects. Two fixes work:
- Update OpenColorIO to the latest version via pip in a virtual environment and point Blender’s config toward it.
- Download the official Blender 5.0.0 build (which ships OpenColorIO 2.4) and swap its bundled config.ocio file into your existing install’s colormanagement directory.
The second option is more reliable for production machines since it avoids introducing a pip-managed library into a system that should otherwise stay RPM-managed—mixing package managers on production boxes is a habit worth avoiding.
GPU not detected in Preferences > System
Nine times out of ten, this is caused by installing Blender through Flatpak or Snap sandboxing before the NVIDIA driver was fully initialized, or by a kernel update that outran the akmod rebuild. Re-run:
sudo akmods --force
sudo dracut --force
sudo reboot
Then check nvidia-smi again before blaming Blender itself.
Permission denied errors on render output directories
If Blender is running under Flatpak and can’t write render output to a network share or external drive, it’s a sandboxing permission issue, not a filesystem bug:
flatpak override --user org.blender.Blender --filesystem=/mnt/render-output:rwBlender freezes when opening files with heavy simulation caches
This usually isn’t Blender’s fault—it’s disk I/O. Simulation caches on spinning HDDs or network-mounted storage introduce latency that Blender’s cache reader wasn’t designed to tolerate gracefully. Moving the cache directory to local NVMe storage resolves this almost every time.
Performance and Optimization Tips
A few habits separate a smooth Blender workstation from a frustrating one, especially under sustained rendering loads:
- Set Cycles tile size appropriately for your GPU—modern NVIDIA cards with enough VRAM generally perform best with larger tiles or the “Auto” setting rather than legacy small-tile configurations from older Blender versions.
- Move your Blender cache and temp directories to the fastest available disk (NVMe over SATA SSD, SSD over HDD)—simulation baking and render caching are I/O-heavy operations that bottleneck on slow storage regardless of CPU/GPU horsepower.
- Monitor VRAM usage with
nvidia-smi -l 1during heavy scenes; running out of VRAM silently falls back to CPU rendering, which tanks performance without any obvious error message. - For CPU-only render nodes, check
nprocand configure Blender’s thread count to match physical cores rather than logical threads—hyperthreading gains are marginal for Cycles CPU rendering and can occasionally introduce scheduling overhead. - If running headless renders via cron or a pipeline script, pin CPU governor to
performancemode (cpupower frequency-set -g performance) to avoid frequency scaling delays during batch jobs.
Security Considerations
Blender executes Python scripts embedded in .blend files by default under certain conditions, which is a legitimate attack surface if you’re opening files from untrusted sources—something worth flagging if your team shares assets externally.
- Disable auto-execution of Python scripts for files from unknown sources: Edit > Preferences > Save & Load > uncheck “Auto Run Python Scripts.”
- If running Blender on a shared or multi-user server for automated rendering, run it under a dedicated low-privilege service account rather than root or a personal user account.
- Keep RPM Fusion and NVIDIA driver packages updated alongside regular system updates—outdated kernel modules are a common source of privilege escalation vulnerabilities on systems running proprietary drivers.
- If exposing a render farm node to a network for remote job submission, firewall off everything except the specific ports your render management tool needs, using firewalld:
sudo firewall-cmd --permanent --add-port=YOUR_PORT/tcp
sudo firewall-cmd --reload